How can I open Windows Copilot? Windows Copilot not showing in the taskbar? Microsoft Copilot is a new AI-powered chatbot that is released with Windows 11 23H2 update. If you need to access Copilot frequently, you can get the Copilot icon to appear in the taskbar or create a desktop shortcut for quick access. In this tutorial we’ll show you easy ways to add Copilot to the taskbar or desktop in Windows 11.

Method 1: Add Copilot to Taskbar in Windows 11 via Settings App
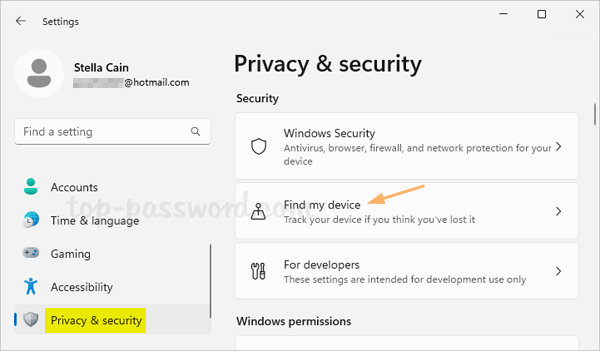
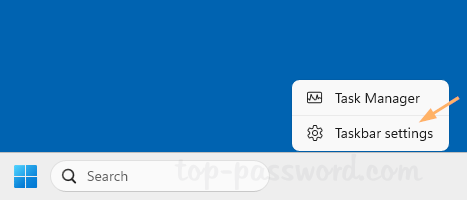
- Right-click the empty space in the taskbar and choose “Taskbar settings“. This will open the Settings app and take you to the page: Personalization -> Taskbar.
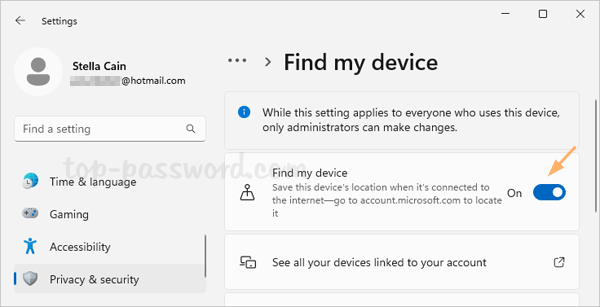
- Turn on the toggle switch next to the Copilot option.
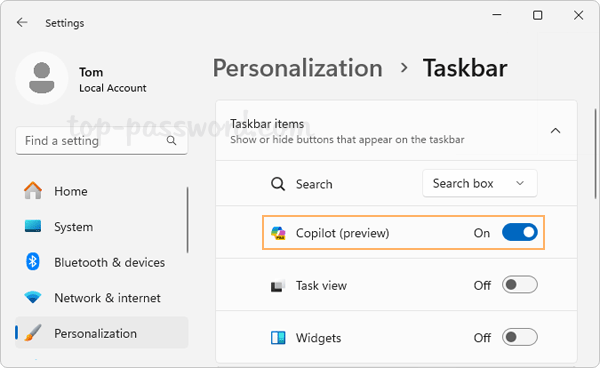
- The Copilot icon will show up in the taskbar and you can click it to open Copilot with ease.
Method 2: Add Copilot to Taskbar in Windows 11 via Registry Editor
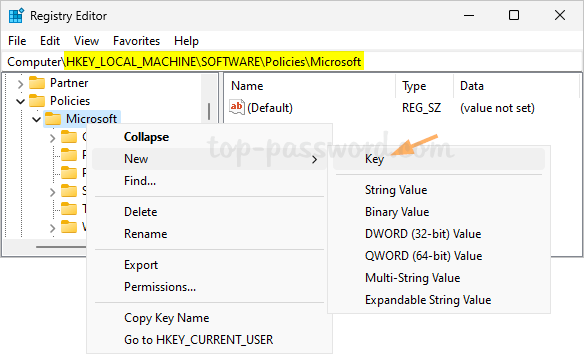
- Open Registry Editor and browse to:
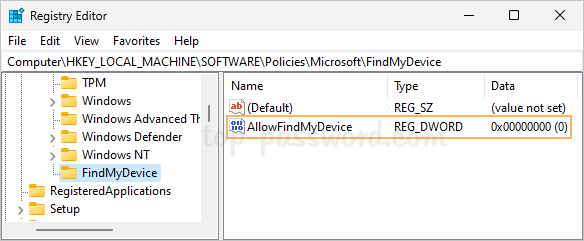
HKEY_CURRENT_USER\Software\Microsoft\Windows\CurrentVersion\Explorer\Advanced. In the right pane, double-click the DWORD ShowCopilotButton.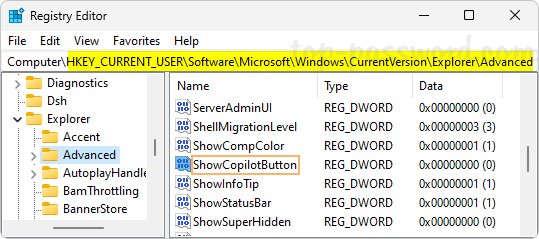
- To enable Copilot, change its value data from 0 to 1. Click OK.
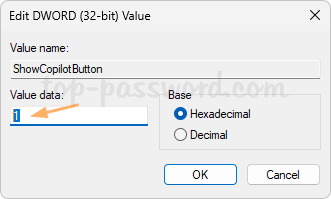
- Close Registry Editor. You can immediately see the Copilot button in the taskbar.
Method 3: Create a Desktop Shortcut for Copilot in Windows 11
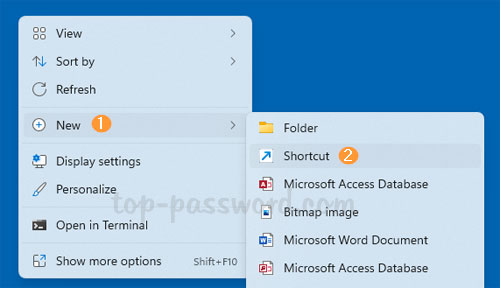
- Right-click the empty space on your desktop and choose New -> Shortcut.
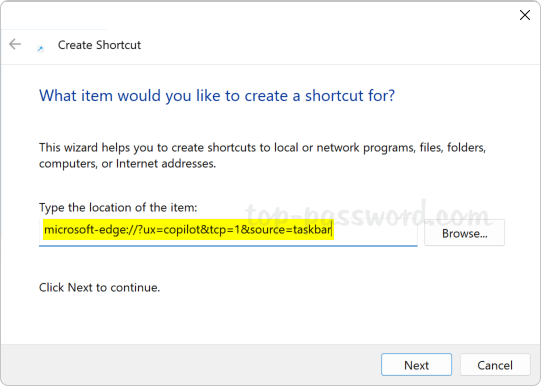
- Copy and paste the following command in the location box, and click Next.
microsoft-edge://?ux=copilot&tcp=1&source=taskbar
- Give a name for this shortcut and click Finish.
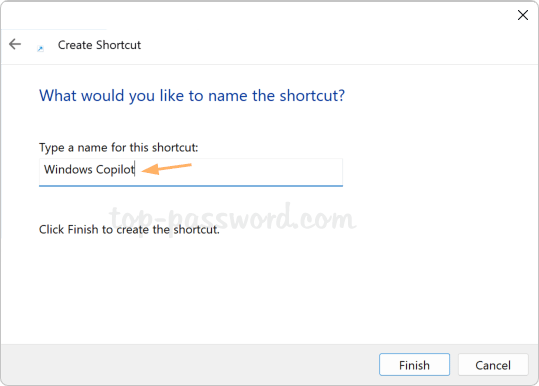
- You can now double-click the newly-created desktop shortcut to open Copilot quickly.
That’s it!