How to access the computer after you disable the administrator account? Be aware that disabling the built-in administrator account means that it is important that you do not forgot the user name and passwords for the other administrator accounts on that PC. If you do, you may end up a in a situation where you are unable to make any admin changes to your PC — or even be unable to login at all.
In Windows XP, you can still log into the disabled built-in administrator account if you rebooted the computer into Safe Mode. However this behavior has change since Windows Vista and now you are no longer able to log on to Windows Safe Mode with a disabled administrator account. What to do if you can’t get into Safe Mode as well?
PCUnlocker is a bootable media that allows you to re-enable the disabled local administrator account without entering into Windows. To get started, you need to use an alternate PC to install PCUnlocker on a CD. Boot your locked computer to CD and once running you can enable (and clear the password of) the local administrator account easily!
Follow the simple steps below and you can enable built-in administrator account to log on any Windows computer, including Windows 8, 7, Vista and XP:
Step 1: Make A PCUnlocker Live CD
Click here to download and save the PCUnlocker self-extracting Zip file to a folder on your hard drive, then extract the ISO image file: pcunlocker.iso from it. Burn this ISO image to a CD (or USB drive) using the freeware ISO2Disc, ImgBurn or Rufus.

Step 2: Boot from CD
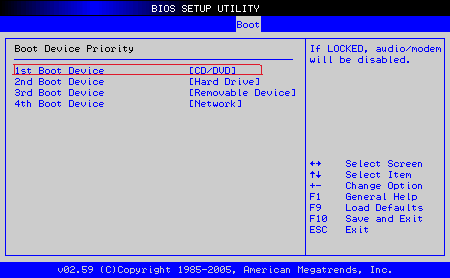
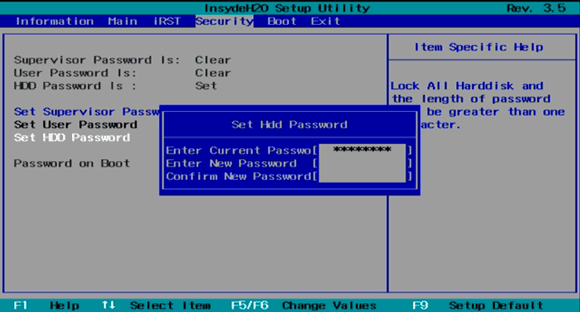
Put the PCUnlocker Live CD in the CD drive of your locked computer. In order to boot into CD, you need to set the CD drive as the first boot priority from BIOS.
With the EFI/UEFI-based computer you might also need to disable the Secure Boot option and change BIOS mode from UEFI to Legacy / CSM, by following this article:
How to Set PC to Boot with Legacy BIOS Mode Instead of UEFI Mode.
Step 3: Enable the Disabled Local Administrator Account
Once booting to the CD, Windows PE operating system will load and give you access to the PCUnlocker program. This program automatically searches the SAM database for your Windows installation, and then displays all your local accounts.

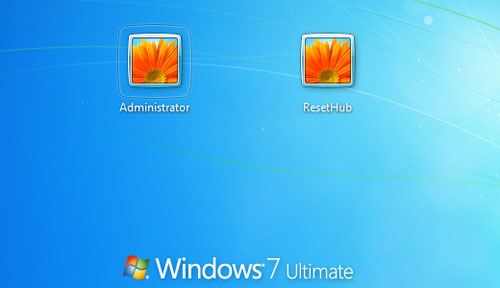
Choose a disabled local administrator account, and click on “Reset Password” button. It will re-enable your account and remove the existing password for your local administrator account. Now eject the CD and restart your computer. You can then log on to Windows using your previous disabled local administrator account without a password!


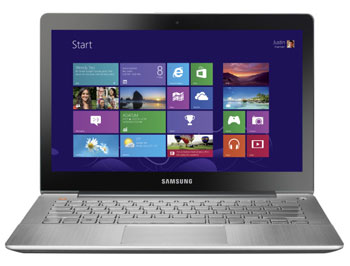 Forgot Windows 8 password for your Samsung ATIV tablet? Just set up the administrator account on a newly purchased laptop but you couldn’t remember the password now? Well, there is an easy way to remove Windows 8 password without knowing the original one. Just boot PCUnlocker Live CD on the Windows 8 PC that needed the password reset on. After you have booted into PCUnlocker, you can