How do I change Windows user name in CMD? Is there a simple way to change Windows username that appears on the sign-in screen? This tutorial shows you 6 ways to change user account name for local account and Microsoft account in Windows 11 / 10.
Note: After changing the account name, the name of your user profile folder (C:\Users\user_name) will remain unchanged. To rename the user profile, follow the method described in this article.
Method 1: Change User Account Name from Control Panel
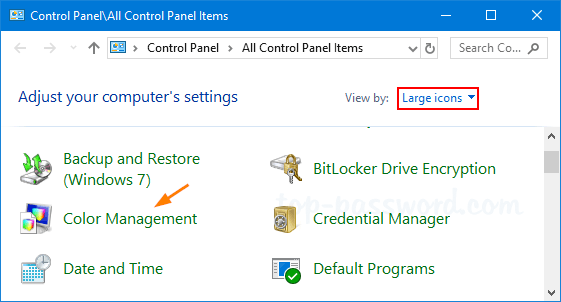
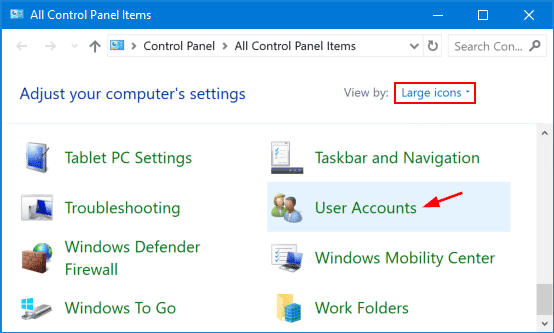
- Open the Control Panel in Large icons view, and click User Accounts.
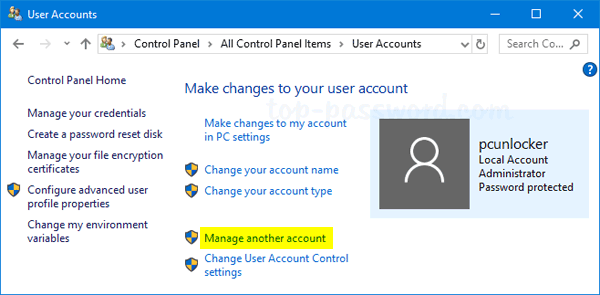
- Next, click on the “Manage another account” link.
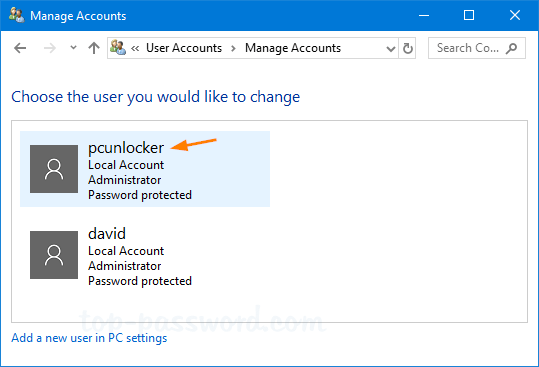
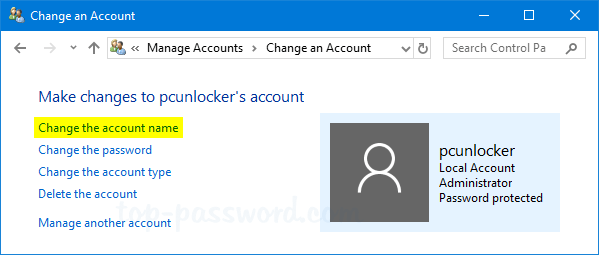
- Click the local account you want to change the name of.
- Click the “Change the account name” link.
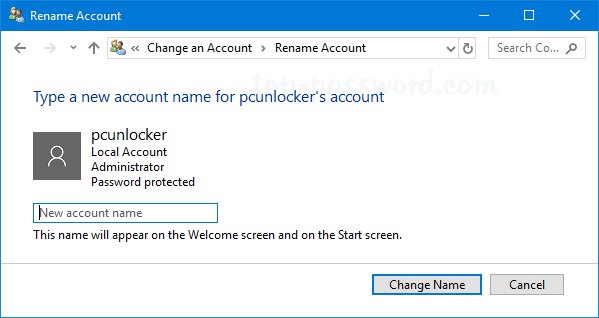
- Type in your new account name and click on Change Name button.
Method 2: Change User Account Name for Microsoft Account
If you’re using Microsoft account for logging into Windows 10, you need to change your account name online. Just follow the steps below.
- Open the Microsoft account page using your Web browser, and sign in to your Microsoft account.
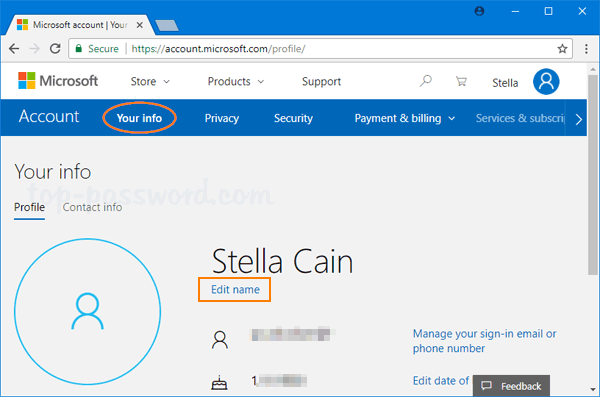
- Select the Your info menu on the navigation bar at the top, and then click the Edit name link under your account name.
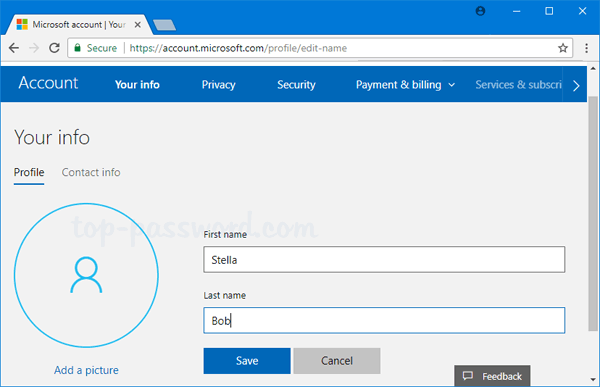
- Type a new First name and Last name, then click on Save.
The next time you sign into Windows 10, you should see the new account name shown on the login screen. If the new username is not synced to your computer, try to switch your Microsoft account to a local account, and then switch it back.
Method 3: Change User Account Name with Local Users and Groups Snap-In
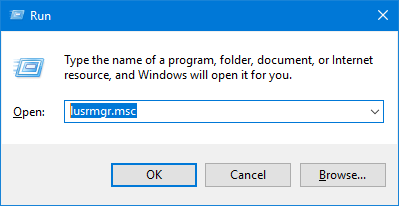
- Open the Local Users and Groups snap-in. To do this, press Windows + R keyboard combination and then type lusrmgr.msc then hit Enter.
- Expand “Local User and Groups” and select Users in the left pane. Next, right-click on the local account for which you want to change the username, and select Rename from the popup menu.
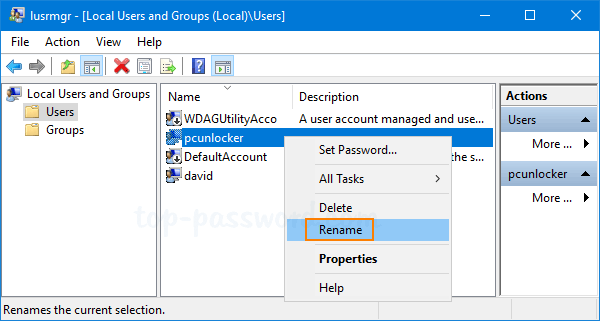
- Enter your desired username and press Enter.
Method 4: Change User Account Name Using netplwiz
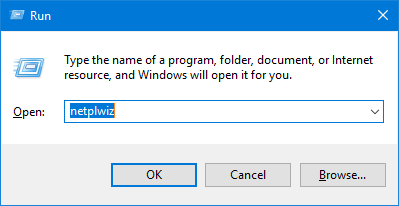
- Press the Windows key + R and then type netplwiz in the Run dialog box. Click OK.
- In the User Accounts window that appears, make sure the “Users must enter a user name and password to enter this computer” option is checked. Select the local account for which you want to change the username and click on the Properties button.
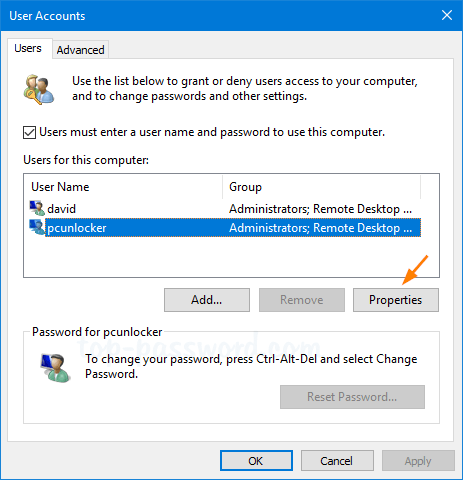
- In the General tab, type in the new username for the account then click OK.

Method 5: Change User Account Name from Command Prompt
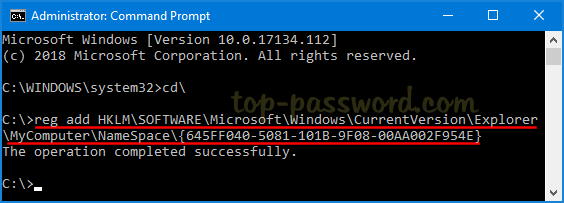
- Open the Command Prompt as administrator. In order to change your Windows username, type the following into the Command Prompt and press Enter.
wmic useraccount where name="Current Name" rename "New Name"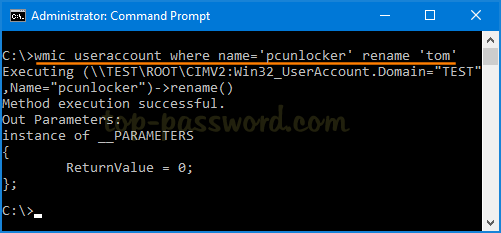
For example, if your username is “pcunlocker” and you want to rename to “tom”, then run the following command:
wmic useraccount where name="pcunlocker" rename "tom" - When you’re done, reboot Windows and you can log in with the new username and old password.
Method 6: Change User Account Name from Windows PowerShell
- Open Windows PowerShell as administrator, and execute the following command:
Rename-LocalUser -Name "Current Name" -NewName "New Name"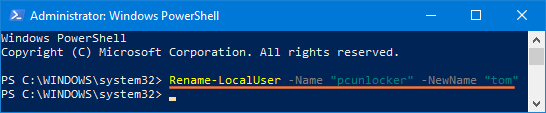
- Close the PowerShell console and reboot your PC to apply the changes.
That’s it!