Can I make Windows 11 not lock on sleep? How do I get Windows to stop asking me to log in after waking from sleep? In this tutorial we’ll show you 3 methods to disable “Require Sign-in on Wakeup” in Windows 11.
Method 1: Disable “Require Sign-in on Wakeup” Using Settings App
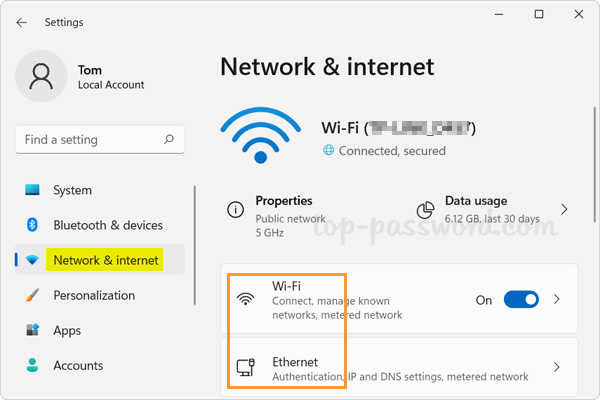
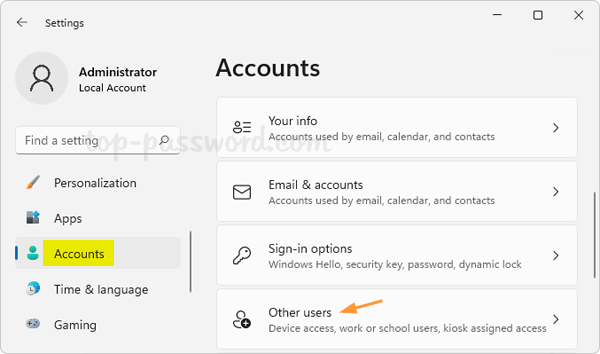
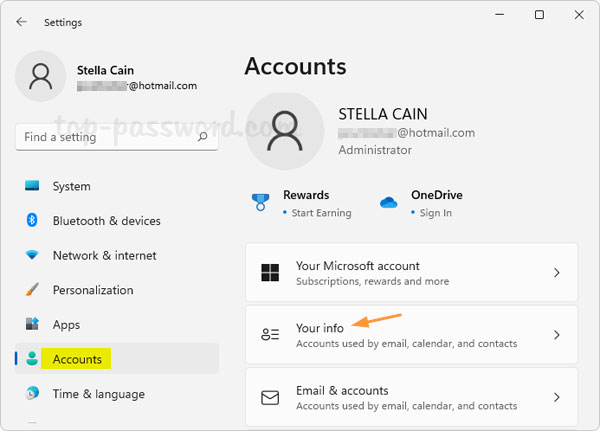
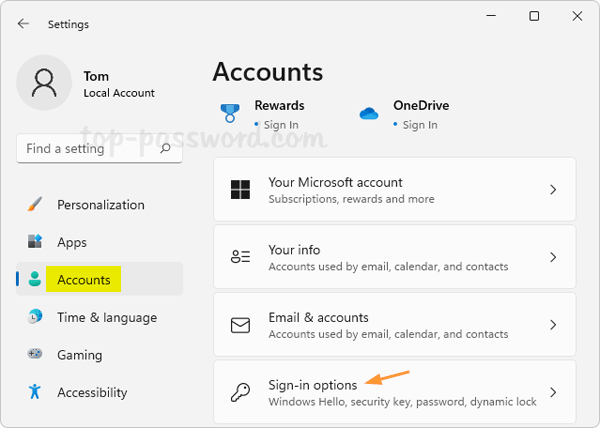
- Press the WIN + I keys to launch the Settings app. Choose Accounts in the left sidebar and then click “Sign-in options” in the right pane.
- Under the “Additional settings” section, click the drop-down box next to “If you’ve been away, when should Windows require you to sign in again?” and select Never.
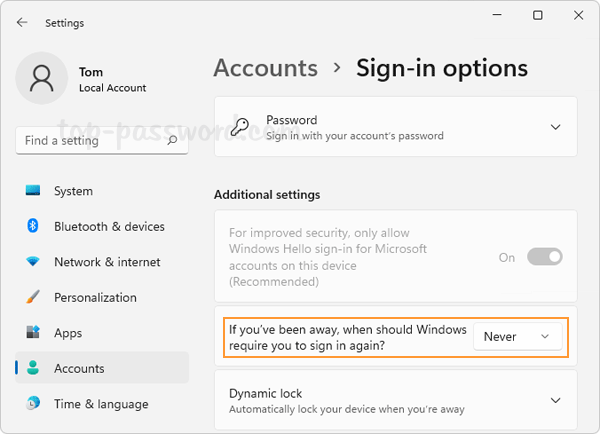
- You’ll no longer be required to enter a password after waking up Windows 11 from sleep.
Method 2: Disable “Require Sign-in on Wakeup” Using Group Policy
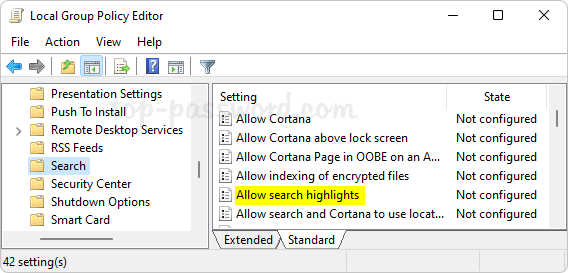
- Open Local Group Policy Editor and drill down to:
Computer Configuration -> Administrative Templates -> System -> Power Management -> Sleep Settings.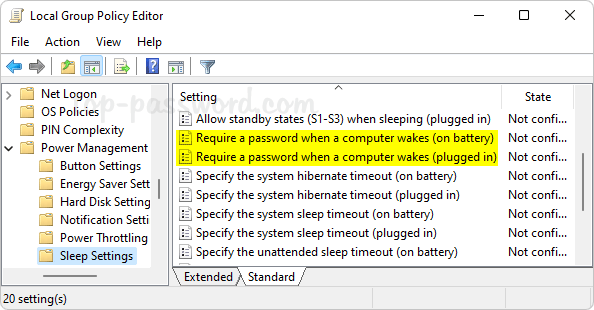
In the right-hand side, you’ll see two policies called “Require a password when a computer wakes (plugged in)” and “Require a password when a computer wakes (on battery)“.
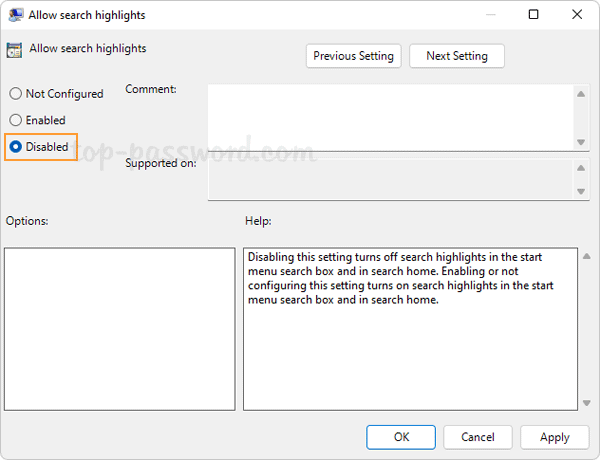
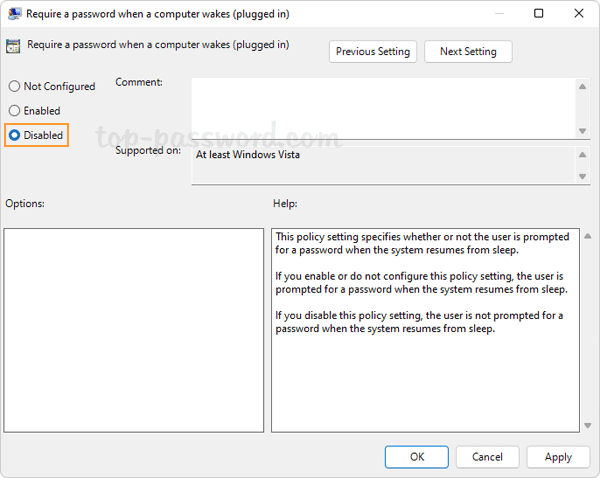
- Double-click each of the above policies and change its settings to Disabled. Click Apply and then OK.
- Close Local Group Policy Editor. The next time your computer enters into sleep mode, it won’t lock down the system. You’ll no longer see the sign-in screen when resuming from sleep.
Method 3: Turn off Screen Saver Password in Windows 11
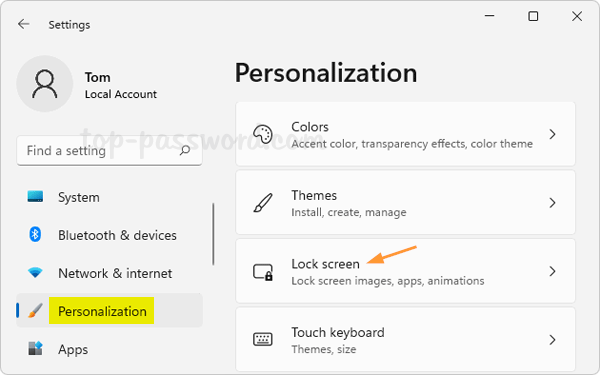
- Press the WIN + I keys to start the Settings app. Choose Personalization in the left sidebar and then click “Lock screen” in the right pane.
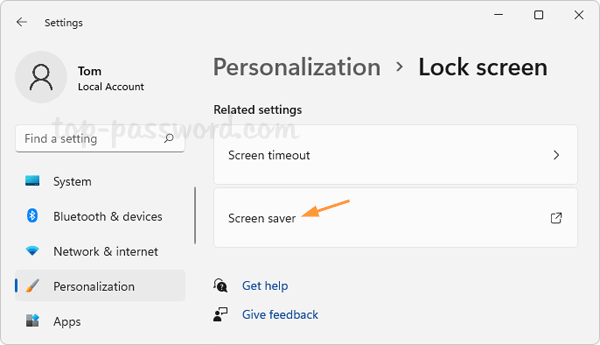
- Under the “Related settings” section, click “Screen saver“.
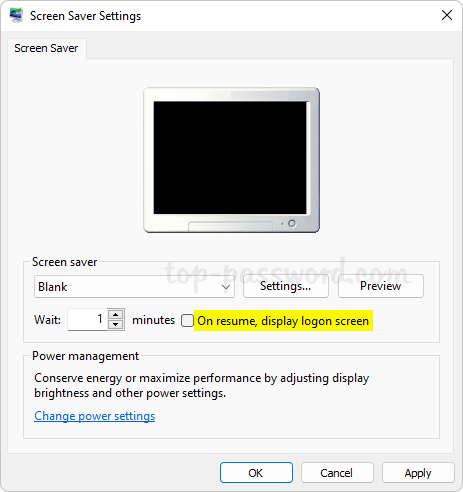
- In the pop-up dialog, uncheck the “On resume, display logon screen” option. Click Apply and then OK.
- From now on, your computer will no longer require a password when resuming from a screensaver.
Conclusion
You can use the above methods to turn off “Require Sign-in on Wakeup” in Windows 11, so you don’t have to enter your password each time you wake your PC from sleep or screen saver.