“I don’t know what happened but the taskbar (usually on the bottom of the screen) is missing. Without the taskbar, I couldn’t get to the Start Menu and ultimately launch any program. How do I get it back? Please help!”
There are 3 reasons why your taskbar or Start button disappeared on the computer screen:
- The taskbar is set to auto-hide.
- The explorer.exe process has crashed and the taskbar is completely gone.
- The display resolution or main display changed and caused the taskbar to go off the screen.
This step-by-step tutorial will show you how to troubleshoot this problem and get your Windows taskbar and Start button back to your screen.
Method 1: Unhide Taskbar
Some users reported the Auto-hide feature is buggy. Disable the Auto-hide option and your Windows taskbar might be back again. Follow these steps:
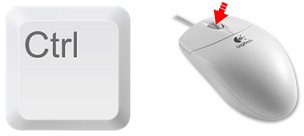
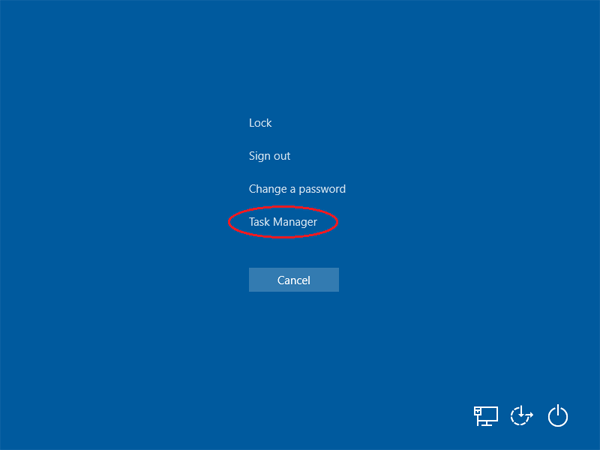
- Press Ctrl + Alt + Del on your keyboard. This will take you to the lock screen. From there, you can click Task Manager.
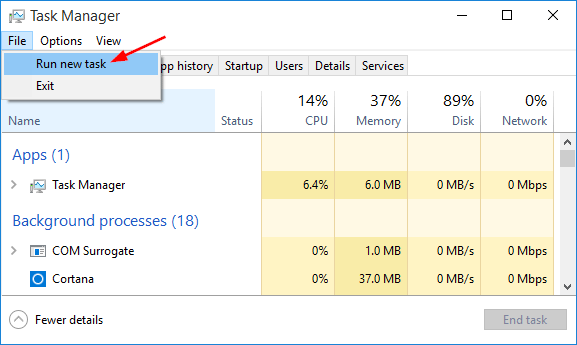
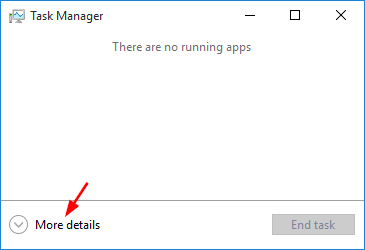
- When the Task Manager opens, click More details button at the bottom of the window.
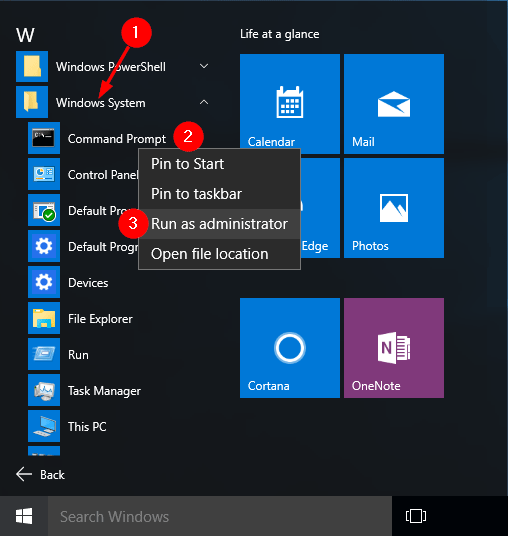
- Click the File menu and select Run new task.
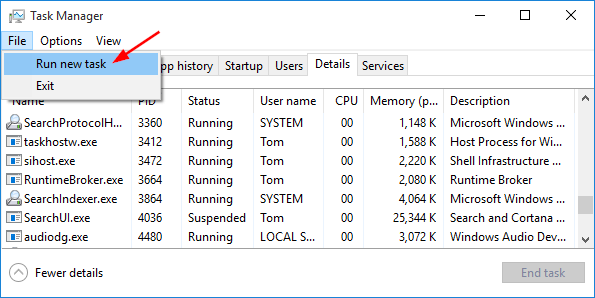
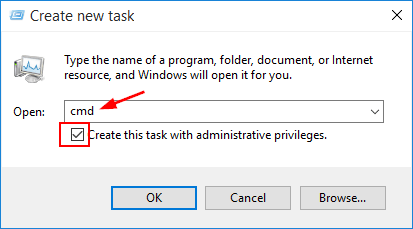
- Type control panel and click OK.

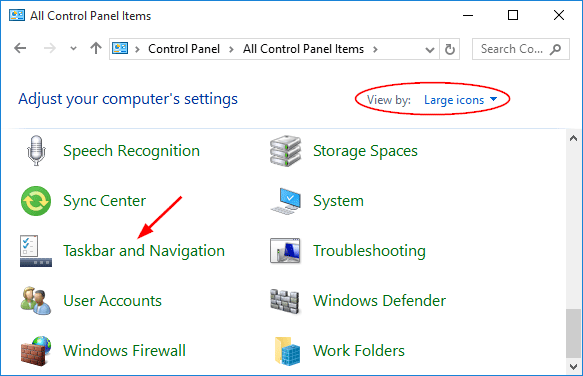
- In Control Panel, set the View by option to Large icons, and then click on “Taskbar and Navigation“.
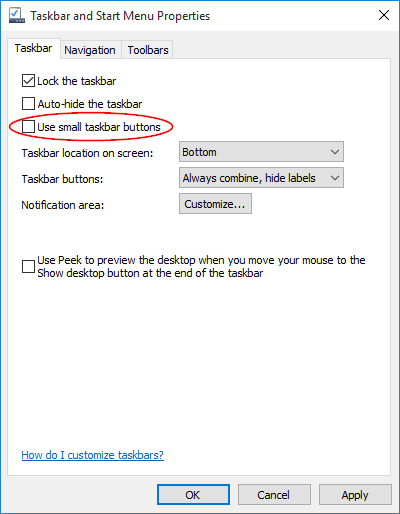
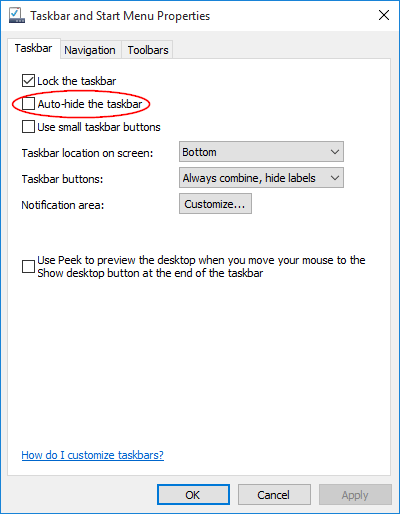
- Click the Taskbar tab, clear the Auto-hide the taskbar check box, and then click OK.
Method 2: Restart Explorer
There is a chance that your Windows Explorer is crashed or an infected program might have terminated it. If that is the case, then your desktop icons and taskbar must also be missing. If that is the case, restart the Explorer process should fix your problem.
- Press Ctrl + Shift + Esc keys on your keyboard and Task Manager will open up.
- The Task Manager in Windows 10/8 shows fewer details by default. Simply click More details at the bottom to access the full Task Manager.
- Click the Details tab and select the explorer.exe process, click End task.
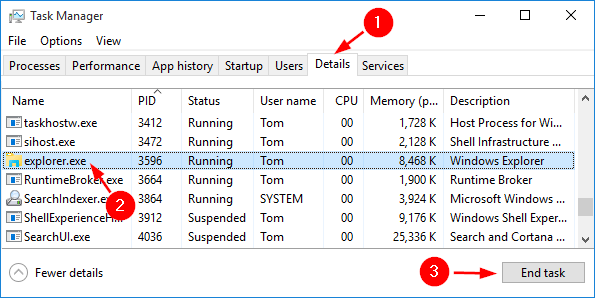
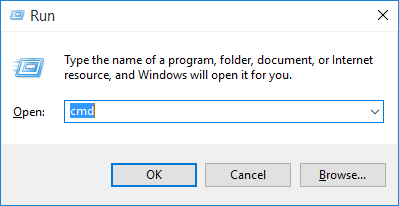
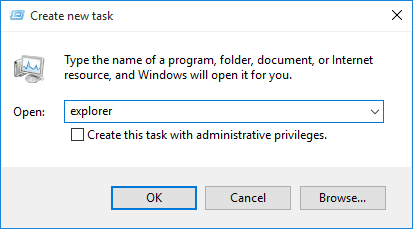
- Click the File menu and select Run new task.
- Type in explorer and press OK. This will restart the explorer process and hopefully get your taskbar back.
Method 3: Change Display
If the presentation display was changed, the taskbar may have moved off of the visible screen. To bring the taskbar back, you have to exit the presentation mode:
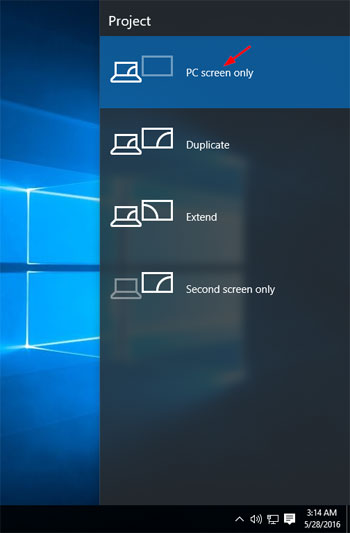
- Press the Windows logo key + P on your keyboard to launch External Display selection screen.
- You’ll get a pop-up dialog with a couple of choices like PC screen only ( or Computer Only), Duplicate, Extend, etc. Make sure it is set to PC screen only.