Is it possible to edit metadata of audio files using Windows built-in tools? Metadata (also known as “MP3 tags”, “ID3 tags”) can be used to store additional information about an audio file, including artist, album, year, comment and genre. If you want to keep your music collection organized, it’s a good idea to embed metadata into audio files, so you can search by artist or album. In this tutorial we’ll show you 3 easy methods to edit music metadata (MP3 tags) in Windows 11.
Method 1: Edit Music Metadata Using File Explorer
- Right-click the music file in File Explorer, and then select Properties.
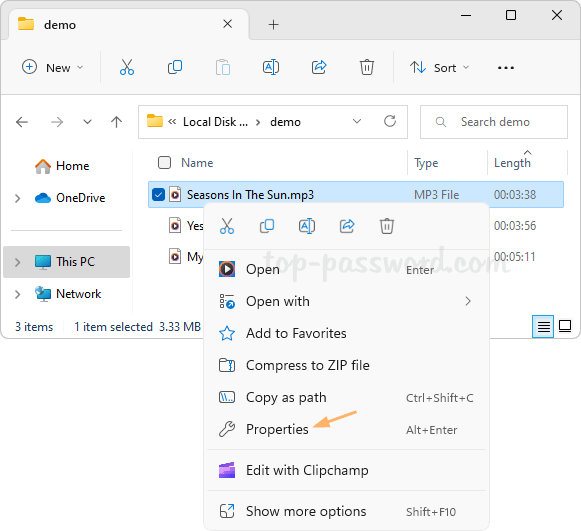
Note: If you need to add the same metadata to all songs in an album, simple select all the mp3 files, right-click the selection and click Properties.
- Go to the Details tab, you can click the Value column to add or edit artist, album and other metadata for your mp3 file.
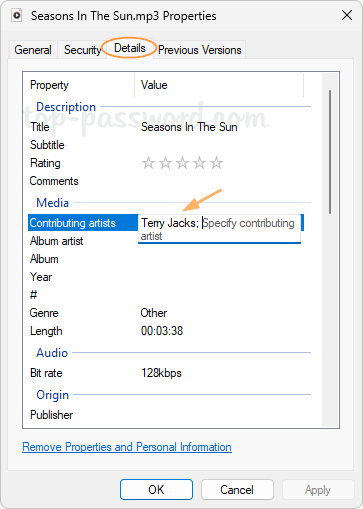
- Click OK to save your changes.
Method 2: Edit Music Metadata Using VLC Media Player
- Open your music file with the freeware VLC Media Player. Click the Tools menu and then choose Media Information.

- You can now edit whatever information you want, including the song title, artist, album, genre and so forth.
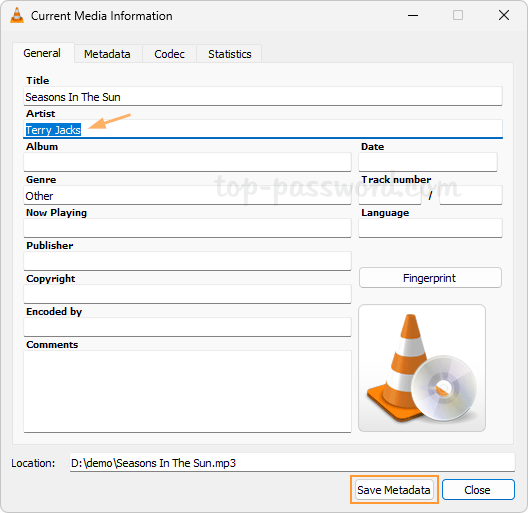
- Click the “Save Metadata” button.
Method 3: Edit Music Metadata Using Windows Media Player
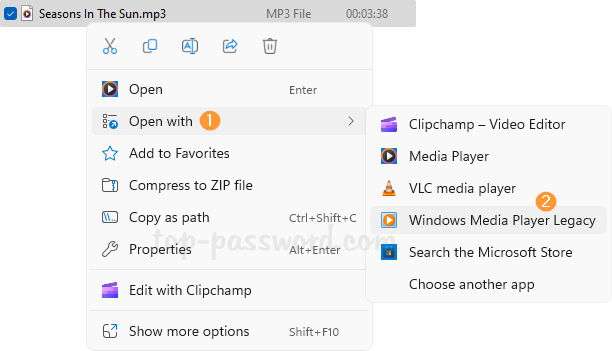
- Within File Explorer, right-click the mp3 file which you want to edit metadata of, and then choose Open with -> Windows Media Player Legacy.
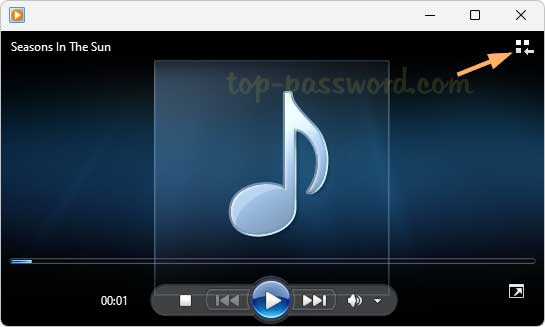
- Click the “Switch to Library” button in the upper-right corner.
- The library view lets you view all the metadata information of your song in a row. First of all, click to select the tag you want to edit, then click once again to make the tag field become editable. You can repeat this process to update all tags.
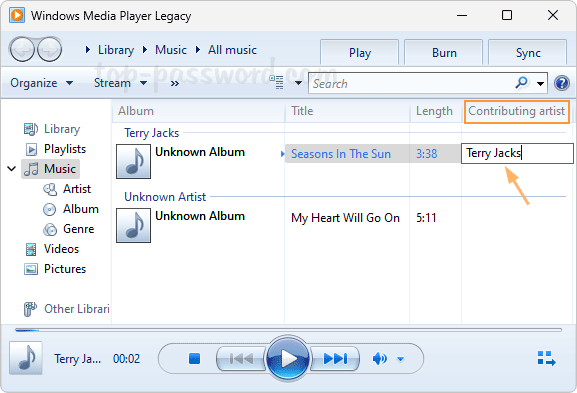
- You can drag and drop other music files into the library of Windows Media Player, so you can batch edit metadata for multiple mp3 files effectively.
That’s it!