Tags are part of metadata information you can add to specific file formats (.jpg, .mp4, .docx, .xlsx, .pptx). If you have a lot of documents and pictures, you can use tags to describe the file contents so you can then search by tags instead of the filenames.
At present, Windows 11 only supports adding or editing tags for .jpg/.jpeg files only. If you need to add tags to your documents or videos, you have to use Microsoft Office or third-party software. In this tutorial we’ll show you how to add tags to .jpg/.jpeg files and search files by tags in Windows 11.
Part 1: Add Tags to .jpg/.jpeg Files
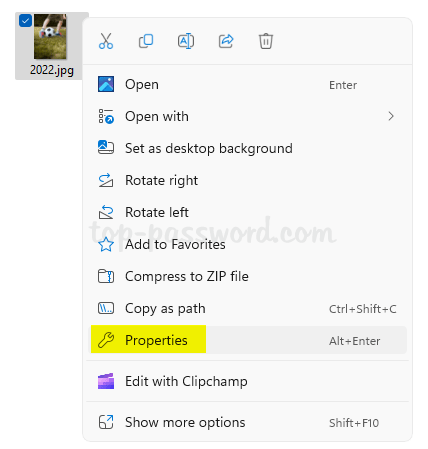
- Open File Explorer and browse to the location where your .jpg/.jpeg files are stored. Select one or multiple files and right-click on them and choose Properties. Note: this method allows you to add tags for multiple files in one action.
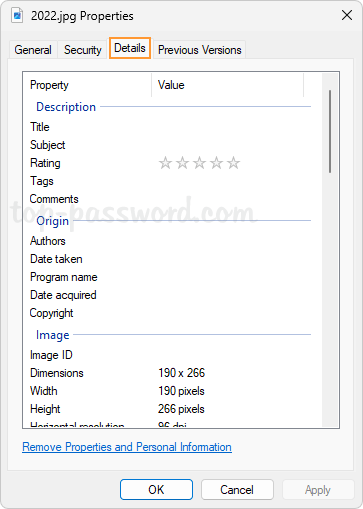
- When the Properties dialog box appears, go to the Details tab.
- Click the Tags field and its value will become editable. You can enter more than one keywords at once. Make sure each keyword is followed by a semicolon.
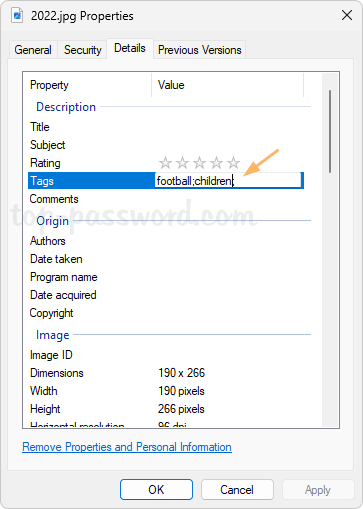
- Click OK to save the tag information.
Part 2: Search Files by Tags
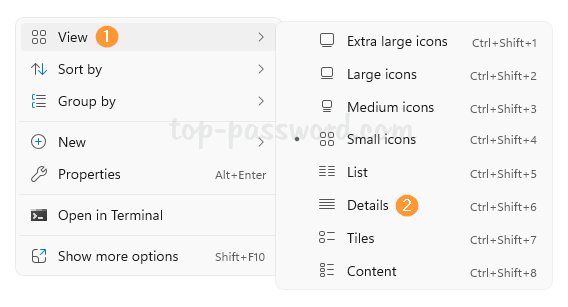
- Open File Explorer and navigate to the location of your tagged files. Right-click the empty space and choose View -> Details from the pop-up menu.
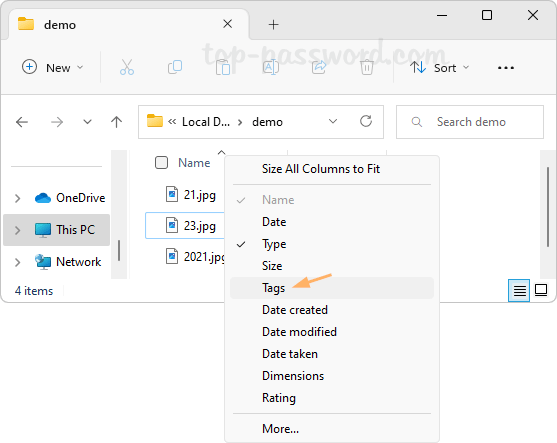
- Right-click on the column header in File Explorer and select the Tags option.
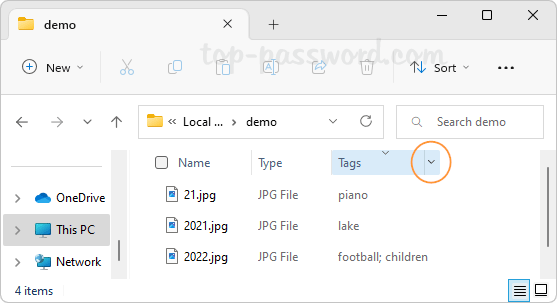
- You’ll be able to see the tags of all files. Click the down arrow to the right of the Tags column header.
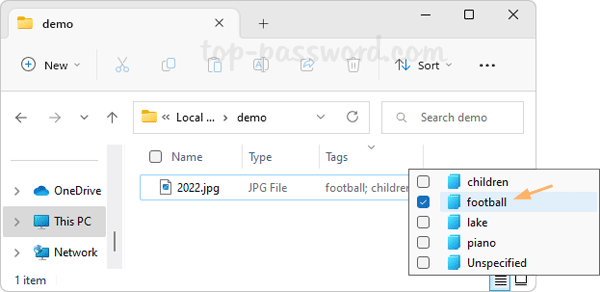
- Check the boxes next to your desired tags, and Windows will immediately display the files you’re looking for.
You can also search your tagged files using Windows Search, just type
tag: your_keywordin the search box from the top-right corner of File Explorer.
That’s it.