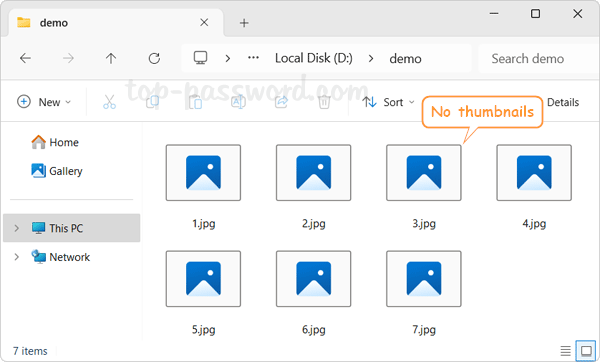
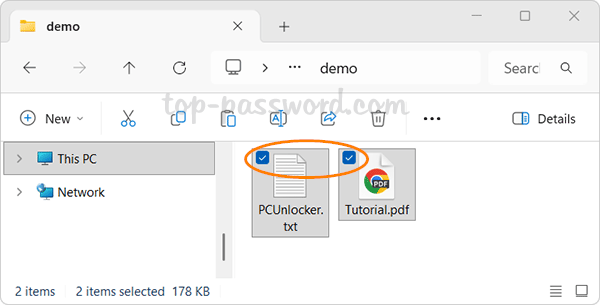
Can’t disable checkboxes in File Explorer? How do I get rid of those checkboxes on my desktop icons? Item checkboxes is a convenient feature to select multiple files/folders, especially on computers with touchscreen or trackpad. Many people have complained they can’t turn off the check marks in File Explorer. This happens when the Windows operating system fails to detect whether your PC is tablet or 2-in-1 device. In this tutorial we’ll show you some tips to remove the item checkboxes from File Explore in Windows 11.
Method 1: Disable Check Boxes to Select Items in File Explorer
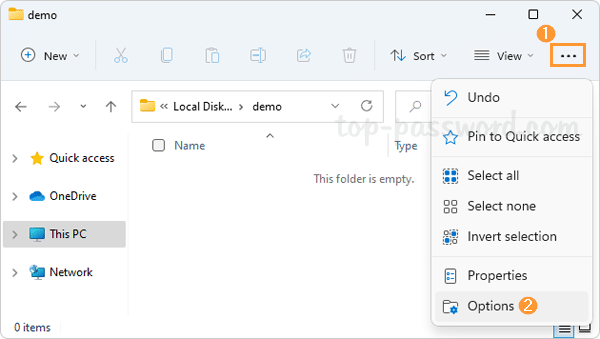
- Open File Explorer, and then click the View button in the toolbar. When the drop-down menu appears, select Show, and click the “Item check boxes” option to deselect it.

- Normally this will immediately remove the item checkboxes from File Explorer. If it doesn’t work, proceed to go through the following troubleshooting method.
Method 2: Disable Tablet Mode and Convertible Option
- Open Registry Editor and navigate to the following location:
HKEY_CURRENT_USER\Software\Microsoft\Windows\CurrentVersion\ImmersiveShell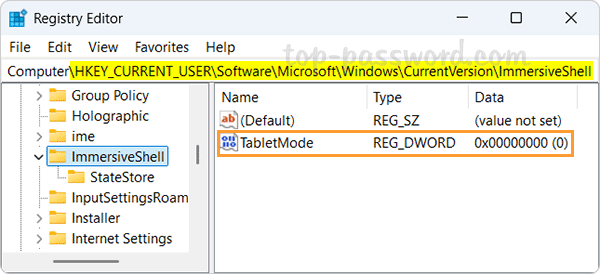
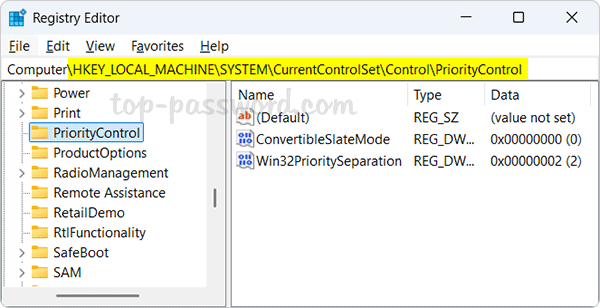
On the right pane, make sure you set the value of the 32-bit DWORD TabletMode to 0 for turning off Tablet mode. - Next, browse to this location:
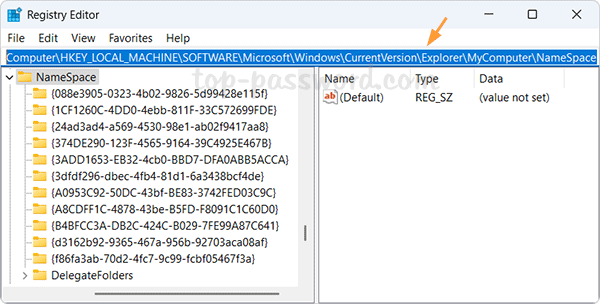
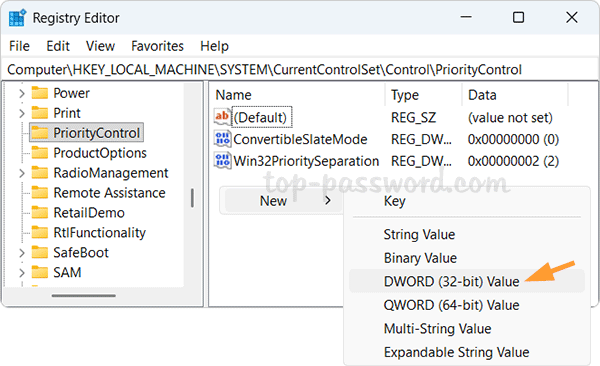
HKEY_LOCAL_MACHINE\System\CurrentControlSet\Control\PriorityControl.
-
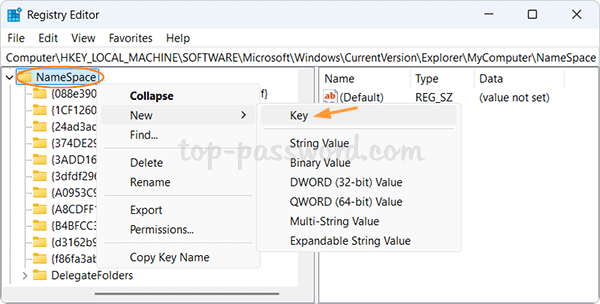
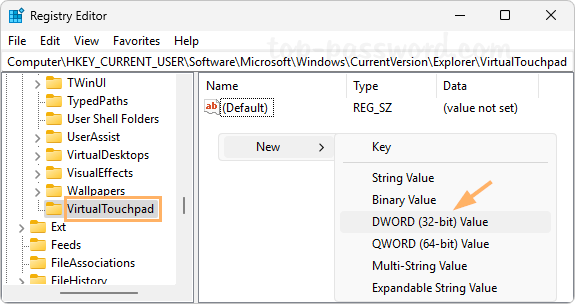
Right-click the blank area on the right pane, select New -> DWORD (32-bit) Value.
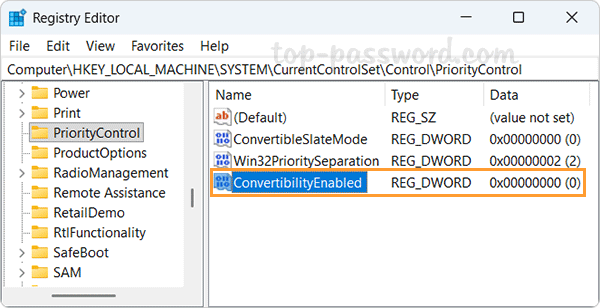
- Name the new DWORD ConvertibilityEnabled and leave its value data as 0, which indicates that your PC is not convertible. Windows will no longer show as tablet when a keyboard is detached for a 2-in-1 device.
- Close Registry Editor and reboot your system. Hopefully this will ultimately fix your issue of removing item checkboxes in File Explorer.
That’s it.