How can I hide time and date in the system tray on Windows 11? Previously we’ve covered a tricky way to achieve it. Luckily, starting with Windows 11 23H2, the system provides built-in options to remove time and date from the taskbar. In this tutorial we’ll show you another 2 methods to remove time and date from system tray in Windows 11 with ease.

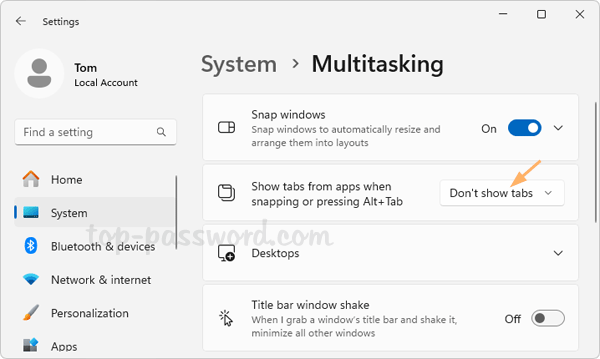
Method 1: Remove Time and Date from Taskbar via Settings App
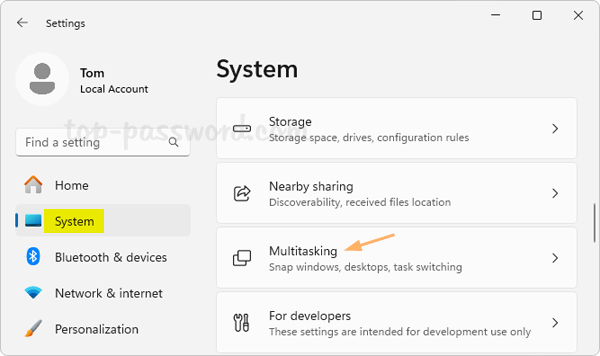
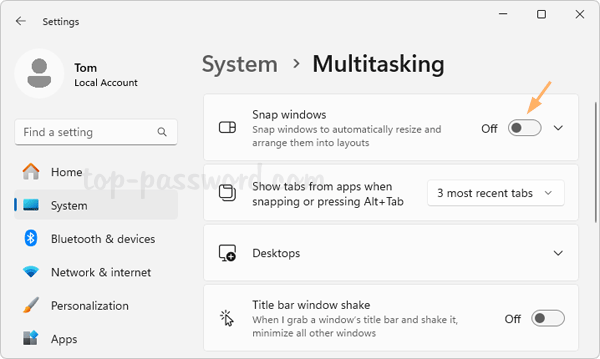
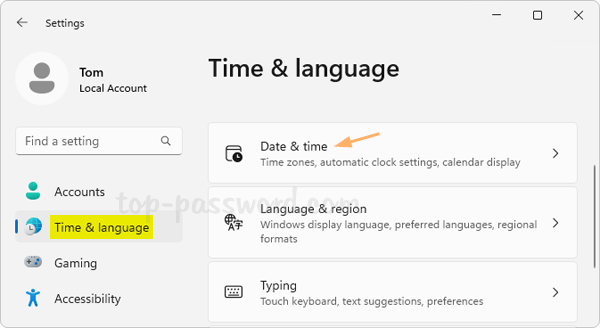
- Open the Settings app. Choose Time & language in the left navigation pane, and then click Date & time in the right side.
- Turn off the toggle switch for “Show time and date in the System tray“.
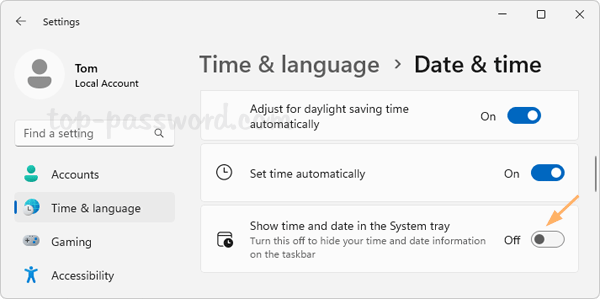
- The clock in your system notification area will disappear immediately.

Method 2: Remove Time and Date from Taskbar via Registry Editor
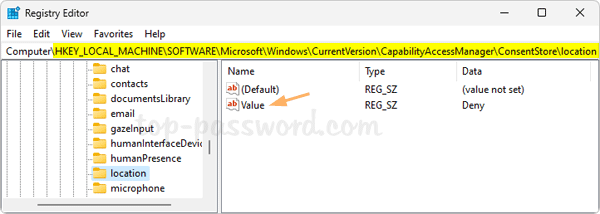
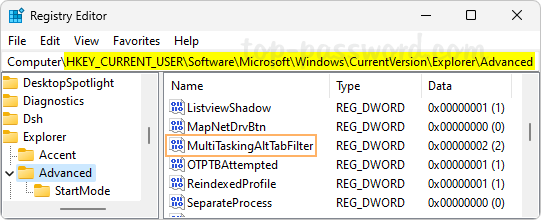
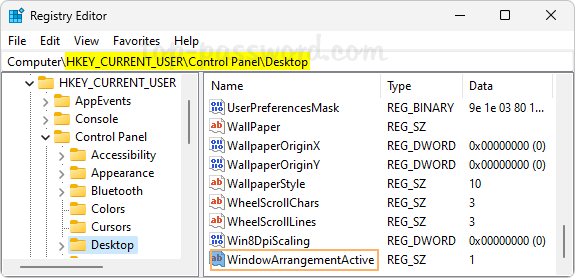
- Open Registry Editor and navigate to:
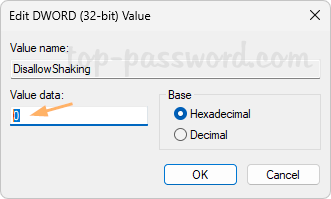
HKEY_CURRENT_USER\Software\Microsoft\Windows\CurrentVersion\Explorer\Advanced, then double-click the DWORD HideSystrayDateTimeValueName in the right-side pane.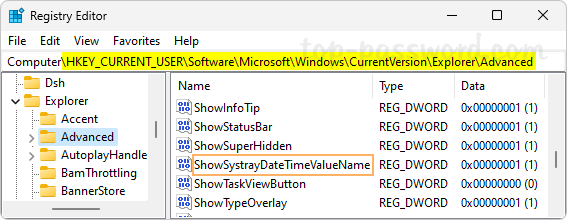
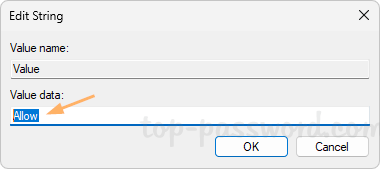
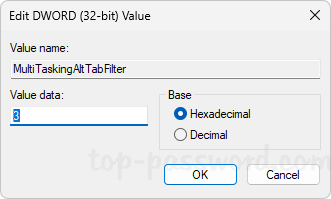
- Just change its value data from 1 to 0, click OK.
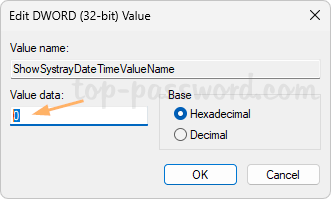
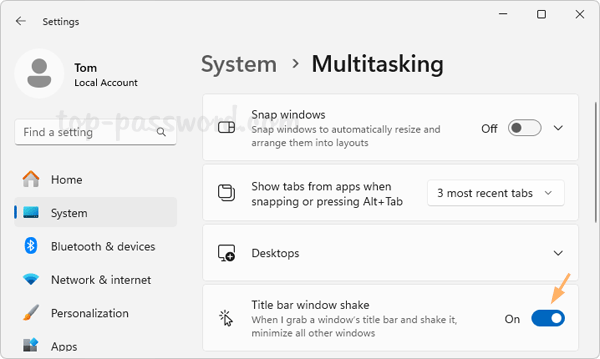
- Close Registry Editor. You’ll instantly see that the time and date is missing from the taskbar in Windows 11.Whenever you need to get back the time and date, just set the value data of HideSystrayDateTimeValueName to 1.
That’s it!