When you drag the title bar of an active window and shake it back and forth, Windows will minimize all other open windows. Shaking the title bar again will restore all the minimized windows. This is a handy feature called Aero Shake, which is introduced since Windows 7. If you tend to accidentally triggered Aero shake, here are 3 methods to disable it in Windows 10.
Method 1: Disable Aero Shake in Windows 10 via Settings App
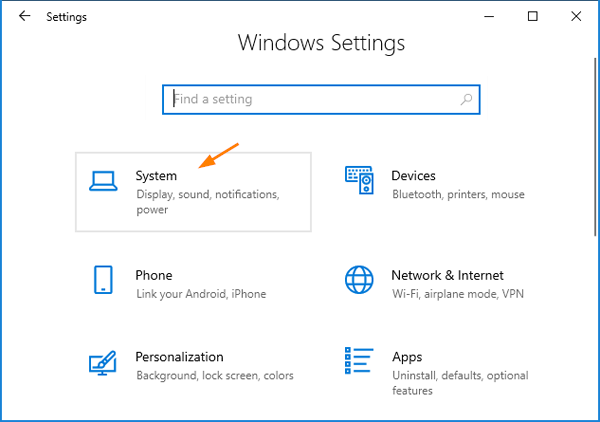
- While holding the Windows key, press the I key to open the Settings app. Click on System.
- Select the Multitasking tab. On the right side, you can toggle Snap windows off to disable the Aero Shake feature.
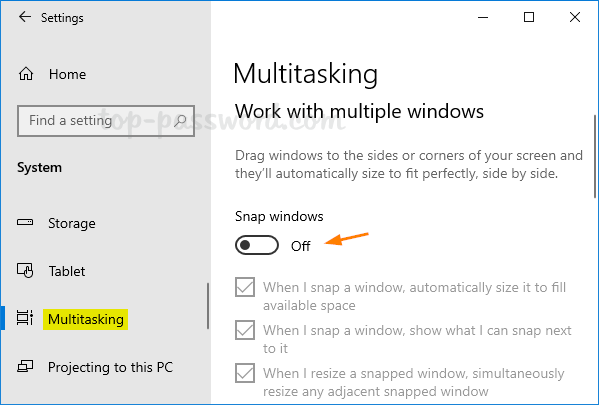
Keep in mind this method also disables the Window snapping feature. If you just want to get rid of Aero Shake only, please try the following methods.
Method 2: Disable Aero Shake in Windows 10 via Group Policy
- Open Local Group Policy Editor and browse to
User Configuration > Administrative Templates > Desktop. On the right-side, double-click on the “Turn off Aero Shake window minimizing mouse gesture” policy.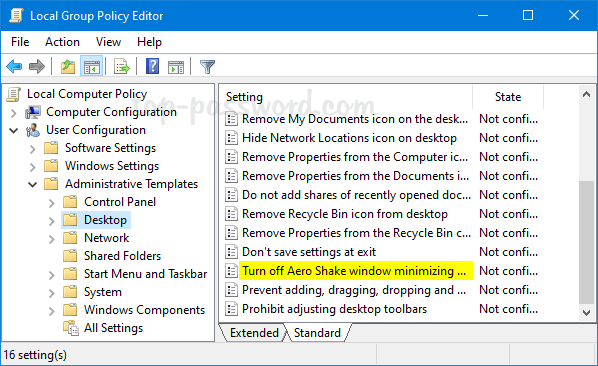
- Select the Enabled option to disable Aero Shake.
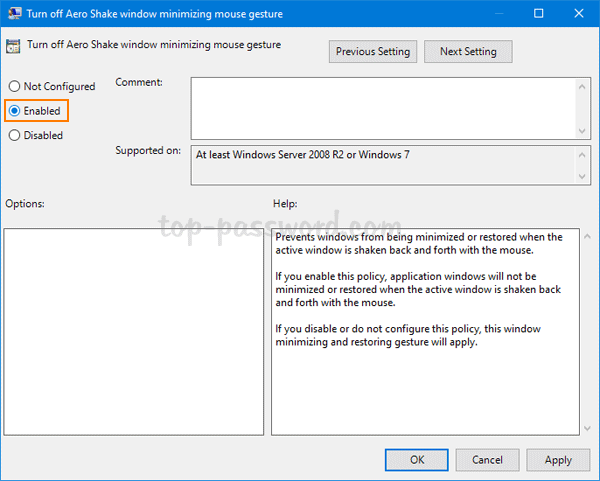
- Click Apply and OK, then restart your computer to apply the changes.
Method 3: Disable Aero Shake in Windows 10 via Registry Editor
- Open Registry Editor and navigate to:
HKEY_CURRENT_USER\Software\Policies\Microsoft\Windows\Explorer. On the right pane, right-click the blank area and select New -> DWORD (32-bit) Value.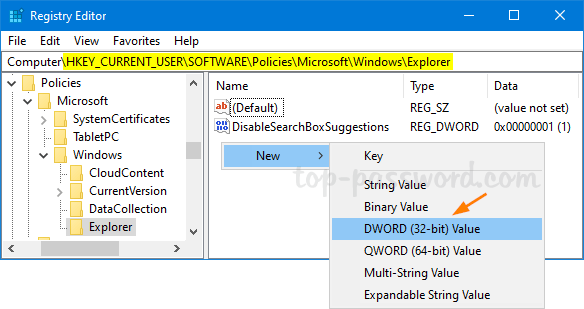
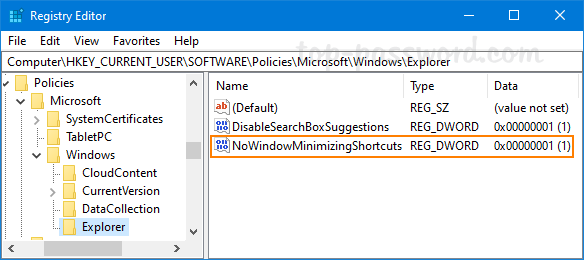
- Name the new DWORD NoWindowMinimizingShortcuts, then double-click it to change its value to 1 to disable Aero Shake. Whenever you need to enable Aero shake again, just set the value to 0.
- Close the Registry Editor app.
Conclusion
After disabling Aero shake, select the title bar of any window and shake it around or press the Windows key + Home, it should no longer minimize other open windows.