How to prevent a forgotten Windows password and the subsequent locked user account after three failed attempts? Forgetting Windows password is truly frustrating, especially if you’re in a hurry and do not have time to find password recovery software. To avoid being locked out of local account in Windows 10, here are a couple of precautions that you can take now just in case you forget your password.
Tip 1: Note Down Your Password
To avoid forgetting Windows password, it’s wise to physically write your password down on a piece of paper, or store the password in a USB key for safe keeping.
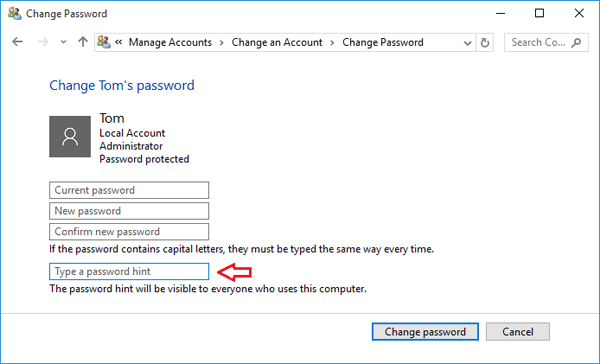
Tip 2: Set Up Password Hint
The password hint can be a word, phrase or anything that can help you remember your Windows password. After logging into Windows 10, it’s easy to set up or change password hint for a local account.
When you forgot your password, just type any password on the login screen and hit Enter. When the system tells you the password is incorrect, click OK. You’ll see the password hint below the password box. As the password hint is automatically shown on the screen after a failed password attempt, make sure your hint will not make it easy for someone else to guess your password.
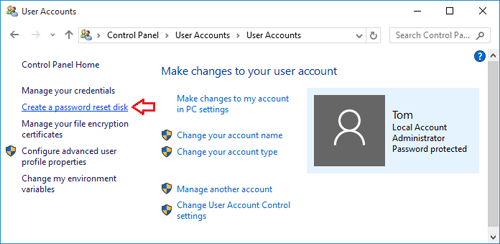
Tip 3: Create a Password Reset Disk
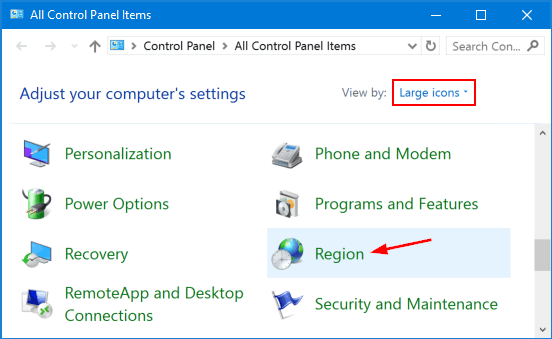
A password reset disk can help you regain access to your locked account in case you forget your Windows password and can’t retrieve it with the help of the first two tips. To get started, open the Control Panel and click on User Accounts. You should see an option on the left pane that lets you create a password reset disk. Be sure to save this disk in a secure location.
When the Windows login screen can’t accept your password, you can use the password reset disk to set a new password for your local account, without providing the old password.
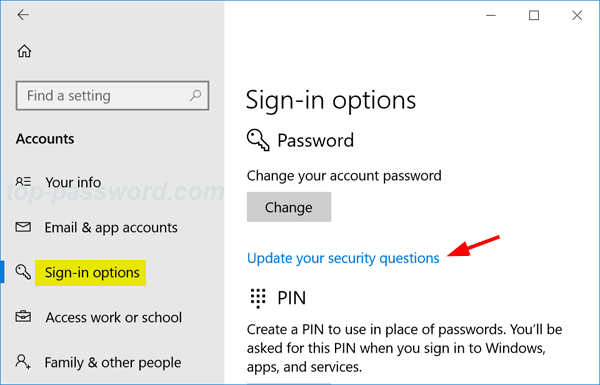
Tip 4: Add Security Questions to Local Account
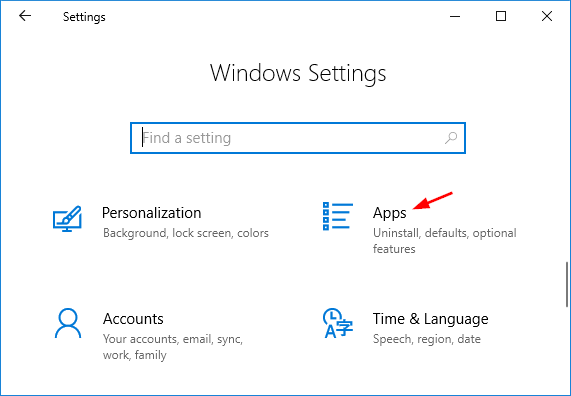
Since the April 2018 Update (version 1803), Windows 10 allows you to add security questions to your local user account. Just open the Settings app, navigate to Accounts -> Sign-in options and Click the “Update your security questions” link. Select the desired questions and enter your answers.
If you enter a wrong password at the login screen, you’ll get a link labelled “Reset password” right under the password box. Clicking it will take you to a screen where you have to answer each of the security questions correctly before the password can be reset.
Still Locked out of Windows 10 Local Account?
Lost your password reset disk or misplace the piece of paper with your Windows password on it? Can’t recall your password and the hint doesn’t help? Forgot the answers to the security questions added to your local account? When these tips don’t help, you may have to use a bootable disk (like PCUnlocker) to reset your forgotten local admin password, or restore your Windows 10 computer to factory defaults.