How can I view XPS document in Windows 10? Since the April 2018 Update (version 1803), XPS Viewer is no longer installed by default. In this tutorial we’ll walk you through the steps to install XPS Viewer and then show you different ways to open XPS Viewer in Windows 10.
Part 1: Install XPS Viewer in Windows 10
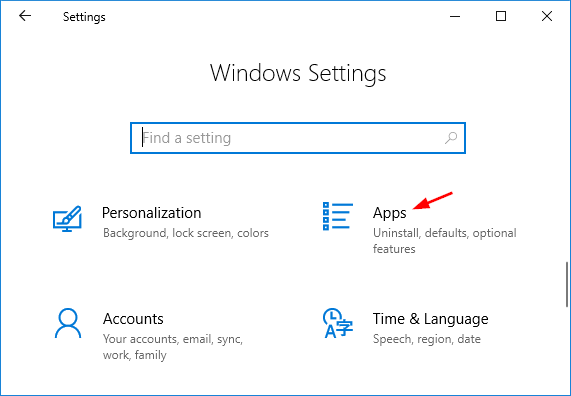
Press the Windows key + I to bring up the Settings app, and then click Apps.
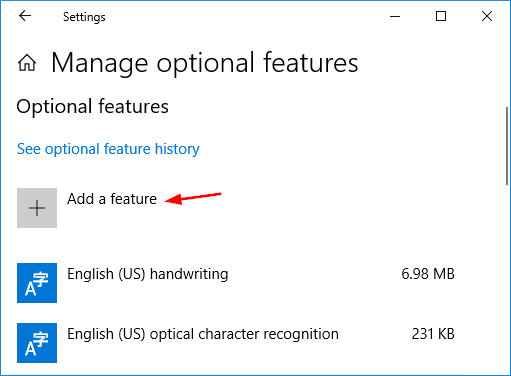
Select the Apps & features tab and click the “Manage optional features” link.

Click on the Add a feature button.
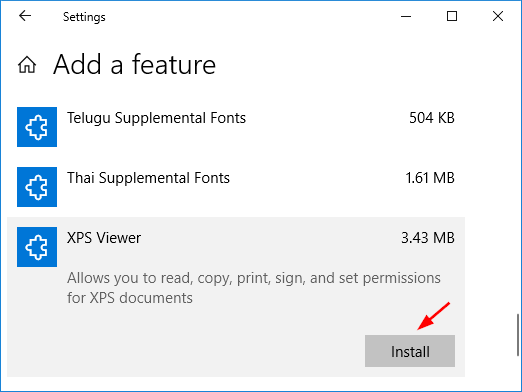
Look for the XPS Viewer feature. Select it, and click on the Install button.
Wait for it to install and that’s about it.
Part 2: Ways to Open XPS Viewer in Windows 10
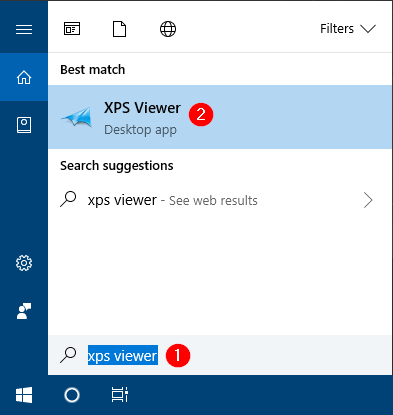
Once you’ve installed XPS Viewer, you can open it by typing “xps” in the Cortana Search box at the taskbar, and then clicking the XPS Viewer app in the result.
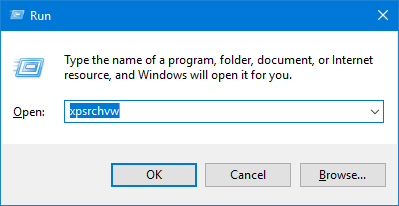
Another way of accessing XPS Viewer is to press the Windows key + R to bring up the Run command, then type xpsrchvw and hit Enter.
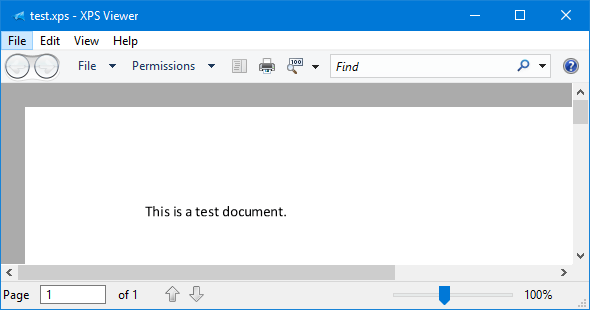
If you have got a XPS document, just double-click it and Windows 10 will open it with XPS Viewer by default.