Over time, files on your hard drive get scattered and they are spread to discontinuous clusters. This can increase the time required to read / write files. To have your computer run more efficiently, you can defragment the hard drive that will rearrange the files so that they occupy contiguous clusters. In this tutorial we’ll show you 5 ways to open Disk Defragmenter in Windows 10.
Method 1: Open Open Disk Defragmenter via Cortana
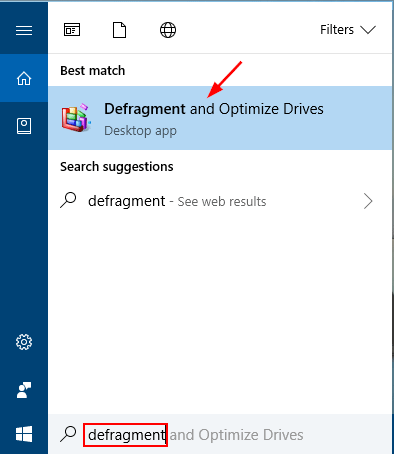
Simply type defragment in the Cortana’s search box. You can then click the “Defragment and Optimize Drives” search result to open Disk Defragmenter.
Method 2: Open Open Disk Defragmenter via Run or Command Prompt
Press the Windows key + R shortcut to bring up the Run box, type dfrgui and press Enter to launch Disk Defragmenter.
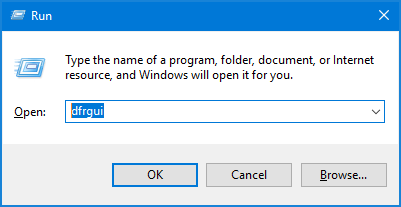
You can also access Disk Defragmenter by running the dfrgui command at Command Prompt.
Method 3: Open Open Disk Defragmenter via Start Menu
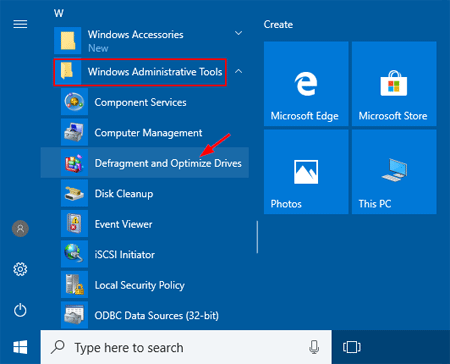
Click the Start button, then select All apps -> Windows Administrative Tools. Now choose Defragment and Optimize Drives.
Method 4: Open Open Disk Defragmenter via File Explorer
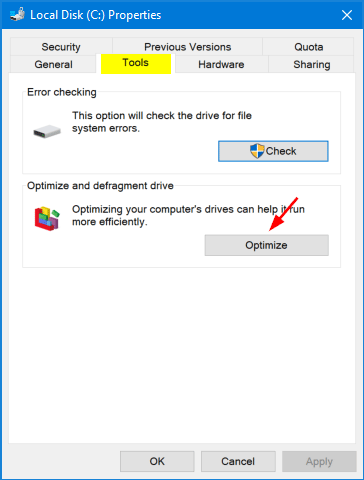
Open File Explorer. Right-click the drive you want to defragment, and then select Properties. When the Properties dialog opens, select the Tools tab and then click the Optimize button.
Method 5: Open Open Disk Defragmenter via Control Panel
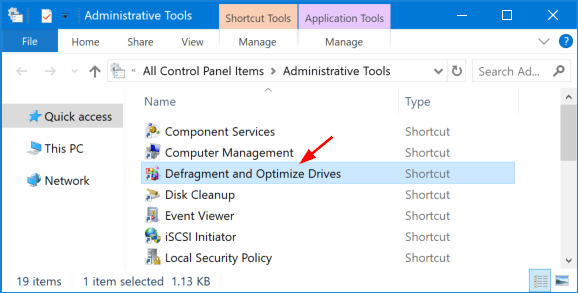
Open the Control Panel in Large icons view. Click Administrative Tools.
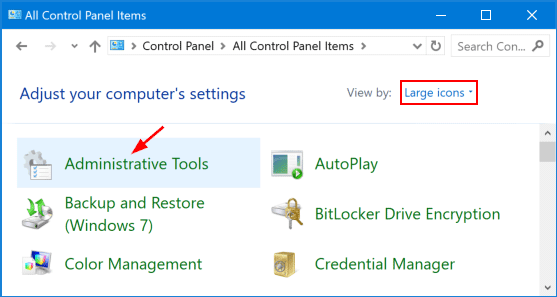
You can now click the Defragment and Optimize Drives shortcut to start the Disk Defragmenter utility.