Archive for December, 2024

3 Easy Ways to Delete Themes in Personalization on Windows 11

December 30th, 2024 by Admin

How can I uninstall or remove Windows 11 themes at once? A different theme can be applied to change your desktop appearance including wallpaper, colors, icons and so on. There are thousands of themes available in Microsoft Store, so it’s natural to try some out. After you find the right one, you may want to delete all of the other installed or even built-in themes. In this tutorial we’ll show you 3 easy ways to delete and remove either installed or default themes in Personalization on Windows 11.

Method 1: Delete A Theme in Personalization on Windows 11

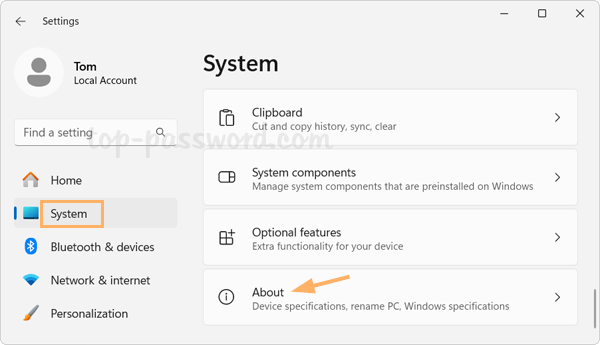
  1. Press the Windows key + I at the same time to open Settings. Choose Personalization on the left side, and click Themes on the right pane.

  2. Right-click on each theme and you’ll see the “Delete” button, which allows you to delete a theme at one time. If the “Delete” button is greyed out, it indicates that theme is a default theme pre-installed on Windows 11 or it is the currently active theme.

  3. You can repeat the same steps to delete other themes you’ve installed.

Method 2: Delete All Installed Themes at Once on Windows 11

  1. Press the Windows key + R together to bring up the Run box, type the following and press Enter.
    %LocalAppData%\Microsoft\Windows\Themes

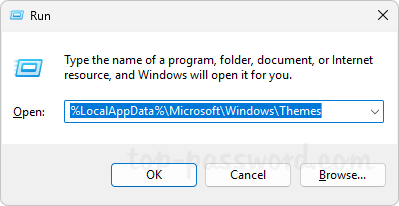
  2. In the pop-up File Explorer window, you’ll see individual folders for each theme which you have ever downloaded and installed from Microsoft Store.

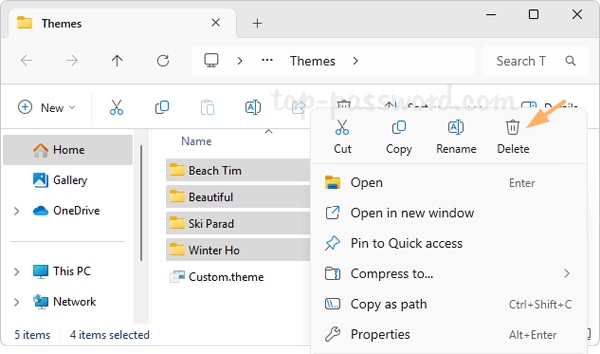
  3. To delete all installed themes, just select all of those folders, right-click on them and choose Delete. This method can also delete a theme that is currently active on your system.

Method 3: Delete Built-in Themes on Windows 11

  1. Open File Explorer and browse to: C:\Windows\Resources\Themes. Each theme is represented by a file with the extension “.theme. You can double-click one of them to apply the theme immediately.
    Windows (light): aero.theme
    Windows (dark): dark.theme
    Windows Spotlight: spotlight.theme
    Glow: themeA.theme
    Captured Motion: themeB.theme
    Sunrise: themeC.theme
    Flow: themeD.theme

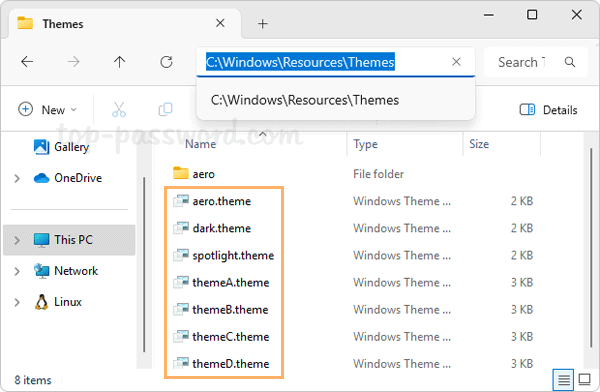
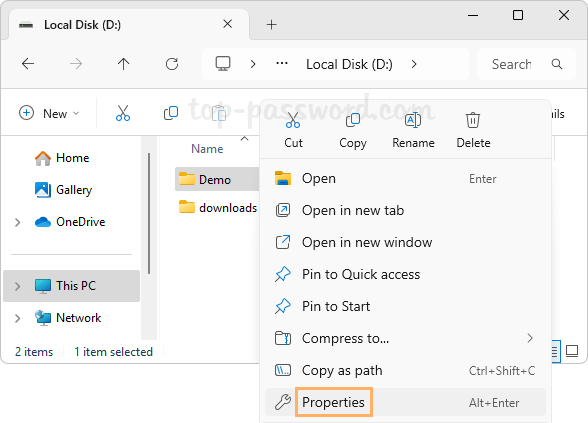
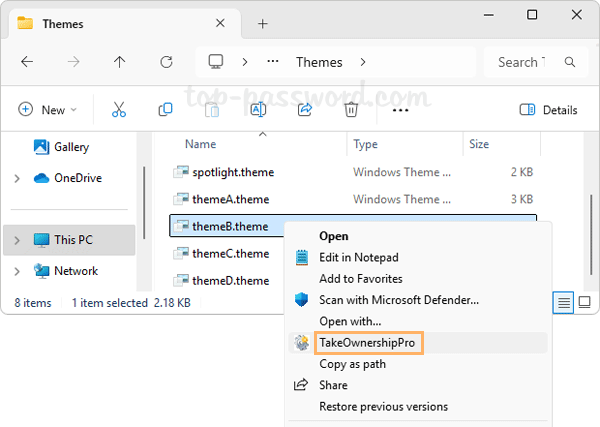
  2. By default, those .theme files can’t be deleted directly. You need to grant full permissions to your current Windows account firstly. To simplify this process, you can take use of the freeware TakeOwnershipPro. After installing, just right-click on those .theme files and select “Show more options” -> “TakeOwnershipPro“.

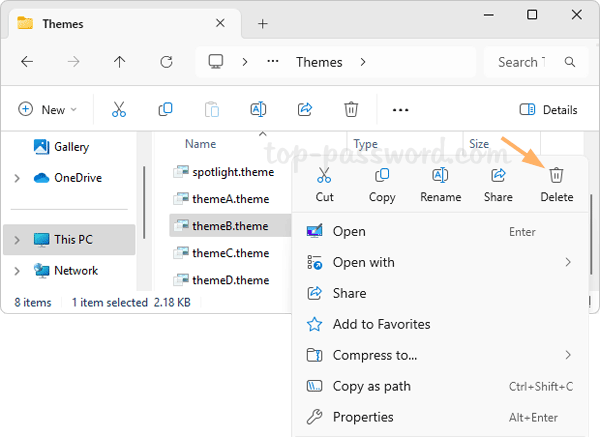
  3. Then you can delete the .theme files as usual.

    Note that this method can also be used to delete your current active default theme. Whenever you need to delete the high contrast themes, just go to the location: C:\Windows\Resources\Ease of Access Themes and repeat the above steps.

That’s it!

How to Join Windows 11 PC to Windows Server Domain

December 12th, 2024 by Admin

Looking for an easy way to add Windows 11 to an office network/domain? Joining a Windows 11 PC to AD domain is not straightforward for beginners. In the tutorial we’ll walk you through the steps to join Windows 11 PC to Windows Server domain.

How to Join Windows 11 PC to Windows Server Domain

Before getting started, make sure that your Windows Server has already been promoted to a domain controller and you know exactly the domain name. Then follow the steps outlined below to join your Windows 11 PC to that domain.

  1. First of all, open Windows Terminal and ping the domain name of your remote Windows Server DC. If it can’t be resolved, then you need to open network adapter settings and specify the IP address of Windows Server DC as the preferred DNS server.

  2. Press the Windows key + I together to open the Settings app. Choose the System menu at the left navigation column and then click About on the right side.

  3. Look for the “Related links” section, and then click the “Domain or workgroup” link.

  4. The System Properties dialog will open up. Just click the Change button.

  5. Under the “Member of” section, click Domain, type the domain name of your Windows Server DC that you wish this computer to join, and then click OK.

  6. Type in the username and password of your domain account which has been set up in your Windows Server DC, and click OK.

  7. You’ll receive the welcome information for joining the domain, and a reboot is required for applying the changes.

That’s how you can easily join a Windows 11 computer to Windows Server domain. Whenever you need to remove that computer from domain, the steps are also quite easy.

How to Create a Hidden Shared Folder in Windows 11

December 4th, 2024 by Admin

Is there a way to share a folder on a network without giving out your username and password? You can create a hidden shared folder and make it only visible to guests who know the exact name of your shared folder, and public users will be unaware of your shared folder. In this tutorial we’ll walk you through the steps of creating a hidden shared folder in Windows 11.

How to Create a Hidden Shared Folder in Windows 11

  1. Open File Explorer and navigate to the folder which you want to share. Right-click on that folder and select Properties from the pop-up menu.

  2. Go to the Sharing tab and then click the Advanced Sharing button.

  3. Check the “Share this folder” box, set the share name as appropriate. To make this share hidden, add a $ to the end of the share name.

    If you’d like to share this folder to your friends without giving out the login credentials of your Windows account, click the Permissions button below to grant its access rights to the “Guests” group.

  4. When it’s done, go back to the Properties dialog and you can see the full network path for accessing your hidden shared folder.

  5. When a curious visitor on the same network tries to see what is shared on your PC, your hidden shared folders won’t show up at all.

    Only your friend who knows exactly the name of your hidden shared folder can access it, by entering the full network path. Whenever you don’t want to share it any longer, you can stop sharing the folder using different methods.

Conclusion

Creating a hidden share is an convenient way to share folders and files on the same network, while preventing unwanted public users from accessing it. The authorized users don’t need to log on to your Windows account on their own PCs in order to be eligible for your hidden share. If you want to hide a shared folder from your local computer, the Protect My Folders utility could be of help.