Archive for June, 2025

Step-by-Step Tutorial: Change Mouse Cursor Color and Size in Windows 11

June 18th, 2025 by Admin

Is there a way to change the mouse pointer appearance? Do you find it hard to see the default mouse cursor against your desktop background? To make your cursor easier to see, you can customize the style of the mouse pointer with ease. In this tutorial we’ll walk you through the steps of changing mouse cursor color and size in Windows 11.

How to Change Mouse Cursor Color and Size in Windows 11

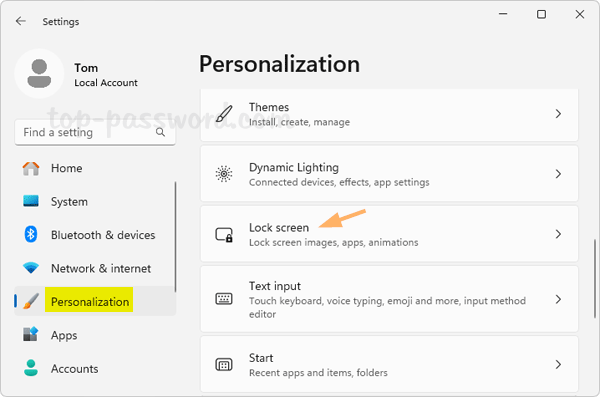
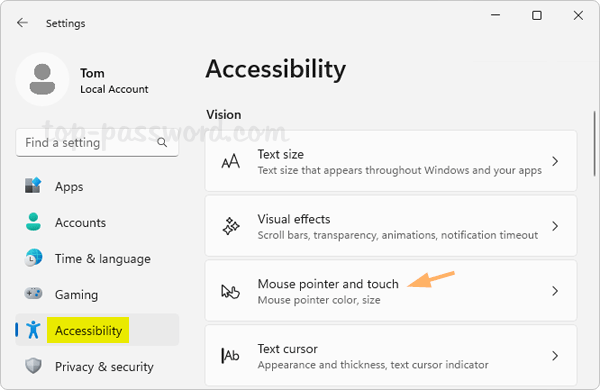
  1. Press the Windows key + I to open the Settings app. Choose the Accessibility category in the left column, and click Mouse pointer and touch on the right column.

  2. Under the Mouse pointer style section, you can choose one of the classical themes including White, Black, and Inverted. If you want to have an eye-catching cursor, select the fourth option: Custom, which allows you to use the recommended colors or click the plus button to choose another color.

    Next, find the horizontal slider titled Size. Drag it to adjust the cursor size.

  3. Now you can move the mouse to see if you have problem tracking the cursor.

Conclusion

This tutorial shows you how to customize your mouse cursor the way you want in Windows 11, so you can easily keep track of where your mouse is. It’s very useful for people with eyesight problems to spot a small cursor on the screen.

How to Auto-Lock your Windows 11 Screen with Screensaver

June 11th, 2025 by Admin

Leaving your workstation unattended can lead to unauthorized access. It’s a good practice to configure your computer to automatically lock down the screen after inactivity, especially when you need to leave it in a rush. Previously we’ve taught you how to auto-lock Windows with a group policy called “Machine inactivity limit”, here we’ll show you a different method – using Screensaver to automatically lock your computer screen after inactivity time in Windows 11.

How to Auto-Lock your Windows 11 Screen with Screensaver

  1. Open the Settings app using the Windows key + I keyboard shortcut. Next, select Personalization on the left sidebar, and click Lock screen on the right pane.

  2. Scroll down to the “Related settings” section, click on the “Screen saver” option to bring up the Screen Saver Settings dialog.

  3. By default, the “(None)” option is selected as the screen saver, which means the screen saver is disabled. You need to select other options from the list, and set the duration of inactivity time to wait before screen saver turns on. Check the box that says “On resume, display logon screen“.

  4. Click Apply and then OK. Windows 11 will automatically activate the screen saver after the specified inactivity time. In order to regain use of your computer after the screensaver activates, you will need to login with your Windows password.

That’s it!