Leaving your workstation unattended can lead to unauthorized access. It’s a good practice to configure your computer to automatically lock down the screen after inactivity, especially when you need to leave it in a rush. Previously we’ve taught you how to auto-lock Windows with a group policy called “Machine inactivity limit”, here we’ll show you a different method – using Screensaver to automatically lock your computer screen after inactivity time in Windows 11.
How to Auto-Lock your Windows 11 Screen with Screensaver
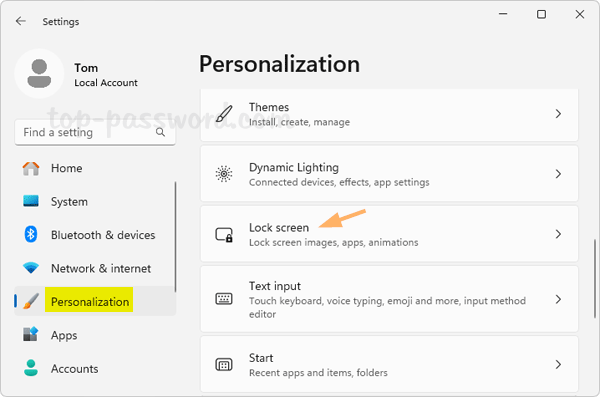
- Open the Settings app using the Windows key + I keyboard shortcut. Next, select Personalization on the left sidebar, and click Lock screen on the right pane.
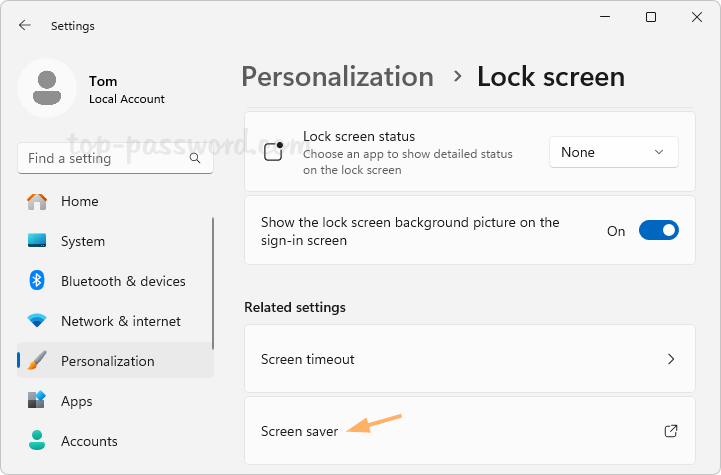
- Scroll down to the “Related settings” section, click on the “Screen saver” option to bring up the Screen Saver Settings dialog.
- By default, the “(None)” option is selected as the screen saver, which means the screen saver is disabled. You need to select other options from the list, and set the duration of inactivity time to wait before screen saver turns on. Check the box that says “On resume, display logon screen“.
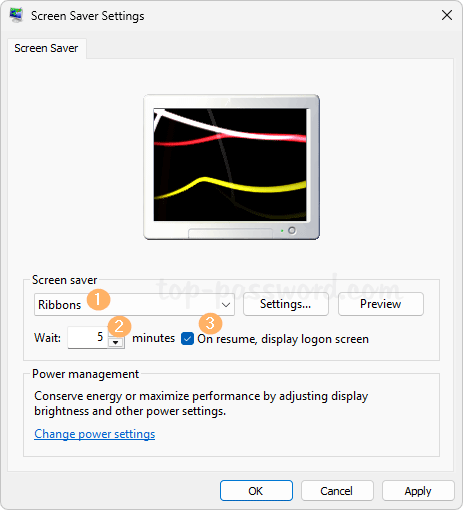
- Click Apply and then OK. Windows 11 will automatically activate the screen saver after the specified inactivity time. In order to regain use of your computer after the screensaver activates, you will need to login with your Windows password.
That’s it!