Starting with version 1.13, Windows Terminal comes with a new feature that can launch Command Prompt and PowerShell as administrator by default. If you use Windows Terminal regularly with admin privileges, just follow this tutorial to configure Windows Terminal to always run as administrator by default, and it will save you a lot of time and hassle.
How to Configure Windows Terminal to Always Run as Administrator
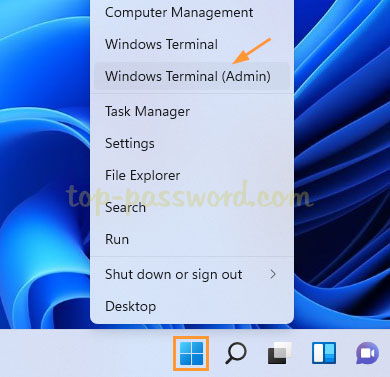
- Right-click the Start button on the taskbar and then choose either “Windows Terminal” or “Windows Terminal (Admin)” from the list.
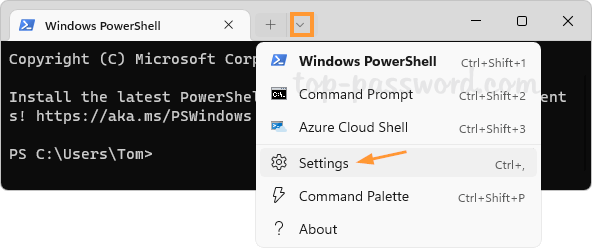
- Click on the down-arrow icon from menu bar at the top, and then select Settings.
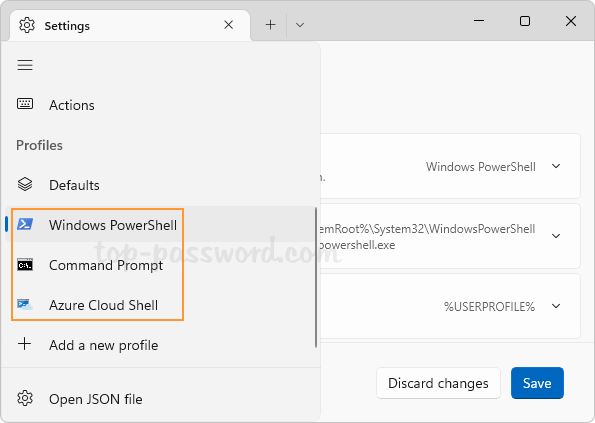
- On the left sidebar, we can see different profiles for Windows PowerShell, Command Prompt, Azure Cloud Shell under the Profiles section.
- Click each profile from the left sidebar, and then turn on the “Run this profile as Administrator” option on the right pane.
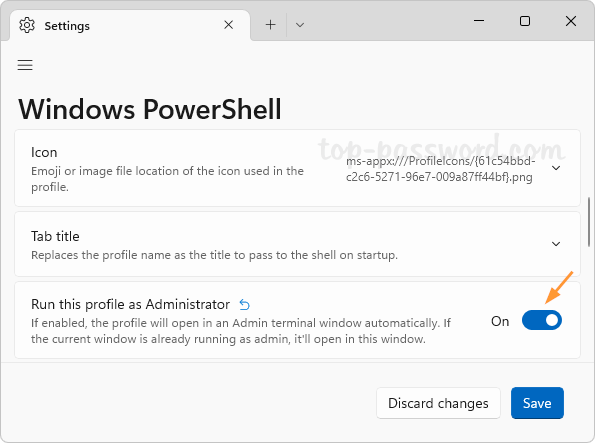
If you want to make Windows Terminal launch new profiles you’ll add later as administrator, just click “Defaults” under the Profiles section and turn on the “Run this profile as Administrator” option.
- Click the Save button to make the changes take effect. From now on, no matter which method you use to launch Windows Terminal, it will automatically run Command Prompt, Windows PowerShell and other profiles as administrator by default.
Whenever you need to stop Windows Terminal from always running with elevated privileges, just undo the changes you have made in the above steps.