How can I get rid of unused DeepSeek models? Everyone can consider installing the DeepSeek AI model locally and use it internally for their own purposes. When you no longer need to use one or all of your DeepSeek models, here are simple ways to uninstall or remove DeepSeek models from Windows 11.
Method 1: Uninstall DeepSeek Models Using the Terminal Command
- Right-click the Start button on the taskbar, and then select “Terminal (Admin)” from the pop-up menu.

- In the Terminal window, type the following command to show the DeepSeek models you’ve installed. You need to take a note of the “Name” column which will be used in the next step.
ollama list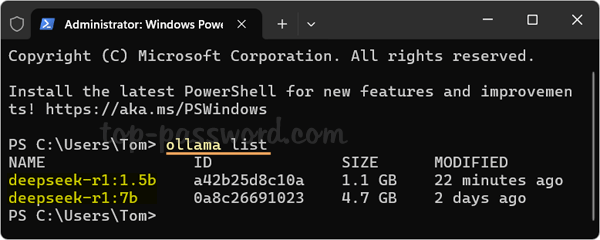
- Run the following command to remove an installed model, replacing “your_model_name” with the model you want to remove.
ollama rm your_model_name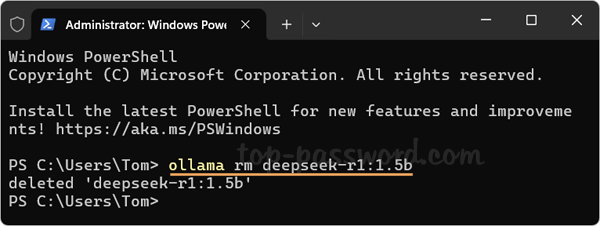
- This will delete the specified model from your system. You can repeat the above step to uninstall other DeepSeek models one by one.
Method 2: Uninstall Ollama and all DeepSeek Models at one time
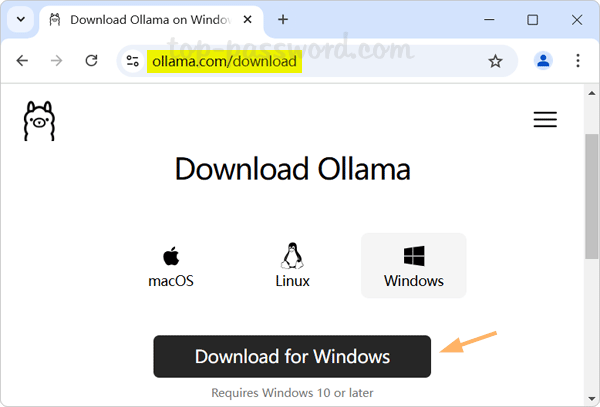
If you don’t want to experiment with Ollama and DeepSeek, simply uninstall Ollama from the Settings app and it will also help you delete all DeepSeek models at the same time.
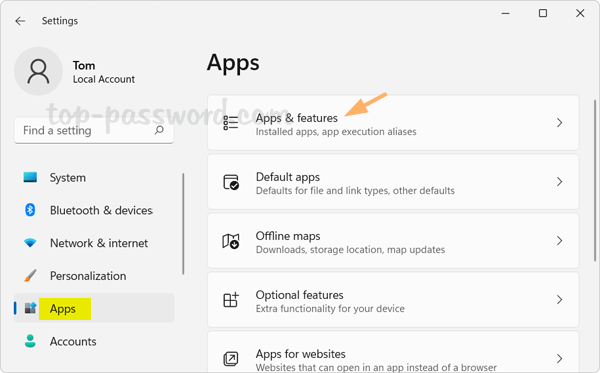
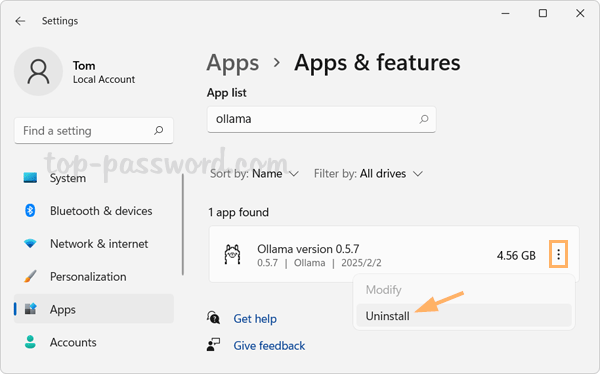
- Press the Windows key + I to launch the Settings app. Select Apps in the left sidebar and then click “Apps & features” on the right pane.
- Type
ollamain the search box to locate the Ollama app.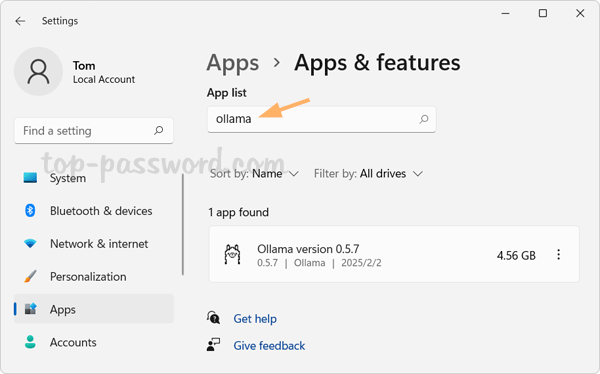
- Next, click the three dots button beside the Ollama app and select “Uninstall” in the menu that appears.
- After uninstalling Ollama, open File Explorer and go to the following location, you’ll find that all the installed DeepSeek models are also deleted automatically.
C:\Users\username\.ollama\models
That’s it!