How can I reduce or turn off reserved storage in Windows 11? Disabling the reserved storage won’t affect the hibernation or virtual memory page file, and you can reclaim the reserved storage when your PC is running low on disk space. In this tutorial we’ll show you 2 methods to disable or enable reserved storage in Windows 11.
Method 1: Disable or Enable Reserved Storage via Windows Terminal
- Before getting started, open the Windows Terminal as administrator and then run the following command to check whether the reserved storage is already enabled or disabled on your system.
DISM /Online /Get-ReservedStorageState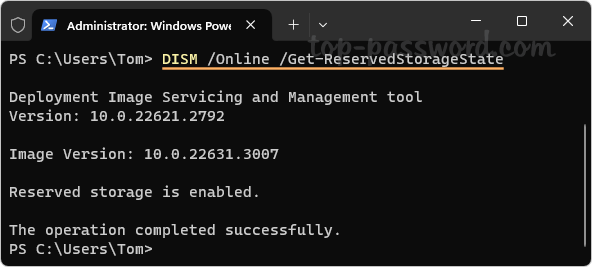
- To disable reserved storage, simply execute this command:
Dism /Online /Set-ReservedStorageState /State:Disabled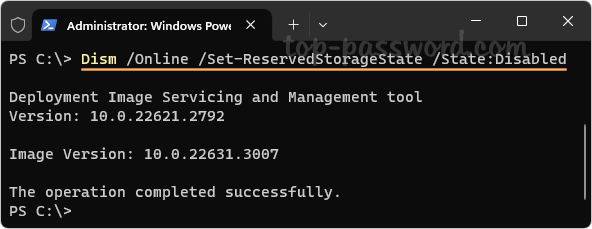
If you want to enable reserved storage later, run this command:
DISM /Online /Set-ReservedStorageState /State:Enabled - After disabling reserved storage, your PC will perform smoothly as long as it has enough disk space to download and install Windows updates. If you open the Settings app and go to:
Storage -> System & reserved, the “Reserved storage” section will no longer show up.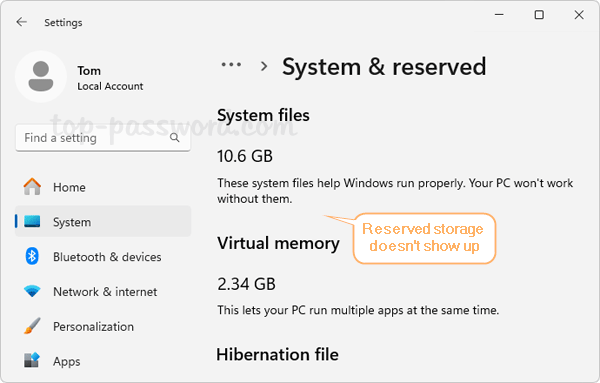
Method 2: Disable or Enable Reserved Storage via Registry Editor
- Open Registry Editor and navigate to the location:
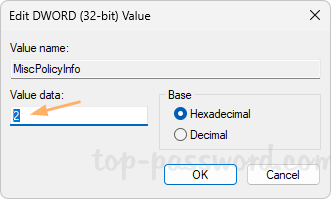
HKEY_LOCAL_MACHINE\SOFTWARE\Microsoft\Windows\CurrentVersion\ReserveManager. Next, we need to change the values for the DWORD MiscPolicyInfo and PassedPolicy on the right-side pane.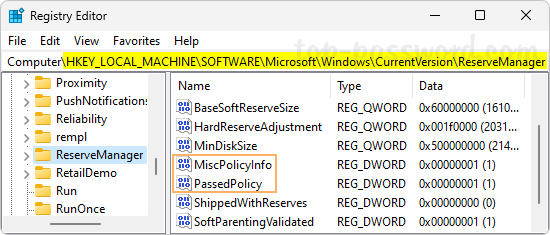
- In order to turn off reserved storage, just set MiscPolicyInfo to 2 and set PassedPolicy to 0. Whenever you need to turn on reserved storage, set the values of both MiscPolicyInfo and PassedPolicy to 1.
- Close Registry Editor and reboot your computer to see the changes.
That’s it!