Desktop only shows the Recycle Bin icon, even when right-clicking the desktop and seeing that the View -> Show desktop icons menu is checked? How can I get the “This PC” icon to show on the desktop? In this tutorial we’ll show you 2 simple methods to add or remove default desktop icons in Windows 11.
Method 1: Add or Remove Default Desktop Icons via Settings App
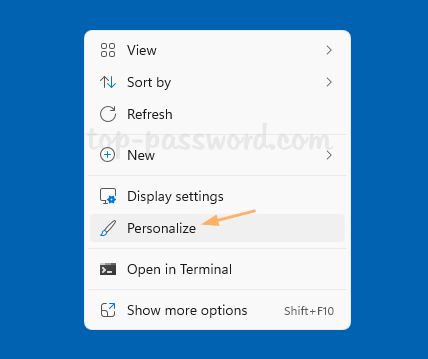
- Right-click an empty space on your desktop, and choose Personalize from the pop-up menu.
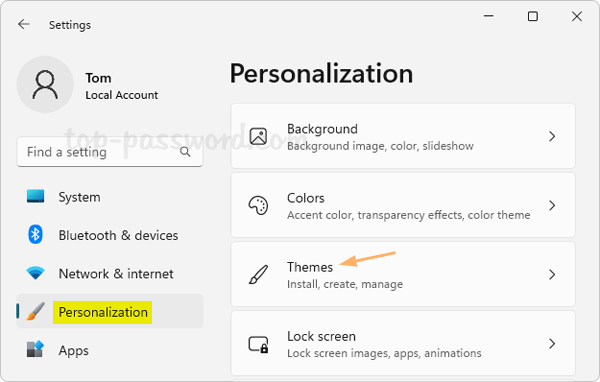
- When the Settings app opens to the Personalization page, click Themes on the right pane.
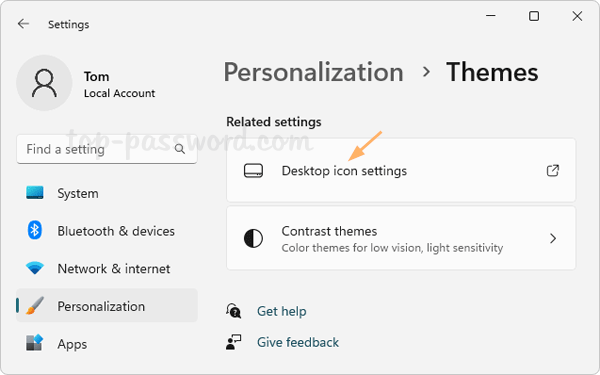
- Under the “Related settings” section, click the “Desktop icon settings” option.
- When the “Desktop Icon Settings” window appears, you can tick the checkbox next to each of the default icons you want to add to your desktop, and untick the checkbox to hide & remove a default desktop icon.
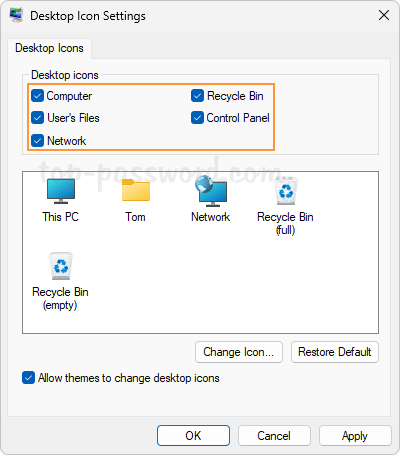
- Click OK to save your changes.
Method 2: Add or Remove Default Desktop Icons via Run Command Box
- Hold down the Windows Key and press R on your keyboard to bring up the Run box. Type the following command and hit Enter.
desk.cpl ,5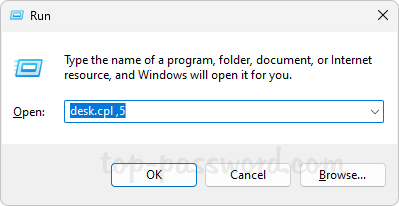
- This will open the “Desktop Icon Settings” dialog immediately, where you can choose the classic icons you want to display or hide on the desktop. These available icons are Computer, User’s Files, Network, Recycle Bin and Control Panel. For example, if you deselect the checkbox next to “Computer”, it will remove the “This PC” icon from your desktop.
- Once done, click OK and you can see if the legacy desktop icons appear or disappear as you expected.
That’s it!