How can I find duplicate files or images on my computer? After using the computer for a while, duplicate files may accumulate or clutter up your photo albums. If you are tired of duplicate files, you can use the following methods to quickly find duplicate files in Windows 11 / 10 / 8 / 7 so you delete them to free up disk space.
Method 1: Find Duplicate Files Using File Explorer
A duplicate file usually has the same name as the original file, but with the word “- Copy” in the file name. Using File Explorer you can easily find such types of duplicate files on your computer.
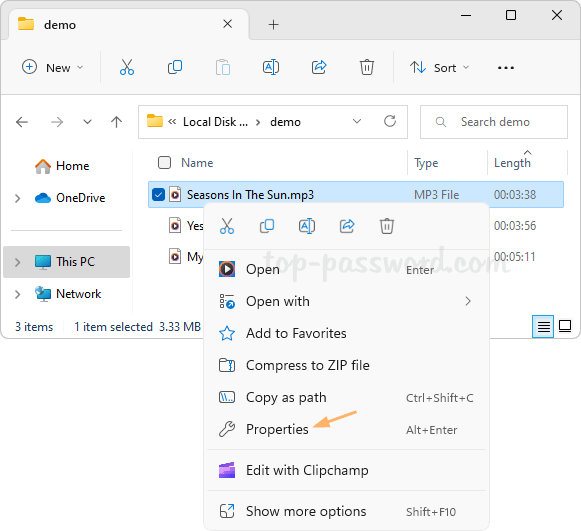
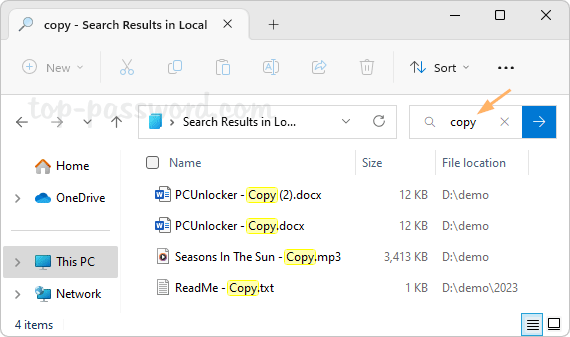
- Open File Explorer and browse to the location (for example, “This PC”) where may contain duplicate files. Enter the keyword “copy” in the Search box in the upper right-hand corner.
- Click the “Search options” button in the toolbar, make sure the “File contents” menu is unchecked.
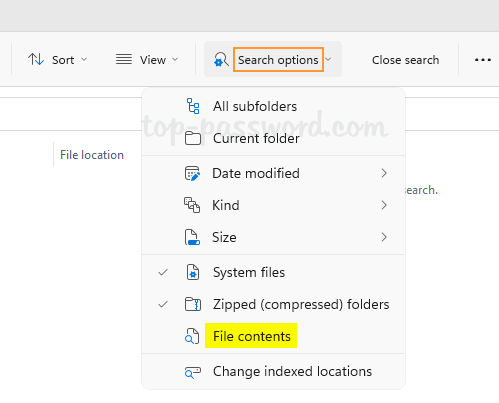
- The system will quickly locate all folders and files which contains the keyboard “copy” in the file names. Then you may need to manually verify which files are duplicate.
Method 2: Find Duplicate Files Using Batch
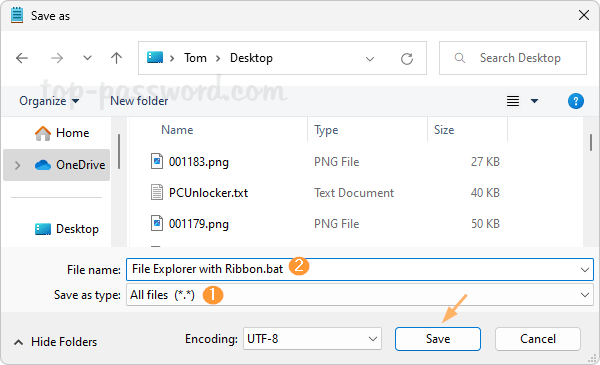
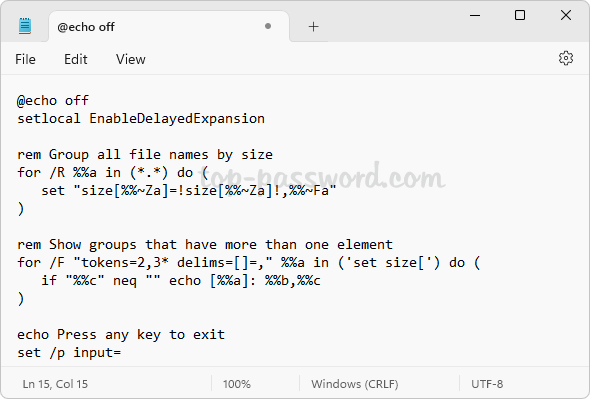
- Open Notepad or other text editor, copy and paste the following code, then save the file with .bat extension and close it.
@echo off
setlocal EnableDelayedExpansion

rem Group all file names by size
for /R %%a in (*.*) do (
   set "size[%%~Za]=!size[%%~Za]!,%%~Fa"
)

rem Show groups that have more than one element
for /F "tokens=2,3* delims=[]=," %%a in ('set size[') do (
   if "%%c" neq "" echo [%%a]: %%b,%%c
)

echo Press any key to exit
set /p input=
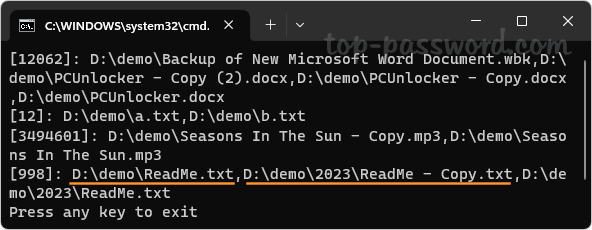
- Move the newly-created .bat file to the location where you would like to scan for duplicate files, and double-click it to run the batch.
- It will check each file in the current folder and subfolders by file size. If two or more files have the same size, the batch will treat them as potential duplicate files, and display their file names in the same line but separated by a comma.
Method 3: Find Duplicate Files Using Freeware
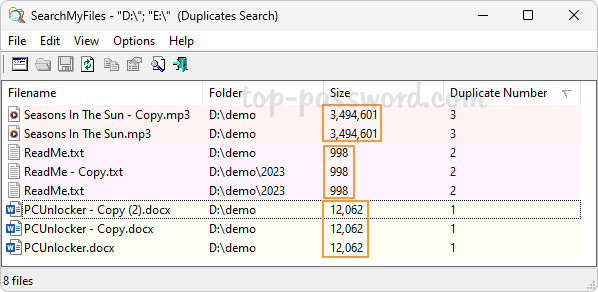
If you want to find identical files in one or more directories with 100% accuracy, the freeware SearchMyFiles could be of help. This software is distributed as zip archive.
- Download SearchMyFiles from Nirsoft website. After unzipping, double-click the executable file in the extracted directory to launch the program.
- When the Search Options dialog box pops up, click the Browse button to add a target folder for finding duplicate files. If you want to scan duplicates across multiple folders or drives, just click the Browse button to add the locations one by one.
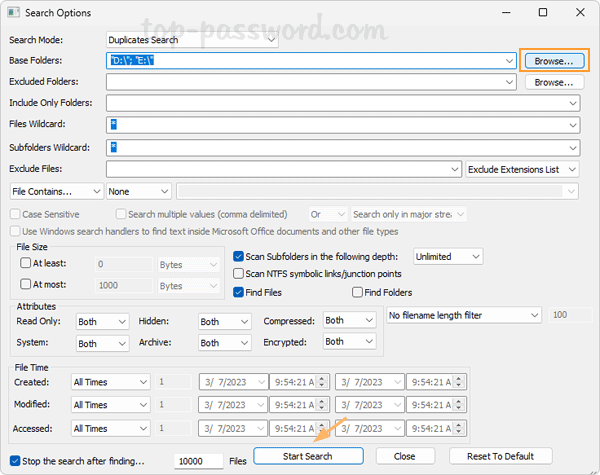
- Click the Start Search button. It will compare all files with equal size. When it find two or more files with identical content, they are added to the duplicates list in the main window.
- If you want to delete duplicate files, just select them and right-click to choose “Delete Selected Files” from the pop-up menu.
That’s it!