The title bar window shake feature is also known as Aero Shake, which lets you grab a windows title bar and shake it to minimize all other windows, and shake it again to restore all the minimized windows. It can save you time and improve your productivity. In this tutorial we’ll show you 2 simple methods to turn on or off the title bar window shake feature in Windows 11.
Method 1: Enable or Disable Title Bar Shake to Minimize via Settings App
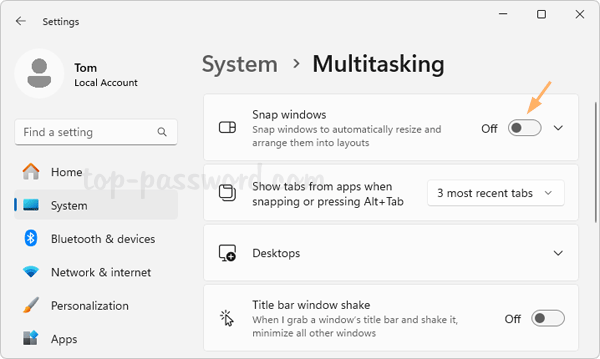
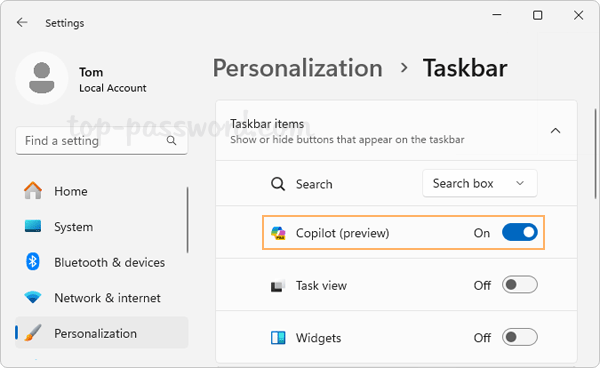
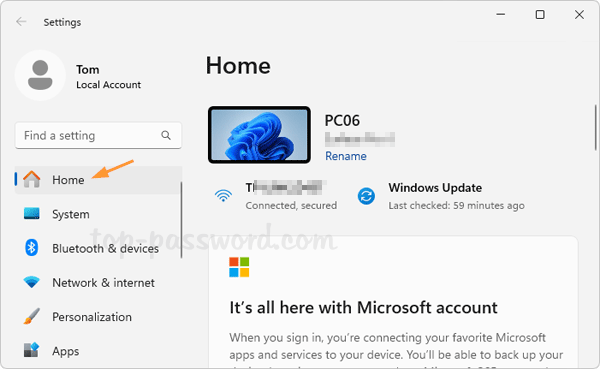
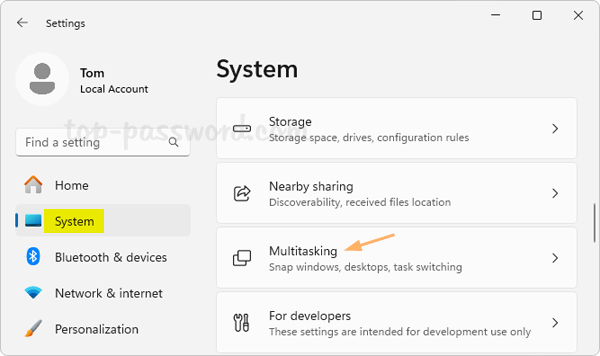
- Open the Settings app. Select the System menu on the left navigation menu, and then click on Multitasking on the right panel.
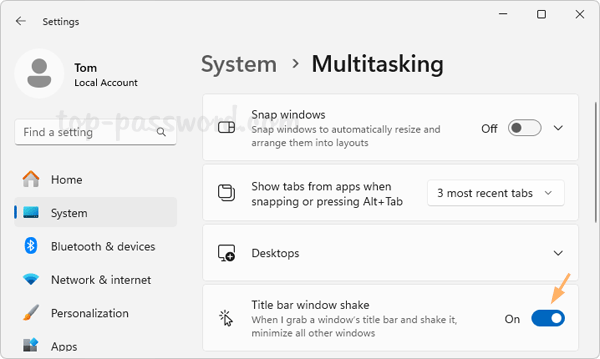
- Toggle the switch for “Title bar window shake” to the On position to enable the title bar window shake, or toggle it to Off if you want to disable Aero Shake.
Method 2: Enable or Disable Title Bar Shake to Minimize via Registry Editor
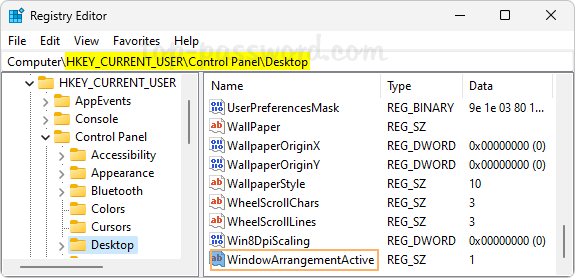
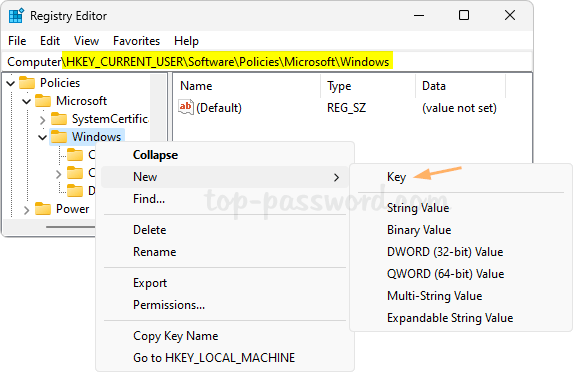
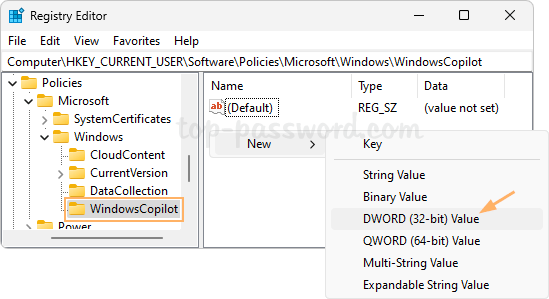
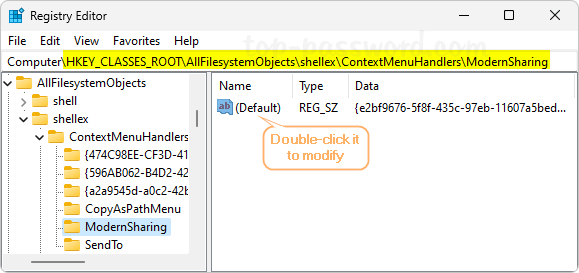
- Open Registry Editor and navigate to:
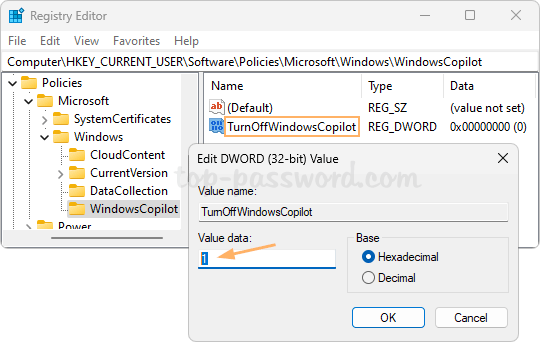
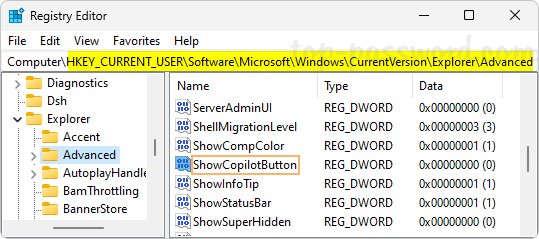
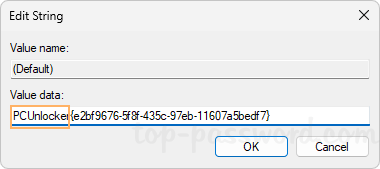
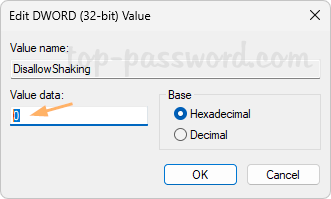
HKEY_CURRENT_USER\Software\Microsoft\Windows\CurrentVersion\Explorer\Advanced. Look for the DWORD DisallowShaking in the right pane, and then double-click it to modify.
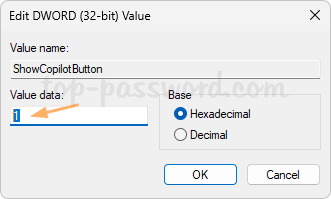
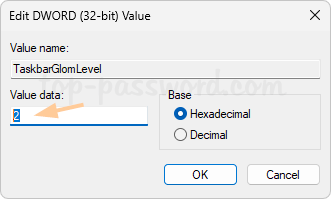
- Set its value data to 0 for turning on title bar window shake, or set it to 1 if you want to turn off that feature.
- Close Registry Editor. This change will take effect immediately and a reboot is not required.
What to do if Title Bar Shake doesn’t work?
If you’ve enabled the “Title bar window shake” feature but it still doesn’t work, it’s possible that the group policy “Turn off Aero Shake window minimizing mouse gesture” is activated. Just follow these steps to disable the group policy:
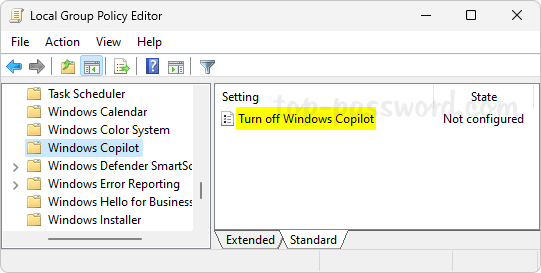
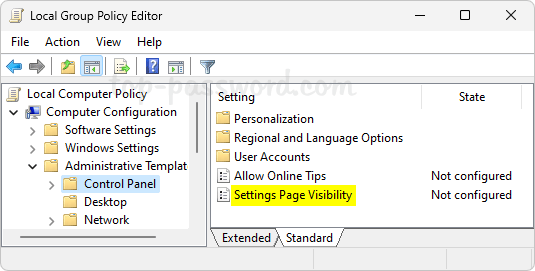
- Open the Local Group Policy Editor and browse to:
User Configuration -> Administrative Templates -> Desktop.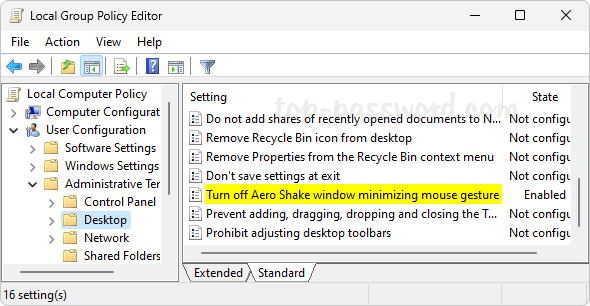
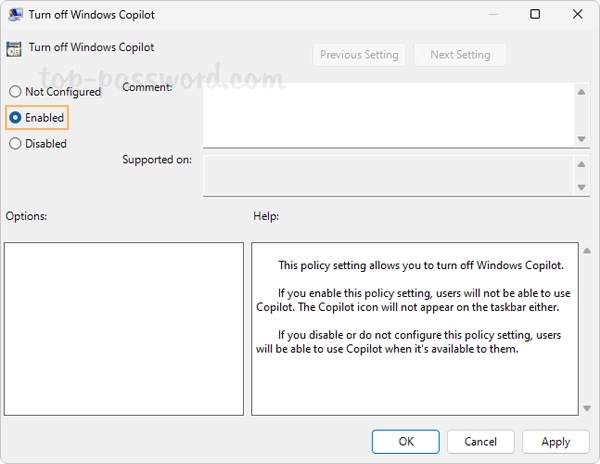
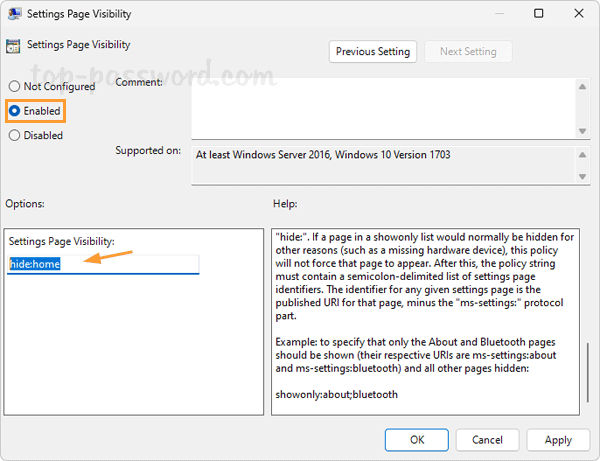
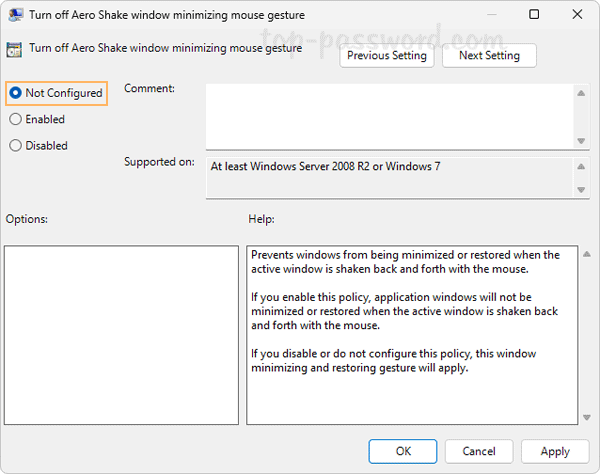
- Set the “Turn off Aero Shake window minimizing mouse gesture” policy to Not Configured.
That’s it!