Is there a way to stop Windows 11 from searching for other Wi-Fi networks while connected? When the AutoSwitch feature is turned on, Windows will automatically disconnect from the current Wi-Fi and switch to more preferred network if possible. In this tutorial we’ll show you 2 methods to enable or disable AutoSwitch for Wi-Fi network in Windows 11.
Method 1: Enable or Disable AutoSwitch for Wi-Fi Network via Network Connections
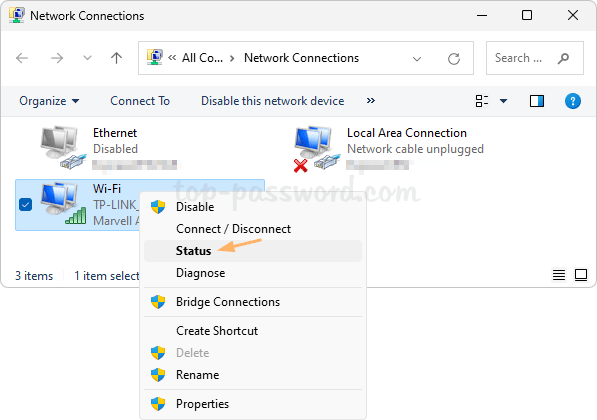
- Press the Windows key + R on your keyboard to open the Run box. Type
ncpa.cpland click OK to bring up the Network Connections dialog.
- Right-click the Wi-Fi adapter and choose Status from the pop-up menu.
- Click the “Wireless Properties” button.
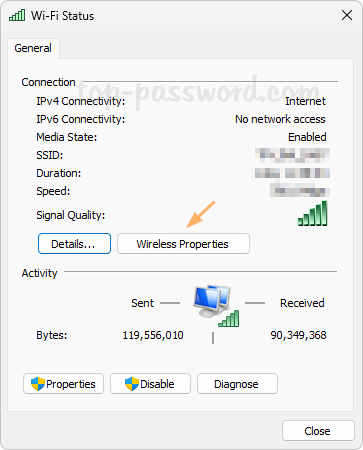
- Select the Connection tab. Check the box “Look for other wireless networks while connected to this network” to enable AutoSwitch, or uncheck it to turn off AutoSwitch.
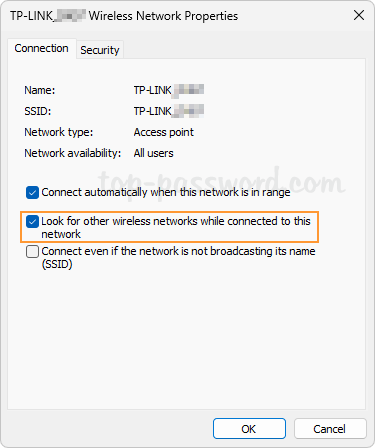
- Click OK to save your change.
Method 2: Enable or Disable AutoSwitch for Wi-Fi Network via Command Line
- Right-click the Start button on the taskbar and select Terminal (Admin) from the list that appears.

- When it opens a Command Prompt window or a PowerShell console, run the command
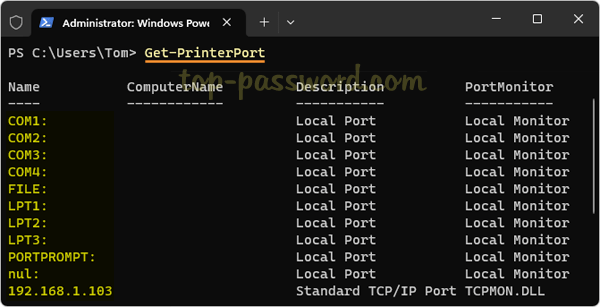
netsh wlan show profilesto display all saved wireless network profiles. You need to note down the name of the Wi-Fi profile you want to enable/disable the Auto Switch feature for.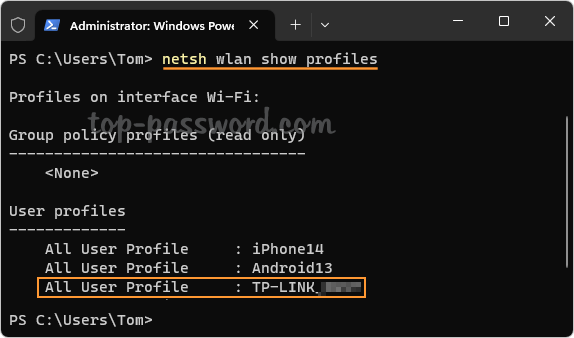
- To turn on the AutoSwitch feature, run the following command. Remember to replace
profile_namewith the actual profile name you noted in the above step.
netsh wlan set profileparameter name="profile_name" autoswitch=Yes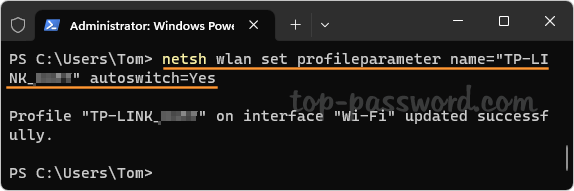
If you want to disable automatic network switching, execute this command instead, and the system will not automatically switch to other Wi-Fi networks.
netsh wlan set profileparameter name="profile_name" autoswitch=No
That’s it!