It is well known that Windows can automatically adjust the monitor/screen brightness based on the intensity of the ambient light. If you’ve upgraded to Windows 11, you can configure the light sensor to automatically adjust the brightness of the video you’re watching, not changing the brightness of the whole screen. In this tutorial we’ll show you 2 ways to enable auto adjust video brightness based on the surrounding lighting in Windows 11.
Method 1: Enable Auto Adjust Video Brightness based on Lighting via Settings App
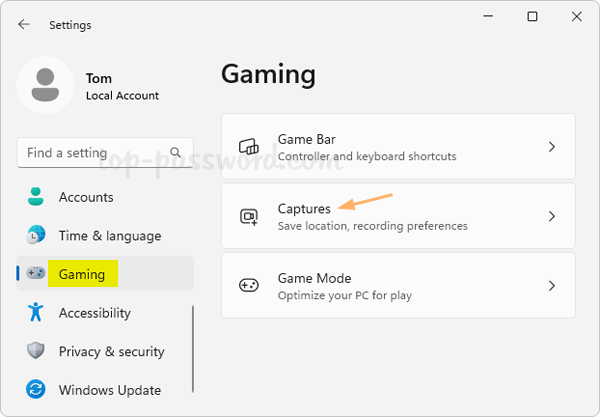
- Open the Settings App (Win+I). Select Apps on the left side and then click Video playback on the right pane.
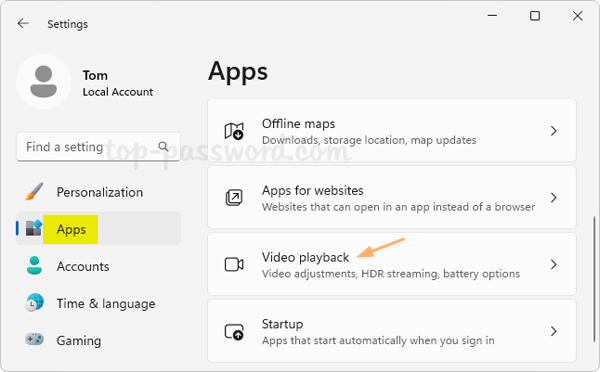
- If you can see the option called “Adjust video based on lighting around me“, you most likely have a light sensor. You can turn on this setting to enable auto brightness adjustment for video playback only.

The last but not the least, make sure you uncheck the “Don’t adjust video based on lighting when on battery” option.
- Close the Settings app.
Method 2: Enable Auto Adjust Video Brightness based on Lighting via Registry Editor
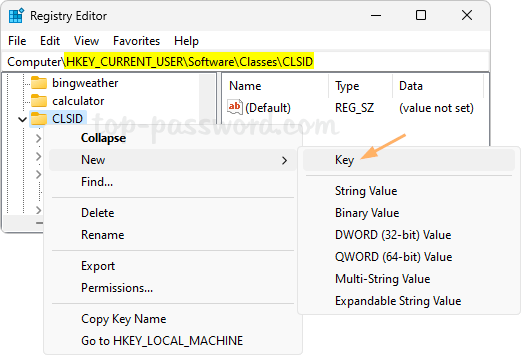
- Open Registry Editor and navigate to:
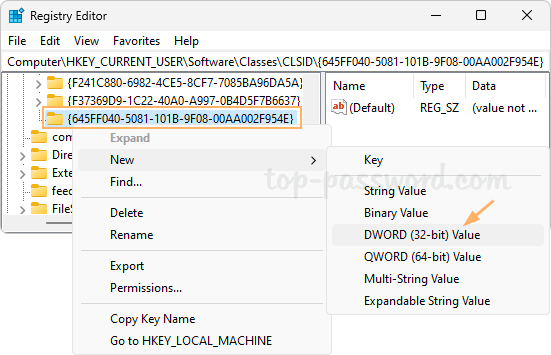
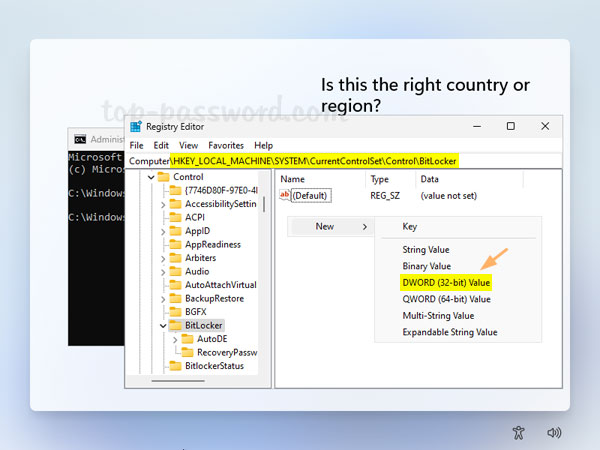
HKEY_CURRENT_USER\Software\Microsoft\Windows\CurrentVersion\VideoSettings. In the right pane, right-click the empty area and choose New -> DWORD (32-bit) Value.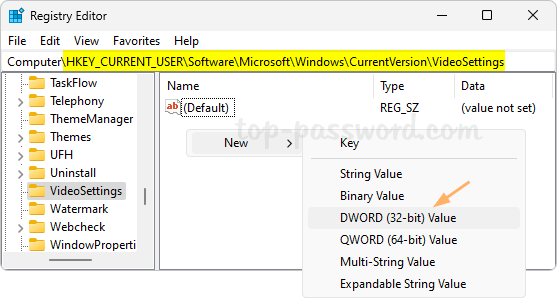
If the subkey VideoSettings doesn’t exist, you need to create it first.
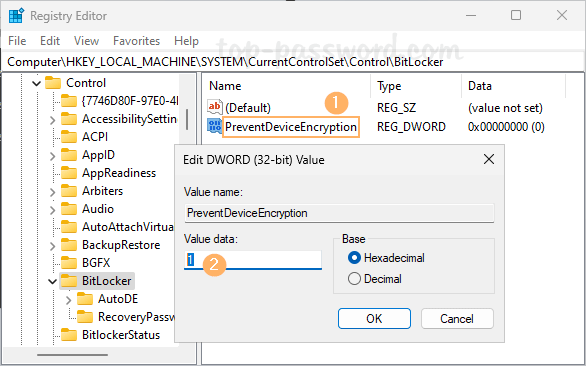
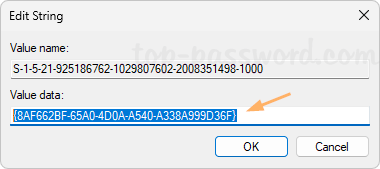
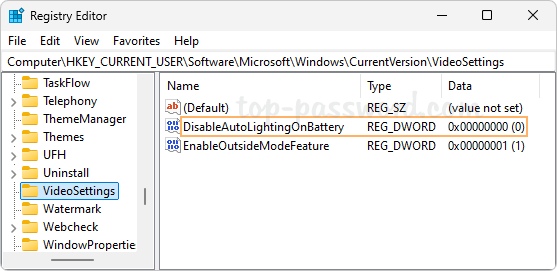
- Name the newly-created DWORD EnableOutsideModeFeature, then double-click it and set its value data to 1. This will turn on the “Adjust video based on lighting around me” feature in Windows 11.

- Next, create another DWORD DisableAutoLightingOnBattery and leave its value as 0. This will turn off the “Don’t adjust video based on lighting when on battery” option.
- Close Registry Editor. Log out of your account or restart Windows to see the changes.
That’s it!