How can I set up a domain controller for small office? If you want to install Active Directory on Windows Server Core, you need to prepare a PowerShell script and it’s a bit challenging. For Windows Server with desktop experience (GUI), the setup procedure is much easier. In this tutorial we’ll show you how to install Active Directory in Windows Server 2022, and promote it to domain controller.
Part 1: Install Active Directory in Windows Server 2022
Before getting started, give your server a static IP address instead of letting DHCP assign the IP address automatically. Once logged in with the local administrator account, you can install Active Directory by following these steps:
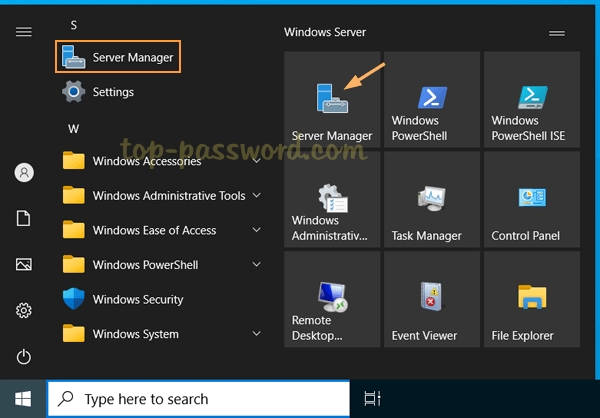
- Click the Start button, and then click the “Server Manager” shortcut which should appear in the Start Menu and Live Tiles.
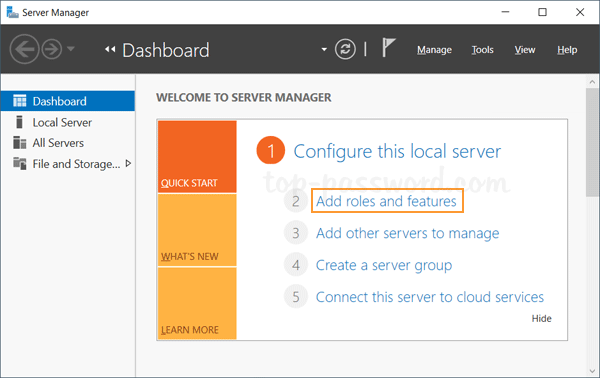
- Click the “Add roles and features” option.
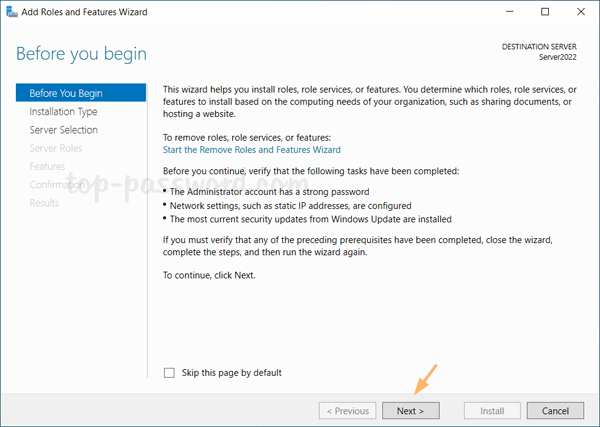
- When the wizard starts, click Next.
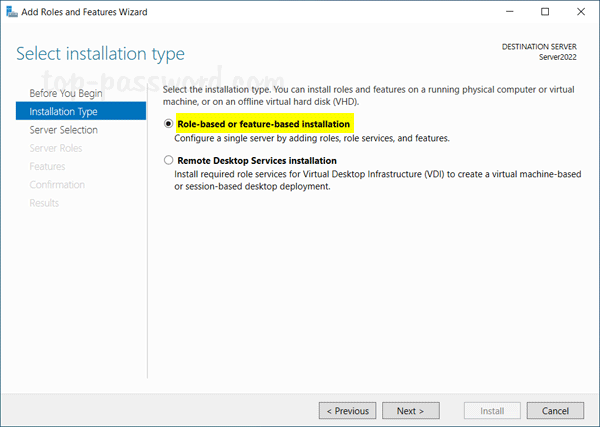
- Choose the “Role-based or feature-based installation” type, click Next.
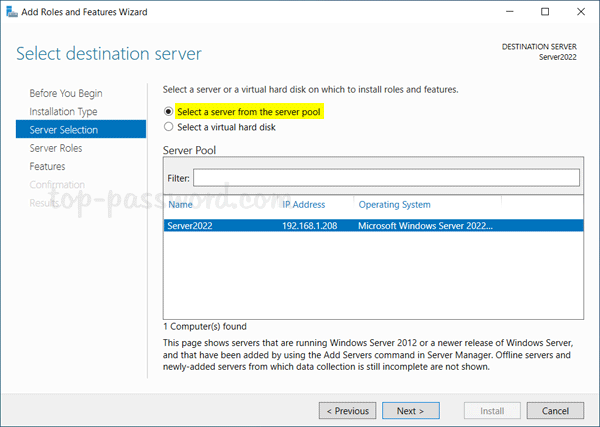
- Select the local server where the Active Directory role will be installed, and click Next.
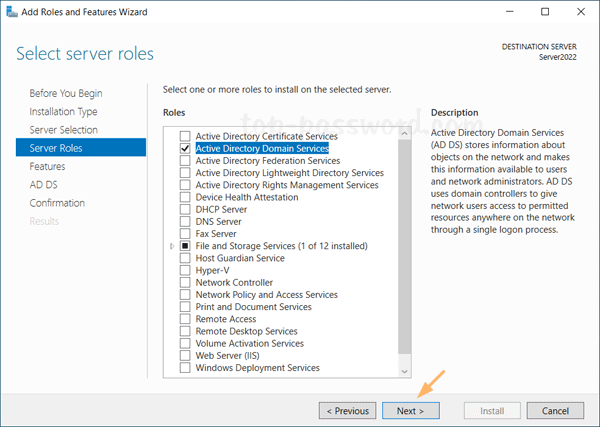
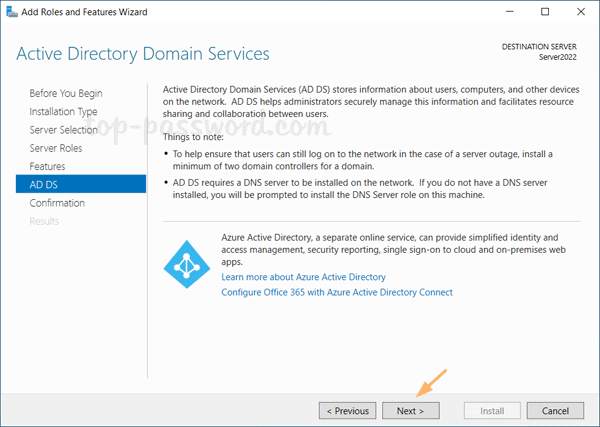
- On the Server Roles page, check the “Active Directory Domain Services” role from the list.

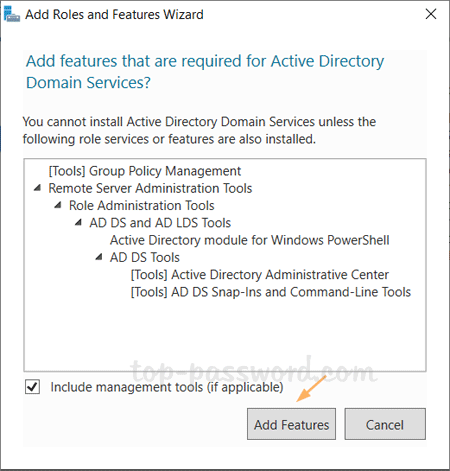
- When a pop-up window prompts you to include all the necessary tools, click the Add Features button.
- You should now see a tickmark next to the “Active Directory Domain Services” role, click Next.
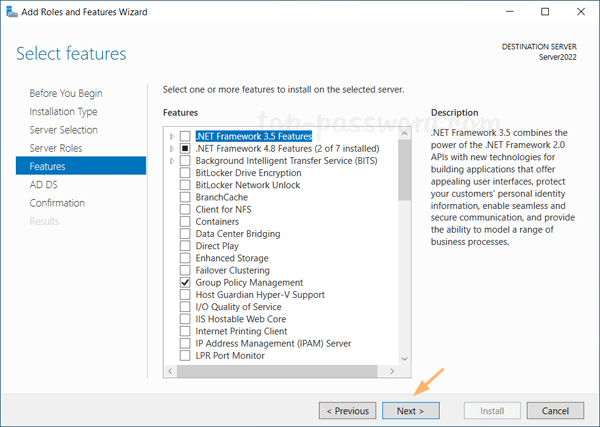
- On the Features page, the basic features for required role are already selected by default. Just click Next.
- Click Next.
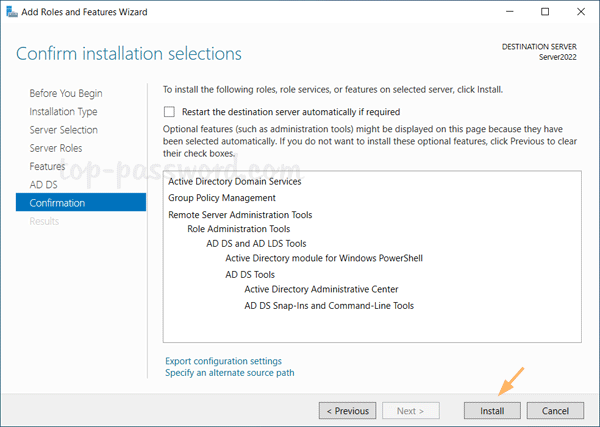
- Click Install to confirm and begin the role features installation.
Part 2: Promote Windows Server 2022 to Domain Controller
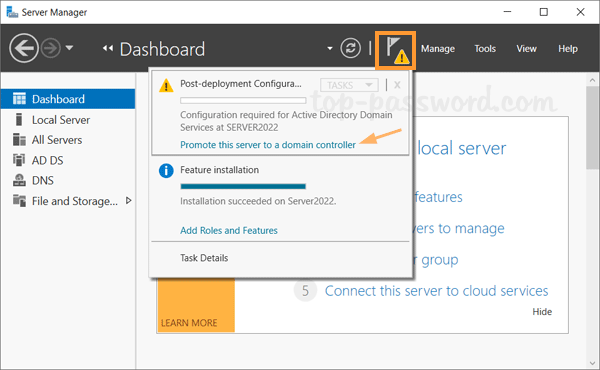
- After the AD DS role is installed, open Server Manager again and you will see a notification flag next to the Manage menu. From there you need to click “Promote this server to a domain controller“.
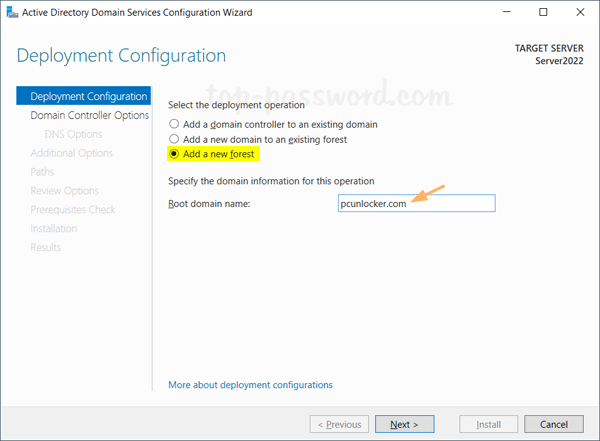
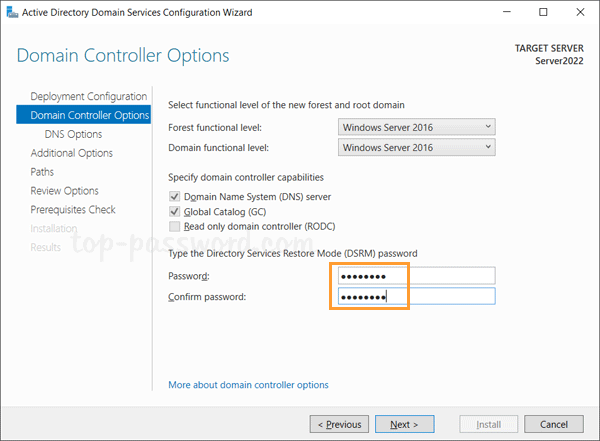
- Choose the “Add a new forest” option, type a root domain name and click Next.
- Set up the DSRM password and click Next. DSRM password is used only when you need to boot the server into Directory Services Restore Mode to perform maintenance tasks.
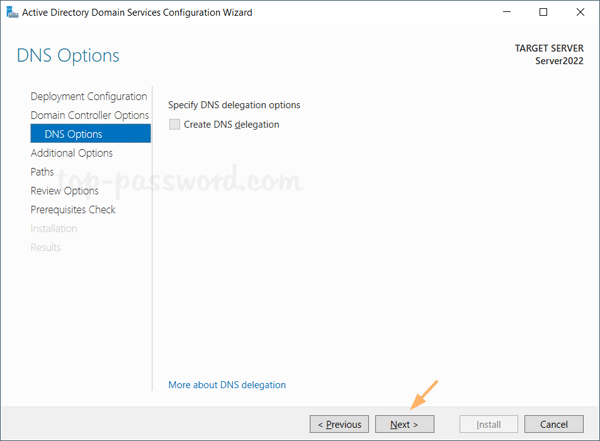
- On the DNS Options page, click Next.
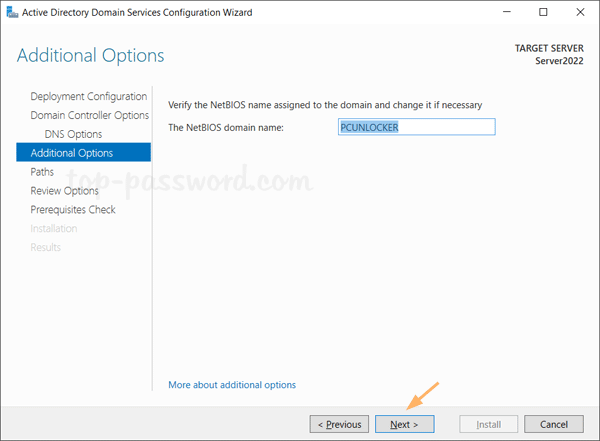
- The NetBIOS name is generated automatically based on your domain name. Just click Next.
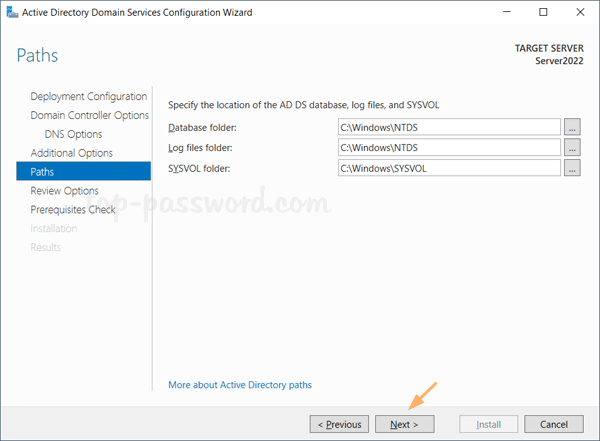
- You’ll see the default paths for database, log files and SYSVOL folders. Click Next.
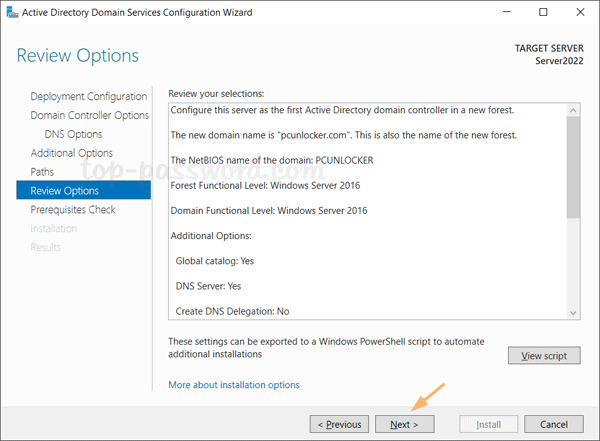
- Review your selections and click Next.
- A prerequisite check will be performed. If no error is detected, you can click Install to promote your server as domain controller. You server will restart automatically once the installation is complete.

That’s it!