Performing a search in File Explorer can take a long time depend on the number of files you have on your PC. If you need to repeat the same search again and again, it is very time wasting. You can improve productivity by saving the search results for future use. In this tutorial we’ll walk you through the steps to save File Explorer search results in Windows 11.
How to Save File Explorer Search Results in Windows 11
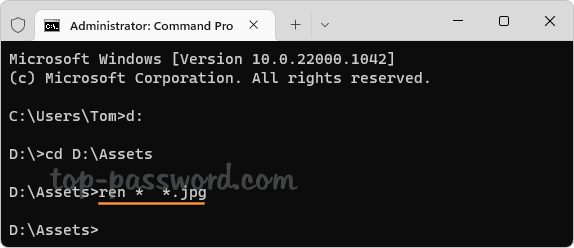
- Open File Explorer, then type your search query into the search field in the upper right corner and press Enter.
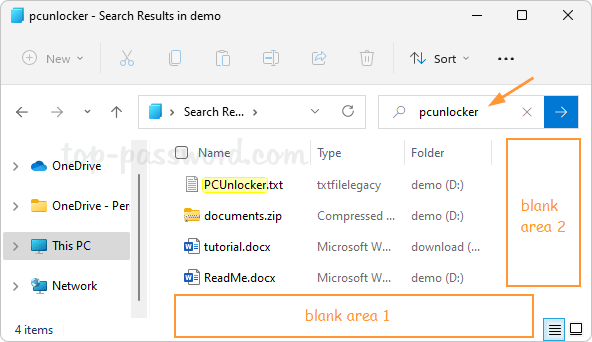
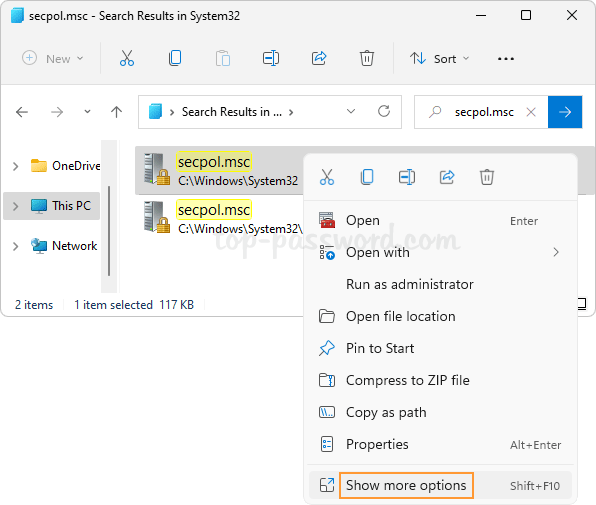
- After File Explorer shows you the results, right-click any blank area in the right pane of File Explorer, and choose “Show more options“.
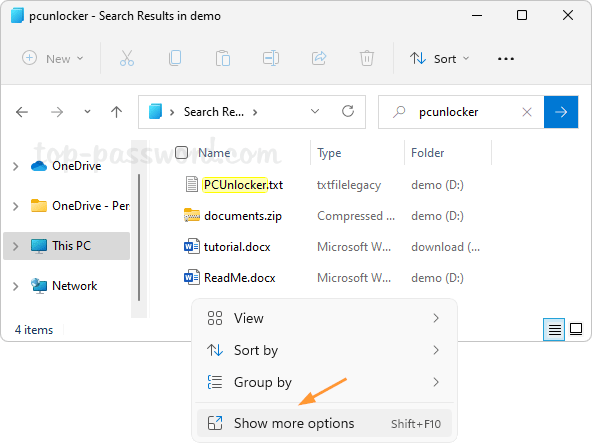
- Next, select “Save search“.

- Navigate to the folder where you want to store the search and enter a search name, click on Save.
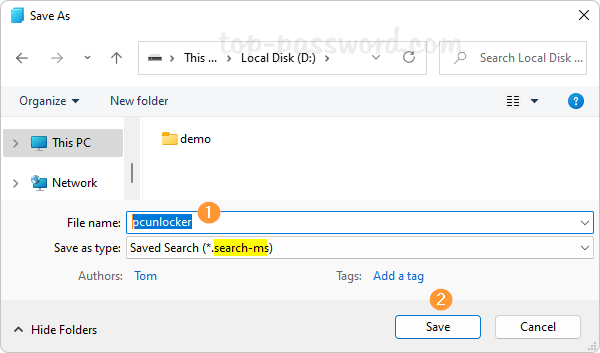
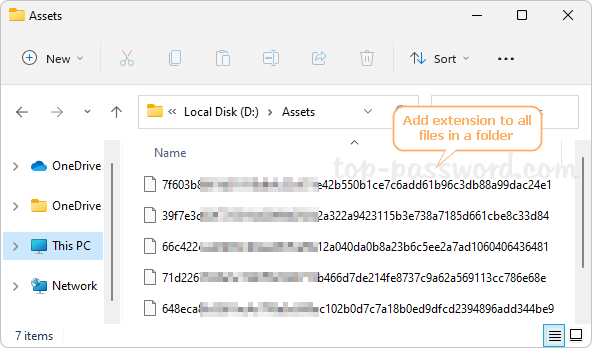
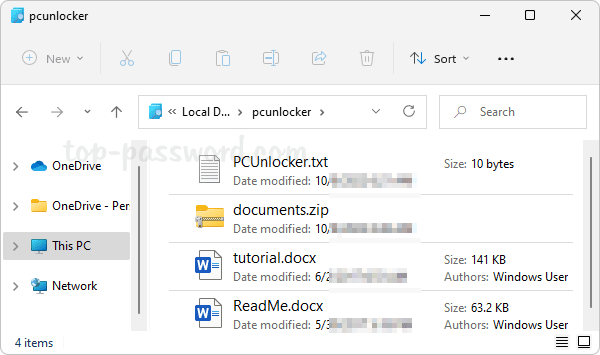
- You can see the saved
.search-msfile in the destination folder, and it is XML format and can be opened with Notepad.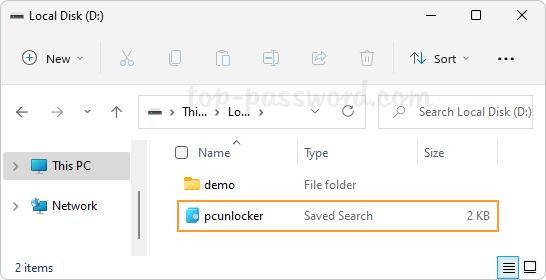
- The next time you need to repeat the same search in File Explorer, double-click on the saved search file, and the search results will show up in no time.
Conclusion
So this is how you can save the search results in File Explorer, so you can quickly bring them up without having to repeat the search again. If you just want to keep a list of the search result or print it out, simply select all results in File Explorer and choose “Copy as path“, you can then paste them in a text file.