No longer want to use Microsoft account to log in to Windows 11? Need to switch from Microsoft account to local account before selling or giving away your PC? In this tutorial we’ll walk you through the steps to convert Microsoft account to local account in Windows 11.
How to Convert Microsoft Account to Local Account in Windows 11
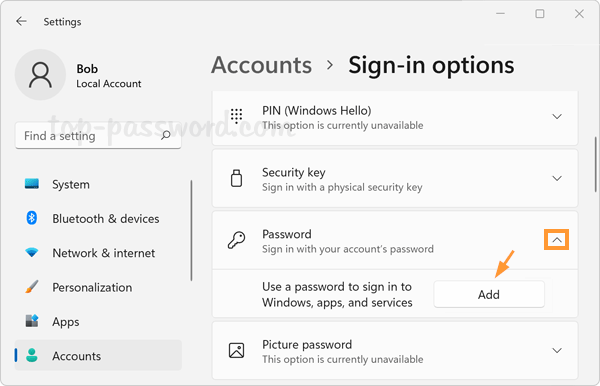
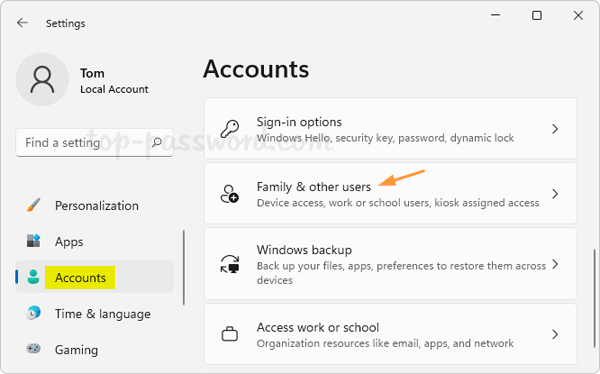
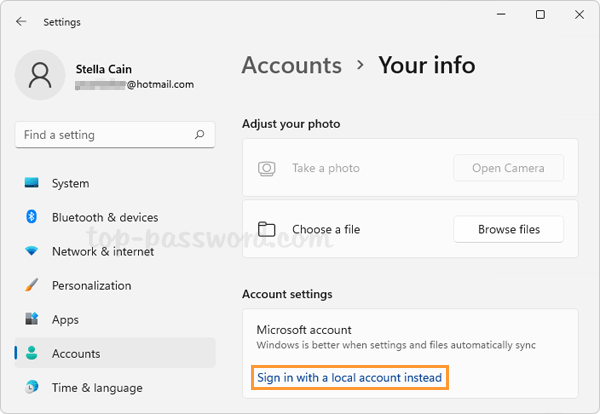
- Press the Windows key + I to bring up the Settings app. Choose Accounts from the left pane, and then click Your info on the right pane.
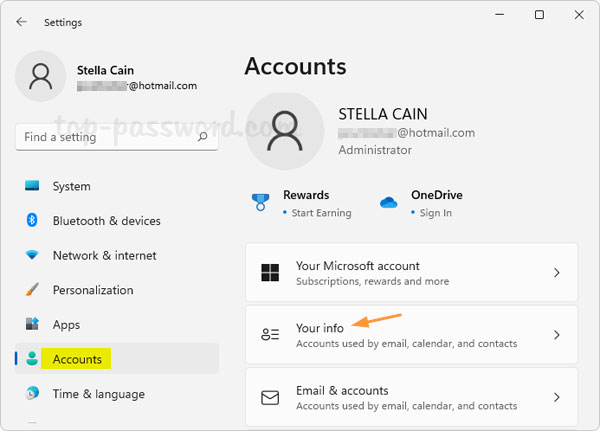
- Under the “Account settings” section, it shows that you’re using Microsoft account. In order to switch to local account, click the “Sign in with a local account instead” link.
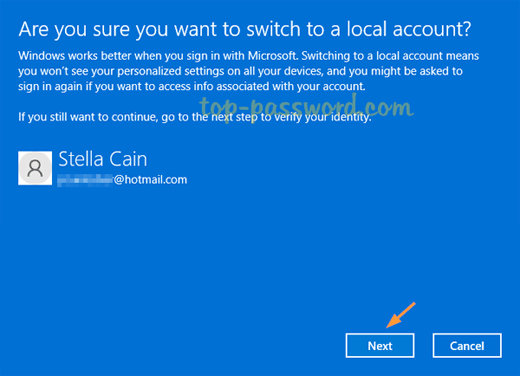
- The pop-up screen will ask you whether you’re sure you want to switch to a local account. Click Next to continue.
- Enter your Microsoft account password (or your PIN if you’ve enabled passwordless login for Microsoft account) and click OK.

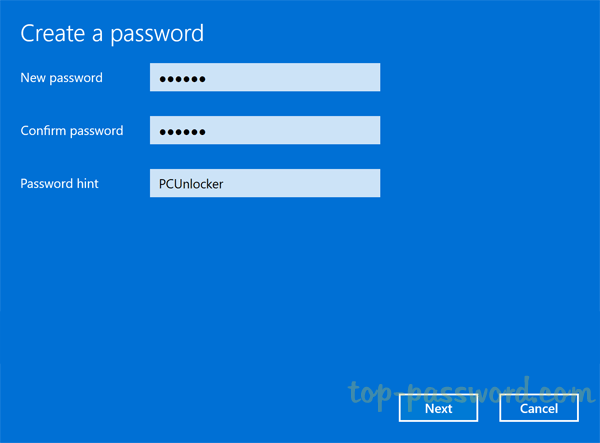
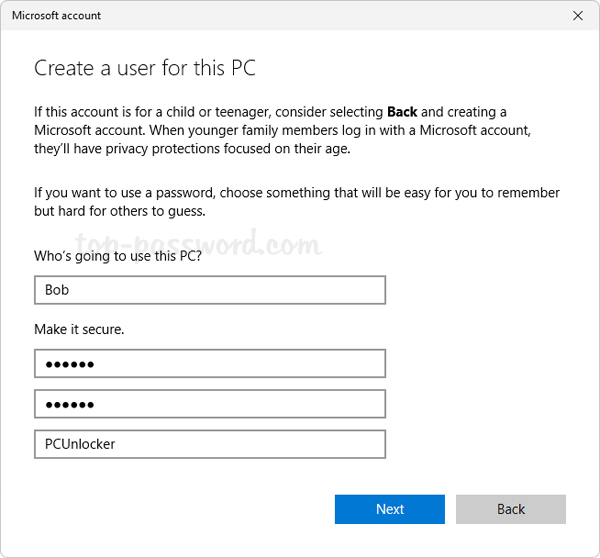
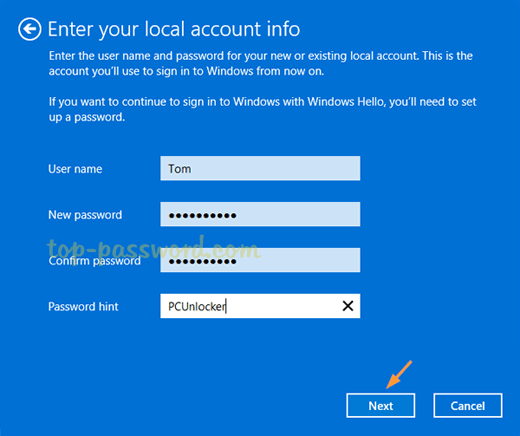
- In the following screen, fill in the details of user name, password, and password hint that you want to use for the converted local account. Click Next.
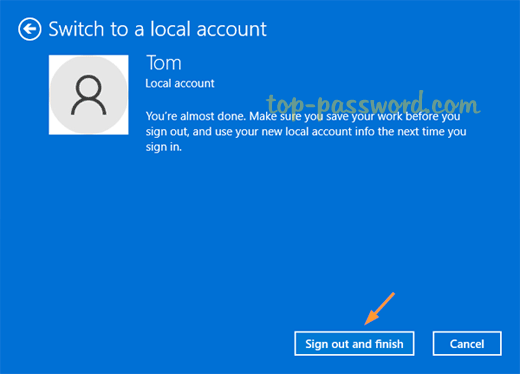
- Click the “Sign out and finish” button. The system will unlink your Microsoft account from Windows 11 and sign you out. You can then log in using the unlinked local account.
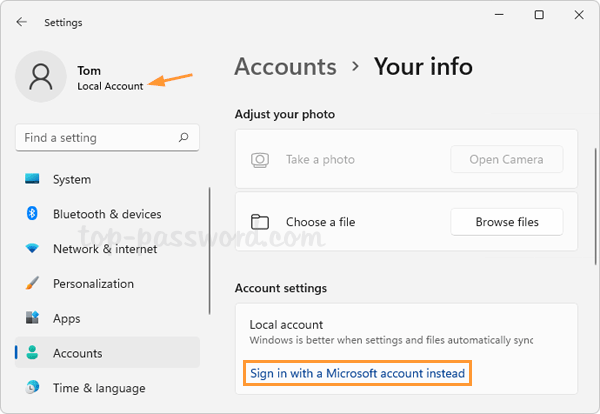
- After logging back in, open the Settings app and go to: Accounts -> Your info, you should see “Local account” displayed under the “Account settings” section, along with an option called “Sign in with a Microsoft account instead” which allows you convert back to Microsoft account.
That’s it!