Posts Tagged ‘app execution aliases windows 11’

Another Way to Create App Execution Alias in Windows 11

April 6th, 2022 by Admin

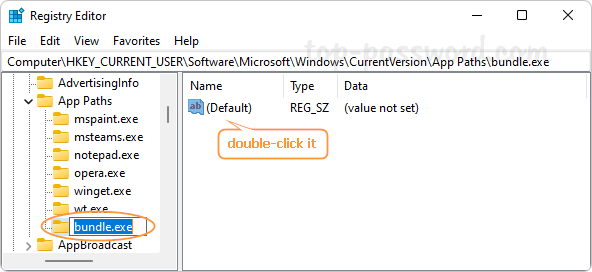
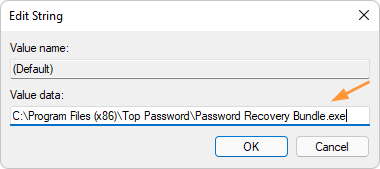
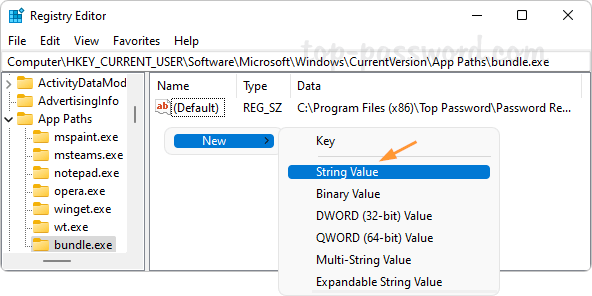
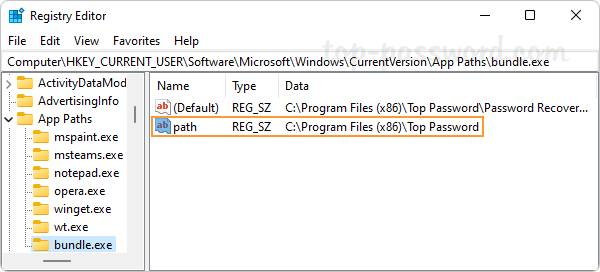
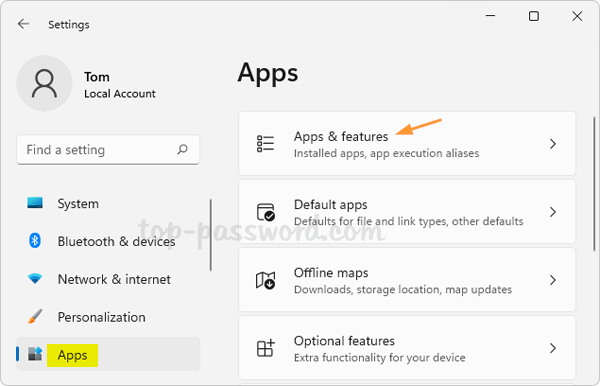
By default, Windows 11 allows you to enable Execution Aliases for UWP apps only. Previously we’ve covered how to create aliases for any programs using a registry tweak. In this tutorial we’ll show you another way to create App Execution Alias using Command Prompt in Windows 11.

How to Create App Execution Alias Using Command Prompt

  1. To get started, open the Command Prompt as administrator. Next, use the mklink command to create a symbolic link which points to the executable file of your target application. Remember to replace alias_name with your desired alias.

    mklink %LOCALAPPDATA%\Microsoft\WindowsApps\alias_name.exe "the_full_path_of_your_executable_file"

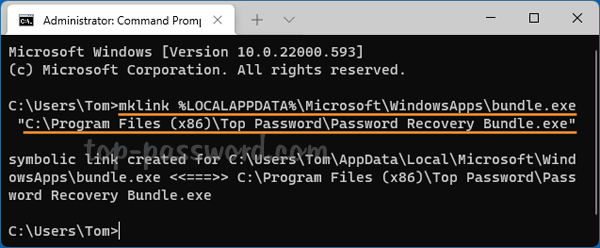
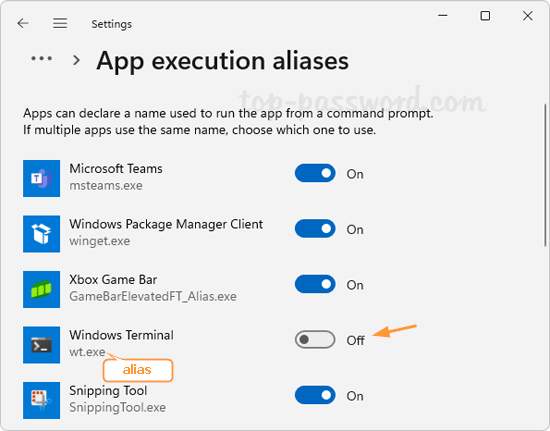
  2. Open File Explorer and type the following location in the address bar and press Enter. You’ll see the newly-created symbolic link which works almost the same as the other app aliases.
    %LOCALAPPDATA%\Microsoft\WindowsApps

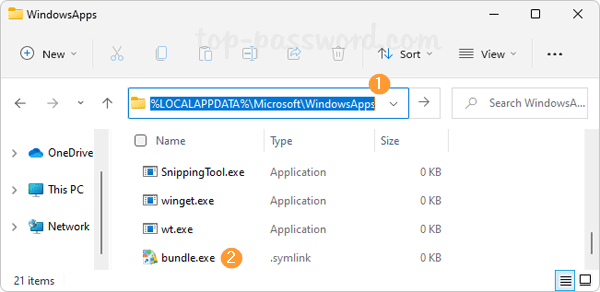
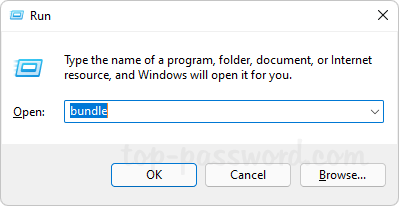
  3. Now, you can use the new alias to start your program directly from the Run dialog box, Command Prompt or Windows PowerShell.

That’s it!

How to Create Execution Aliases for Specific Apps in Windows 11

March 23rd, 2022 by Admin

Unable to turn on App Execution Aliases for your desired application through the Settings app? Don’t worry! You can make a program alias using a registry tweak. In this tutorial we’ll walk you through the steps of creating an execution alias for any specific app in Windows 11.

How to Create Execution Aliases for Specific Apps in Windows 11

  1. Open Registry Editor and navigate to: HKEY_CURRENT_USER\Software\Microsoft\Windows\CurrentVersion\App Paths. In the left pane, right-click on the “App Paths” key and select New -> Key.

  2. Name the new key with a meaningful alias of your desired app. The alias should end with the “.exe” extension. Next, double-click the (Default) value in the right pane.

  3. Enter the absolute filename of your app’s executable file, and click OK.

  4. Next, right-click the blank area in the right pane and select New -> String Value.

  5. Name the string “path”, and change its value data to the full path (minus the filename itself) of your app.

  6. Close Registry Editor. Now you can type that alias in the Run command box, Command Prompt or PowerShell to launch your app quickly.

Conclusion

That’s how you can create an execution alias for any specific app in Windows 11. When you need to rename the app alias, just open Registry Editor and browse to: HKEY_CURRENT_USER\Software\Microsoft\Windows\CurrentVersion\App Paths, expand the “App Paths” key in the left pane. Right-click the subkey which is named with your app alias, and rename it with a new alias.

How to Enable or Disable App Execution Aliases in Windows 11

March 22nd, 2022 by Admin

In Windows 11, apps can declare an unique alias name used to run the app from Command Prompt. When the App Execution Aliases feature is turned on, you can use an alias to start your app without having to specify the full path to your app. In this tutorial we’ll show you how to enable or disable App Execution Aliases in Windows 11.

How to Enable or Disable App Execution Aliases in Windows 11

  1. Open Windows Settings app by pressing the Windows + I keyboard shortcut, and then navigate to Apps -> Apps & features.

  2. Click More settings on the right side.

  3. Click App execution aliases.

  4. You’ll see a list of apps as well as their alias names. The alias names always end with the “.exe” extension. You can turn on or off the toggle switch next to your desired apps.

    For example, if you’ve enabled App Execution Aliases for the “Windows Terminal” app, then you can simply type wt.exe in the Command Prompt to launch Windows Terminal. When you disable its alias name, you’ll get the error message:

    ‘wt’ is not recognized as an internal or external command, operable program or batch file.

That’s it!