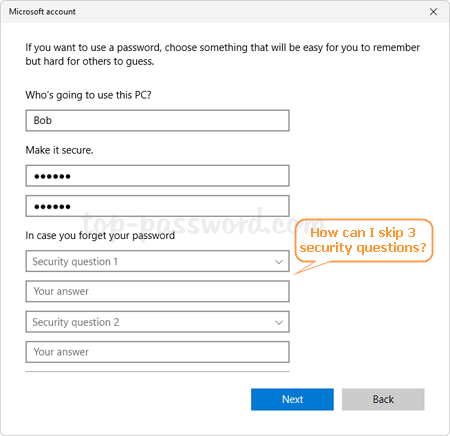
When you create a local account during Windows setup or from the Settings app, it requires you to choose 3 security questions and answer them. If you’re not going to use security questions to reset forgotten Windows password, you can skip them. In this tutorial we’ll show you 2 simple methods to skip 3 security questions when creating a local account in Windows 11.
Method 1: Skip Security Questions by Leaving the Password Blank
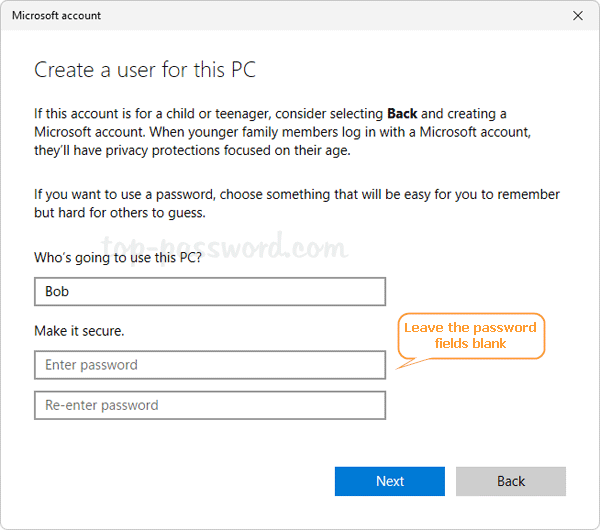
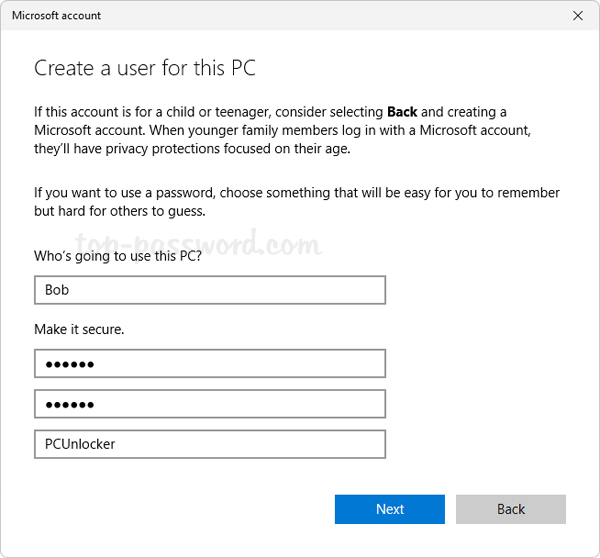
When you come to the step of adding an offline local account, just leave the password fields empty and the boxes for 3 security questions will disappear automatically, you can proceed to finish creating your local account.
After signing in to Windows 11 with your newly-created local account, just open the Settings app and navigate to: Accounts -> Sign-in options. Under Ways to sign in, select the Password option and you can then see the Add button.
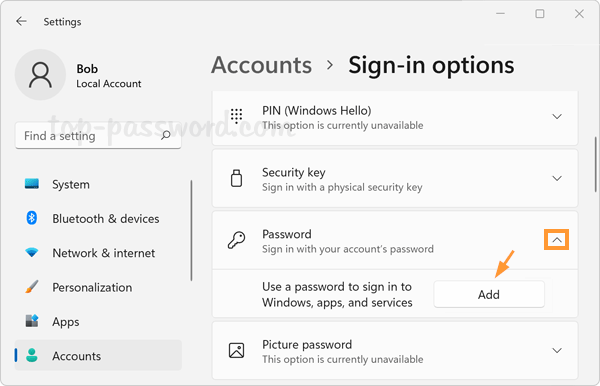
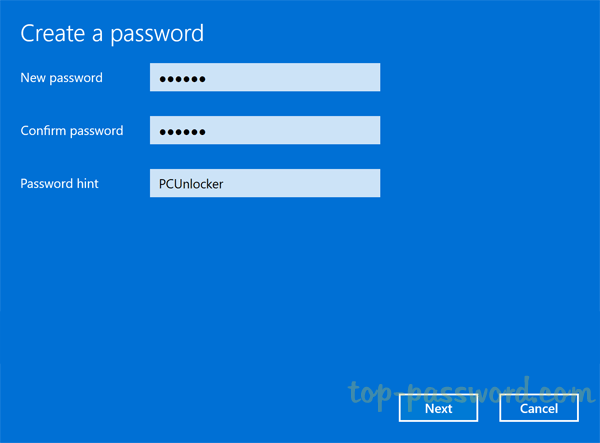
Click the Add button. The pop-up window will let you create a password without needing to choose security questions to answer.
Method 2: Turn off Security Questions Using Group Policy
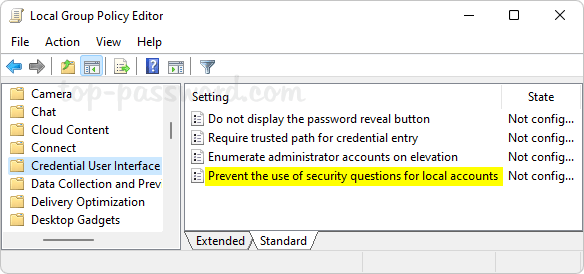
Just open Local Group Policy Editor and browse to: Computer Configuration -> Administrative Templates -> Windows Components -> Credential User Interface. In the right pane, look for the policy “Prevent the use of security questions for local accounts” and double-click it.
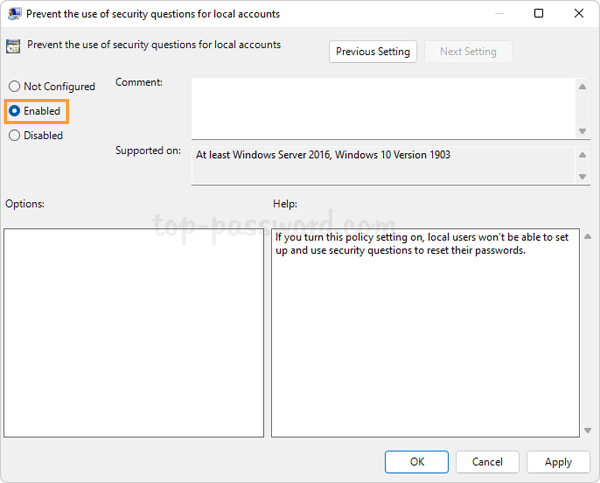
In the pop-up dialog box, select the Enabled option. Click Apply and then OK.
Restart your computer to make that policy take effect immediately. The next time you try to add a new local account using the Settings app, it will no longer prompt you to select 3 security questions to answer.
Conclusion
The above methods should be the easiest ways to skip 3 security questions when creating local account in Windows 11. Actually, you can also skip the security questions by creating local account using Command Prompt, PowerShell, Netplwiz, lusrmgr.msc, or set up a Microsoft account first and then switch to local user.