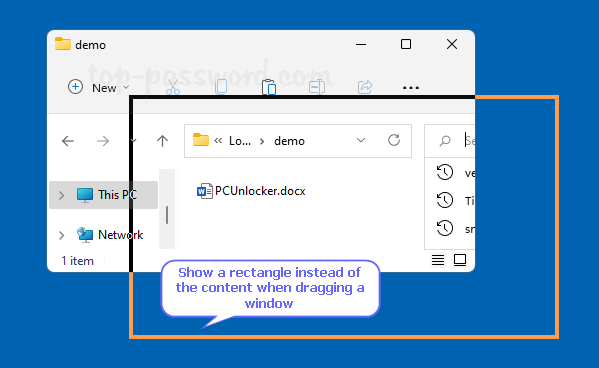
How can I make Windows 11 not show the contents of a window while I move it around on the screen? Is there a weird window dragging lag on your PC? By default, Windows will show the full contents of the window when you drag it. In order to reduce CPU/GPU usage, you can configure Windows to show only the frame (a rectangle) while dragging a window.
In this tutorial we’ll show you 2 methods to disable show window contents while dragging in Windows 11 / 10.
Method 1: Disable Show Window Contents while Dragging in Visual Effects
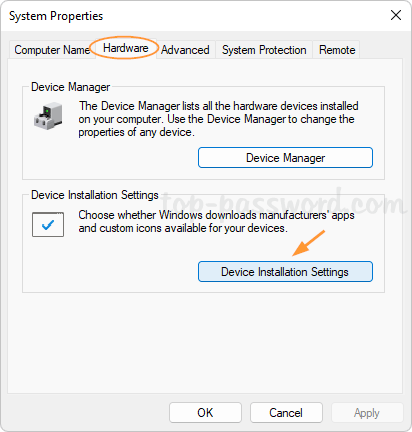
- Press the Windows key and R to bring up the Run box, type sysdm.cpl and hit Enter to open the System Properties dialog.

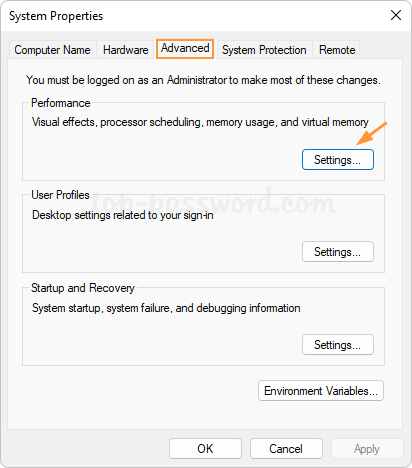
- Choose the Advanced tab, and then click the Settings button under the Performance section.
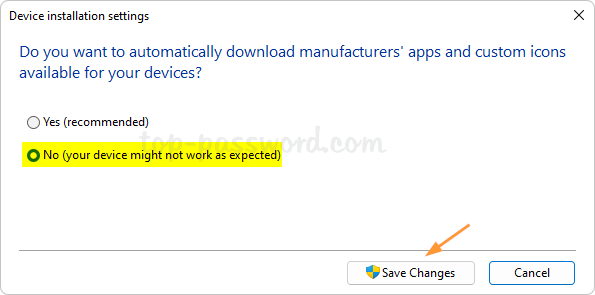
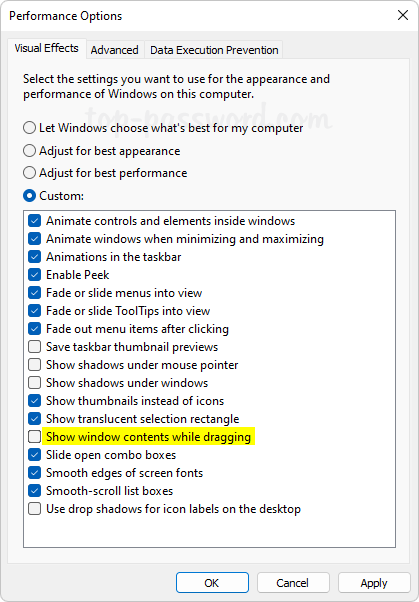
- Uncheck the “Show window contents while dragging” option and click OK. Note that this change applies to your current Windows account only.
Method 2: Use Registry Editor to Disable Show Window Contents while Dragging
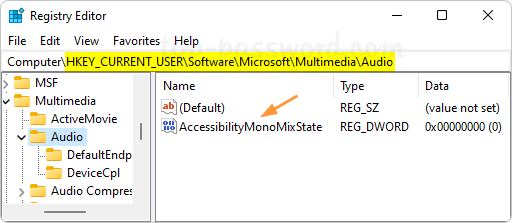
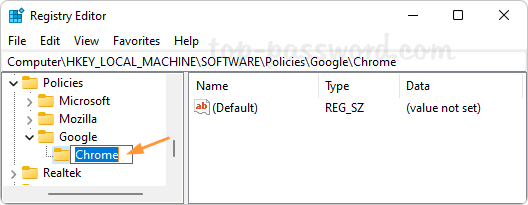
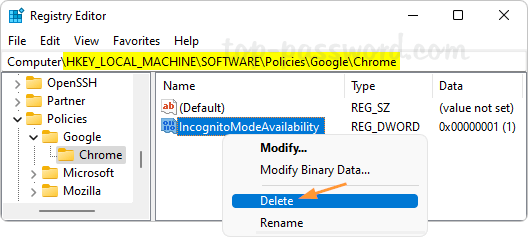
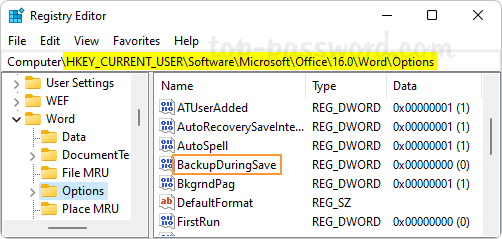
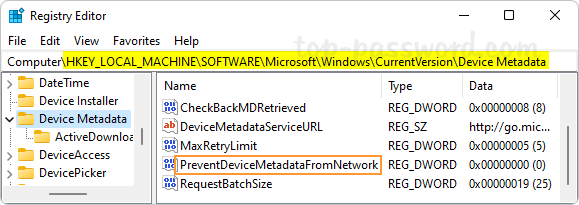
- Open Registry Editor and navigate to:
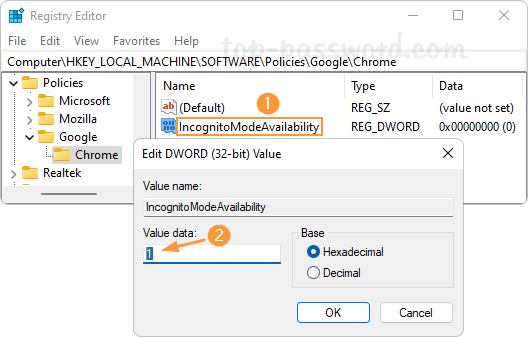
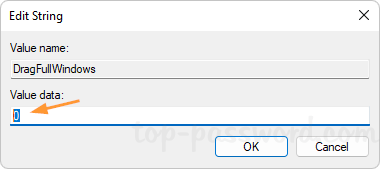
HKEY_CURRENT_USER\Control Panel\Desktop. In the right pane, double-click the string DragFullWindows.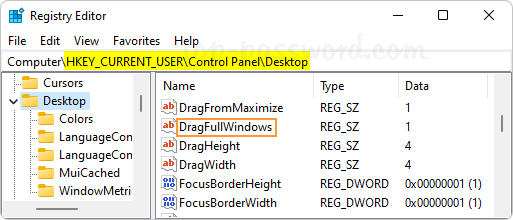
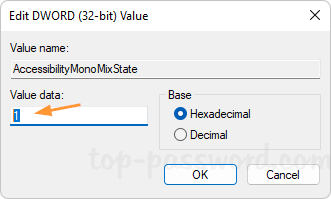
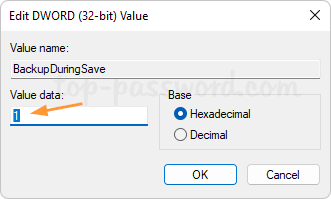
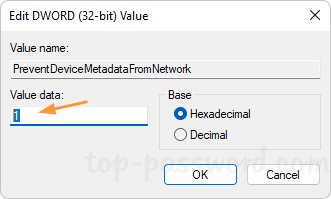
- Set its value to 1 to enable “Show window contents while dragging”. A value data of 0 will disable it.
- Close Registry Editor. Reboot your computer to make the change take effect.
That’s it!