How can I disable changing of proxy settings in Windows 11? Proxy settings are used when your PC needs to access internet anonymously and the proxy server can retrieve web data for you. In this tutorial we’ll show you 2 methods to prevent users from changing proxy settings in Windows 11 / 10.
Method 1: Prevent Changing Proxy Settings by Group Policy
- Open Local Group Policy Editor and navigate to:
User Configuration -> Administrative Templates -> Windows Components -> Internet Explorer. On the right side, double-click the “Prevent changing proxy settings” policy.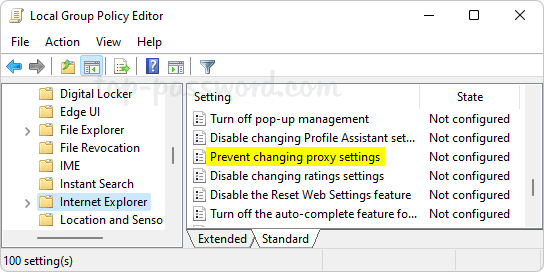
- Changes its setting from Not Configured to Enabled.
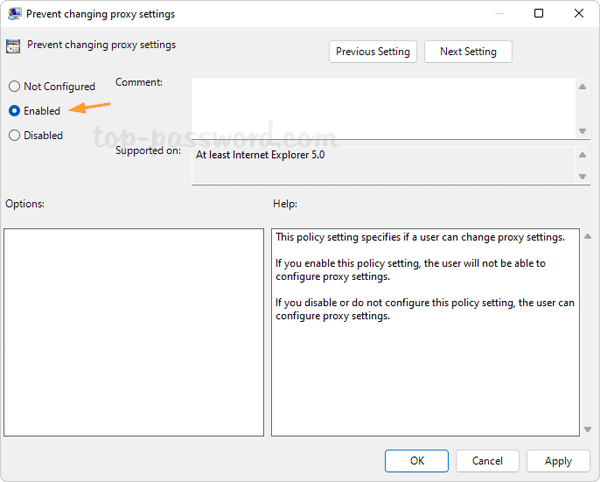
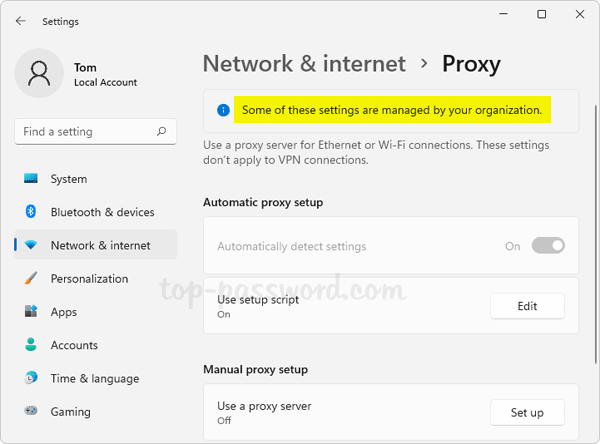
- Click Apply and then OK. If you open Settings app and browse to: Network & internet -> Proxy, you’ll find all proxy settings are locked down and we’re unable to change it.
Method 2: Prevent Changing Proxy Settings by Registry Editor
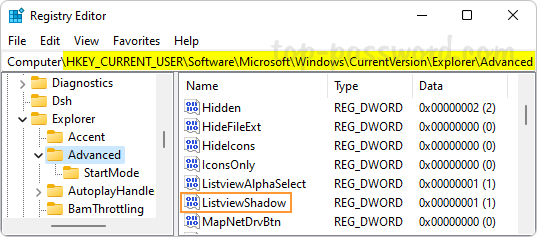
- Open Registry Editor and navigate to:
HKEY_CURRENT_USER\Software\Policies\Microsoft. Right-click the “Microsoft” key in the left sidebar and add a subkey named “Internet Explorer“. Next, right-click the “Internet Explorer” key and create a subkey named “Control Panel”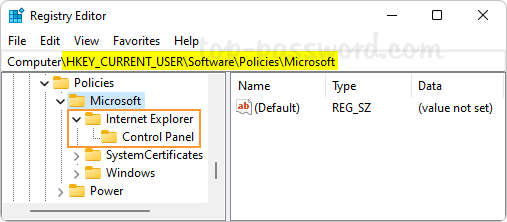
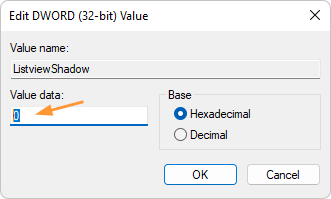
- When the “Control Panel” key is selected, right-click the blank area in the right pane and create a new DWORD Proxy, and set its value data to 1.
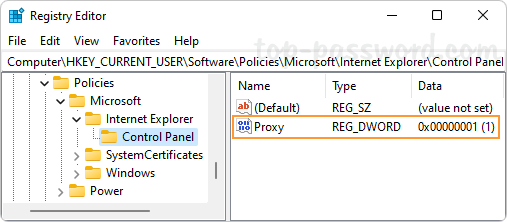
- Close Registry Editor and reboot your computer. It will prevent users from changing the proxy settings using the Settings app or through the Internet Options.
That’s it!