How do I change the default audio devices quickly in Windows 11? If your PC has more than one audio output devices, sometimes you may need to switch back and forth between headphones and speakers. In this tutorial we’ll show you 3 quick methods to switch between headphones and speakers in Windows 11.
Method 1: Change the Default Sound Output Device from Settings App
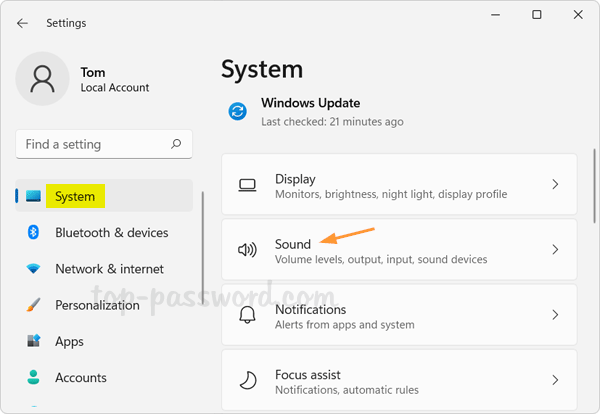
Press the Windows logo key + I to launch the Settings app. Click System on the left section, and then click Sound on the right pane.
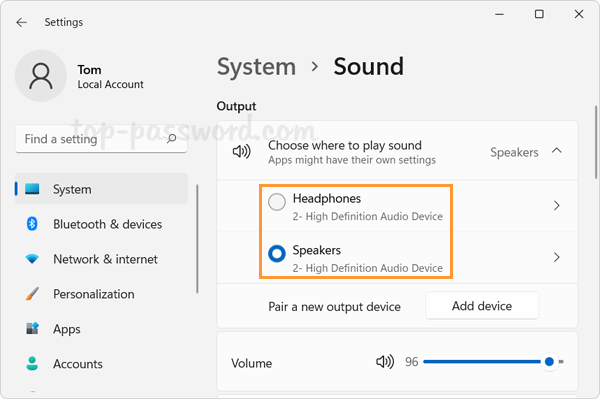
Under the Output section, click the “Choose where to play sound” drop-down list and you can choose either Headphones or Speakers as the default audio output device.
Method 2: Change the Default Sound Output Device from System Tray
Click on the Speaker icon in the system tray (lower-right corner of the screen) to open the Quick Settings panel. Next, click the small arrow icon located in the right corner of the volume slider.
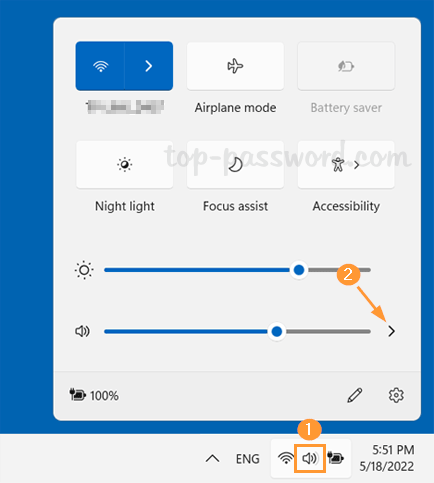
You can then choose the desired sound output device from the list.

Method 3: Change the Default Sound Output Device from Sounds Applet
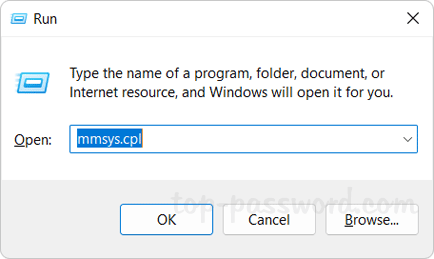
Press the Windows logo key + R to launch the Run box, then type mmsys.cpl and press Enter to open the classical Sounds applet.
Go to the Playback tab. You’ll see all of the available audio playback devices. A white tick on a green circle indicates the default device.

To switch between audio devices, just select the desired output device from the list, click the Set Default button and then click OK.
Conclusion
These methods should be very helpful, especially when you need to switch between headphones and speakers constantly. When changing the default sound output device, make sure both headphones and speakers are connected to your PC and turned on.