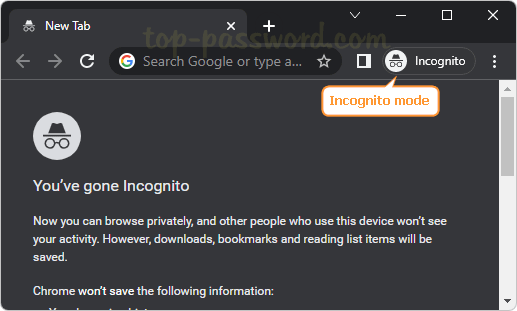
Any way to start up Microsoft Edge always in full screen mode? In Windows 11, you can use Microsoft Edge in full-screen mode, hiding the toolbars, URL address and status bar together. In this tutorial we’ll show you 2 simple methods to start Microsoft Edge in full screen on Windows 11
Method 1: Start Microsoft Edge in Full Screen via three-dot Menu
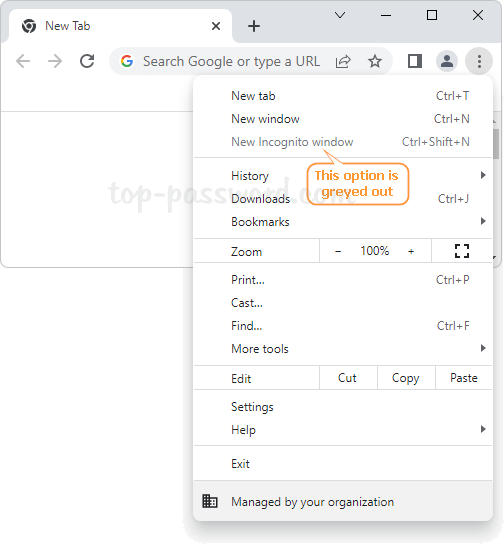
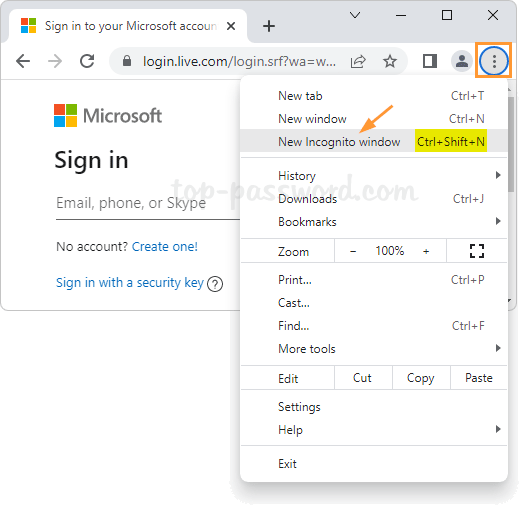
- Once Microsoft Edge is open, click the three-dot icon in the top right corner. When the drop-down menu appears, click the “Full Screen” button which is at the right of the Zoom option.

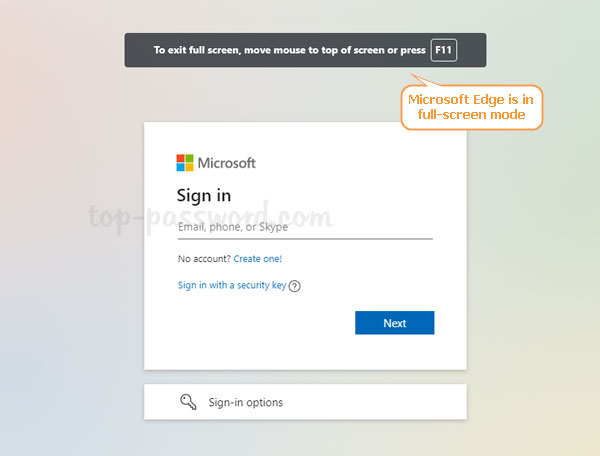
- It will activate a full-screen browsing experience. To exit full screen mode, move your mouse near top of the screen or simply press F11.
Method 2: Start Microsoft Edge in Full Screen with Kiosk
If you want to make Microsoft Edge automatically open a web page in full-screen, kiosk mode can be of help. Follow these steps:
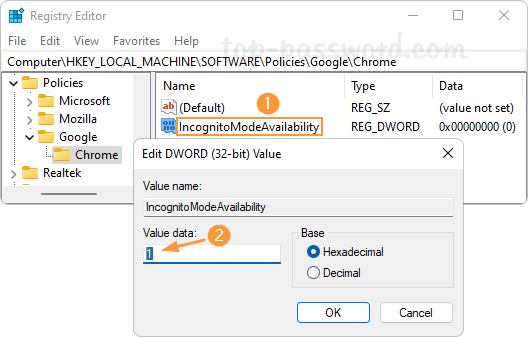
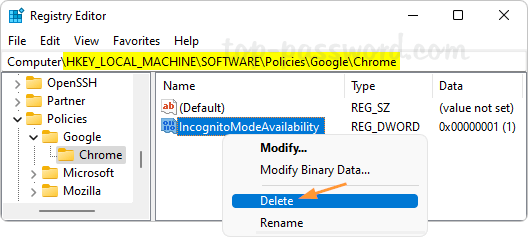
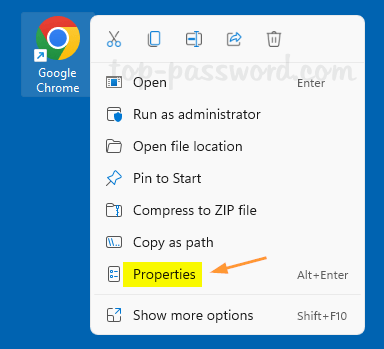
- Right-click the Microsoft Edge shortcut on your desktop, and then select Properties from the context menu.
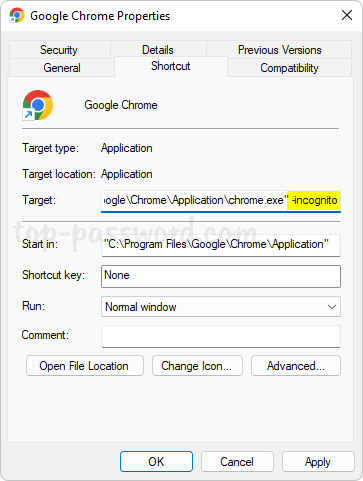
- Under the Shortcut tab, append the following string to the end of the Target text box. Replace
www.top-password.comwith the URL of the website you want to open.
--kiosk www.top-password.com --edge-kiosk-type=fullscreen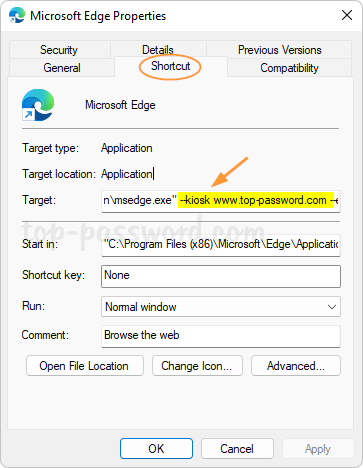
- Click OK. The next time you double-click the Microsoft Edge shortcut and it will always start Microsoft Edge in full screen by default. To exit kiosk mode at any time, press Ctrl + Alt + Delete.
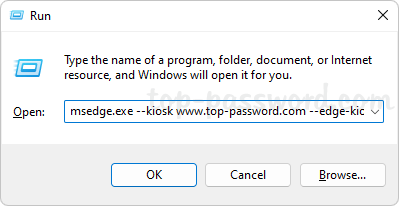
Another way of launching Microsoft Edge in kiosk mode is to press the WIN + R keys together, then run the following command:
msedge.exe --kiosk www.top-password.com --edge-kiosk-type=fullscreen
That’s it!