Folders always open in new window? File Explorer opens every folder in its own folder window? This can be quite annoying because you may get too many new windows after navigating through some folders. In this tutorial we’ll walk you through the steps to stop folders from opening in new window on Windows 11 / 10 / 8 / 7.
Part 1: Use Folder Options to Set Folders to Open in New Window
- Press the Windows key + R together to bring up the Run dialog box, enter the below command and press Enter to launch File Explorer Options.
control.exe folders
- Under the “Browse folders” section, select the “Open each folder in the same window” option.
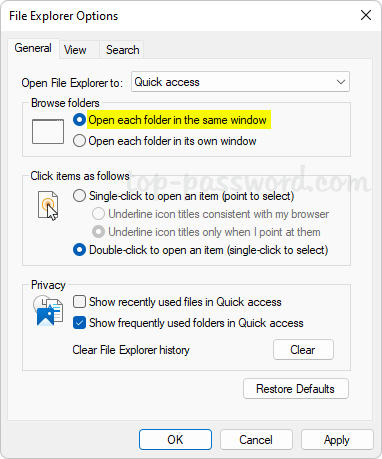
- Click Apply and then OK. You can now double-click a folder in Windows Explorer and see if it opens in the same window.
Part 2: Reset the Default Double-click Action
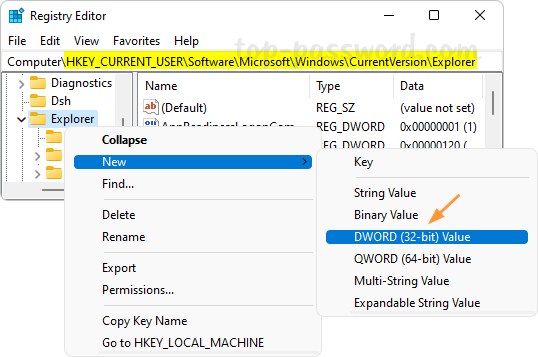
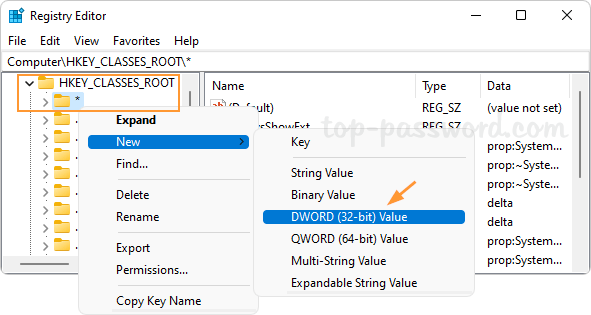
- Open Registry Editor and navigate to:
HKEY_CLASSES_ROOT\Folder\shell. Look for the “(Default)” entry in the right pane. If its value data is not empty, double-click it.
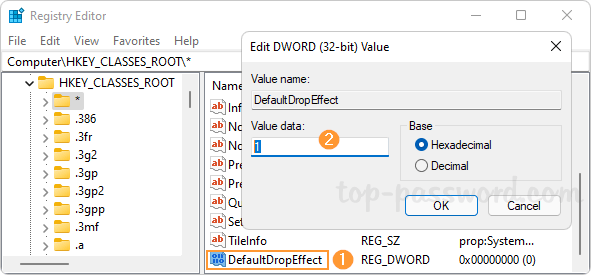
- In the Edit String dialog box, remove anything from the Value data field and click OK.

- Next, browse to:
HKEY_CLASSES_ROOT\Folder\shell\open. If the LaunchExplorerFlags entry appears in the right pane, just right-click it and select Delete.
- Close Registry Editor. Every time you double-click on a folder, it should no longer open in a new window.
That’s it!