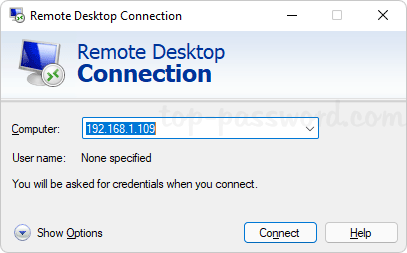
When you need to access a remote Windows computer, the first tool that comes to mind should be the built-in Terminal Services Client (mstsc.exe).
Starting with Windows 10, you can download a modern app called “Microsoft Remote Desktop” which allows you to connect to a remote Windows PC from Mac, PC, your iPhone or Android device. In this tutorial we’ll walk you through the steps of using the Microsoft Remote Desktop app to access your remote Windows PC.
How to Use the Microsoft Remote Desktop App to Access Remote PC
Before getting started, make sure you’ve turned on the Remote Desktop feature on your remote computer. So you can then start a remote connection from your local PC using the Microsoft Remote Desktop app.
- Download the Microsoft Remote Desktop app from Microsoft Store, Apple’s App Store or Microsoft’s official website, and then install it on your local device.
- Open the Remote Desktop app, click the Add button in the top-right corner, and then choose the “PCs” option from the pop-up menu.

- Enter the IP address of the remote computer you want to connect to, and click on Save.
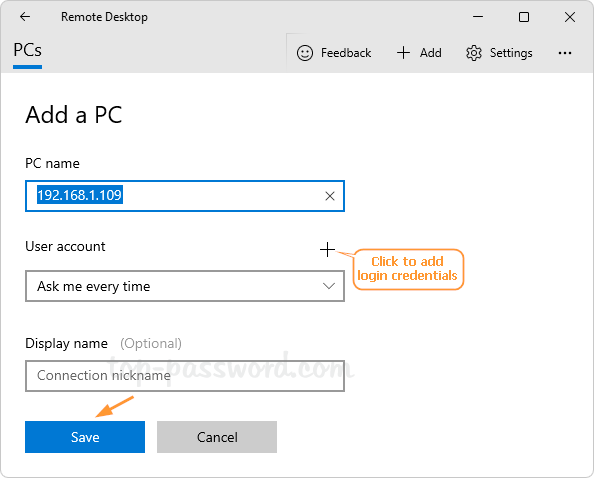
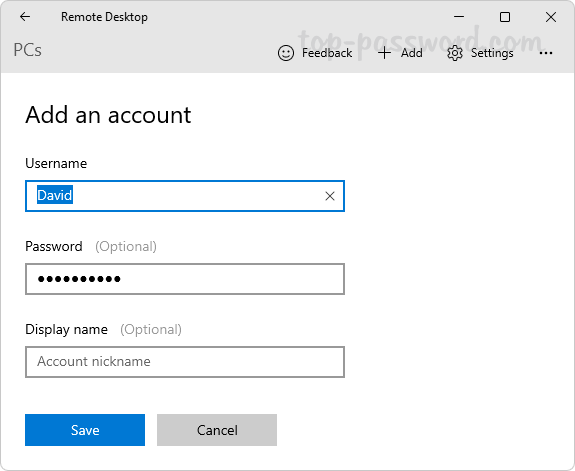
If you would like to save the login credentials, click the plus (+) icon next to the “User account” field. It will let you enter the username and password that you use to connect to the remote computer.
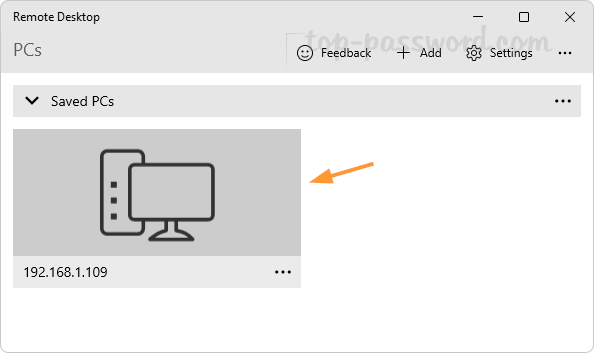
- Under the “Saved Desktops” section, click the icon for the remote PC to start a remote desktop connection.
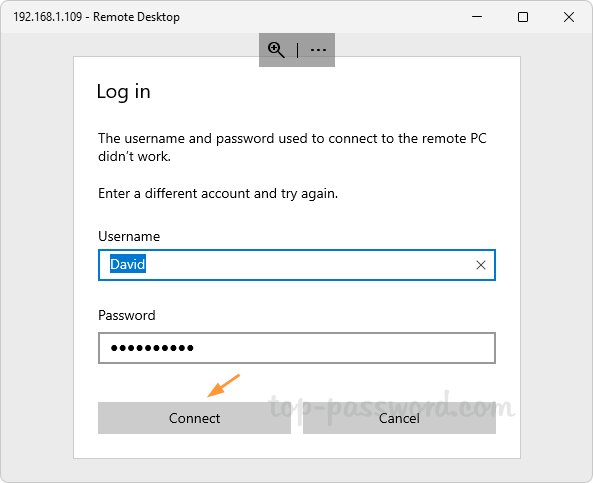
- You’ll be prompted to enter your username and password if your login credentials are not saved by the Remote Desktop app.
- Tick the “Don’t ask about this certificate again” checkbox and click on “Connect anyway“.

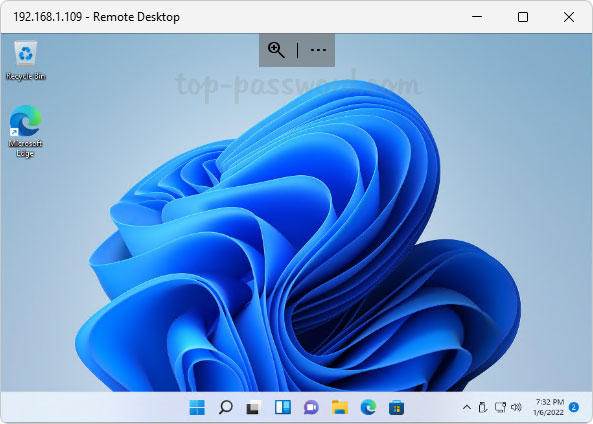
- You’re now connected to the remote PC. The magnifier icon at the top-middle toolbar lets you zoom in and out, while the three-dotted button allows you to terminate the session, or switch between full screen and window mode.
That’s it!