By default, Windows uses TCP/IP port 3389 for remote desktop connection. Since this port is well known and it could pose a security risk, you’d better change remote desktop RDP port for your Windows computer as an added security measure. The following method works with Windows 10, 8, 7 and Windows Server.
How to Change RDP Port for Windows Remote Desktop Connection?
- Press the Windows + R keys to open the Run command box. Type regedit and press Enter.

- On the left-side of Registry Editor, navigate to the following key:
HKEY_LOCAL_MACHINE\System\CurrentControlSet\Control\TerminalServer\WinStations\RDP-Tcp\PortNumber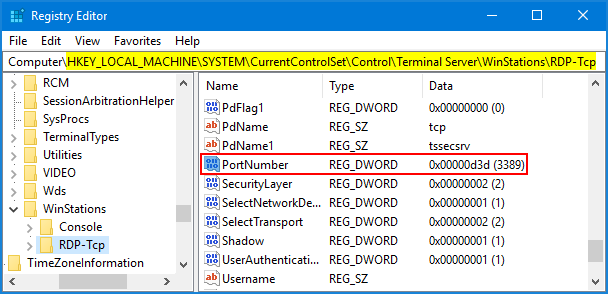
Scroll down on the right until you see the PortNumber value, and then double-click it to modify.
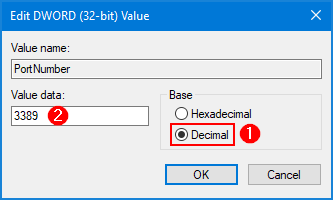
- Click Decimal, and type in the new port number that you want to use for remote desktop and click OK.
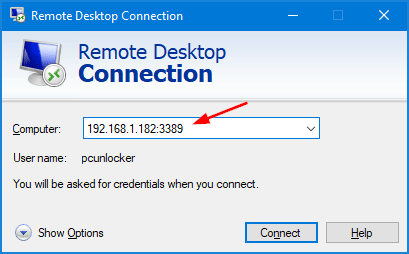
- Close the Registry Editor and reboot the computer. Note that the next time you connect to your PC with RDP you will need to add a colon followed by the port number to the IP address.
That’s it!