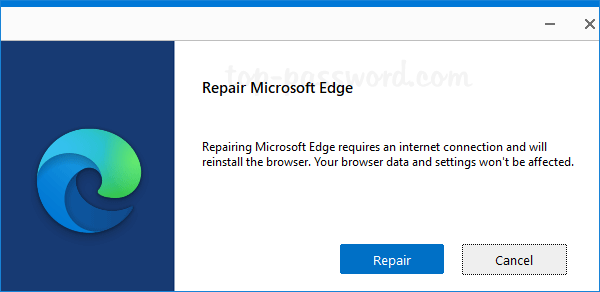
Microsoft Edge comes preinstalled as the default web browser in Windows 11 and Windows 10. When you try to uninstall Microsoft Edge using either Control Panel or the Settings app, you will find the Uninstall option is missing or greyed out. In this tutorial we’ll show you a simple way to uninstall Microsoft Edge in Windows 11 / 10.
How to Uninstall Microsoft Edge in Windows 11 / 10
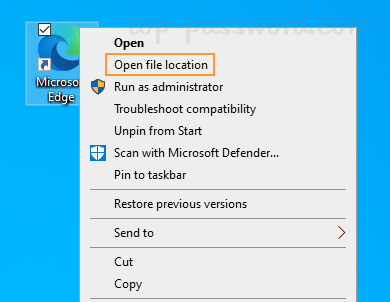
- Right-click on the Microsoft Edge shortcut on your desktop and then select “Open file location” from the context menu.
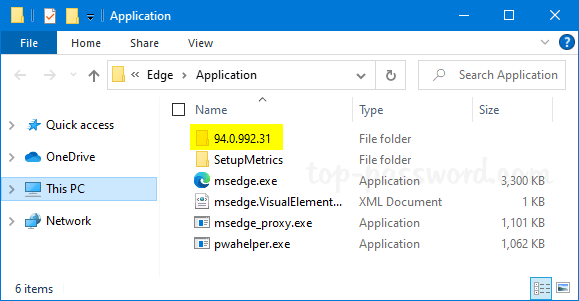
- File Explorer will open to the folder: C:\Program Files (x86)\Microsoft\Edge\Application. Simple double-click the folder which is named with the version number of your Microsoft Edge. In my case, it is 94.0.992.31.
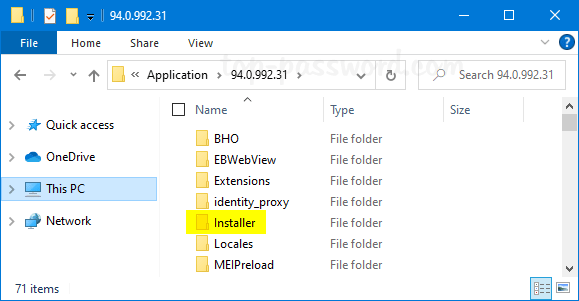
- Next, double-click and open the Installer folder.
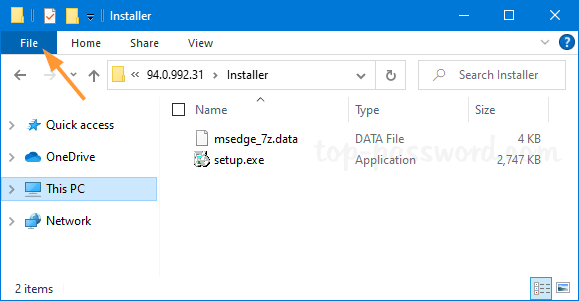
- We’ll later use the setup.exe file for uninstalling Microsoft Edge. To open an elevated PowerShell at this location, click the File menu in the top-left corner.
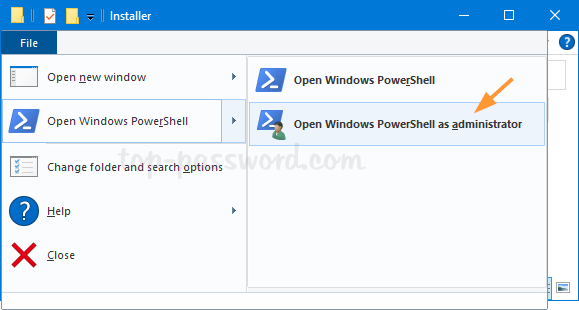
- select Open Windows PowerShell, and then Open Windows PowerShell as administrator. Click Yes if the UAC dialog appears.
- When a PowerShell window opens up, type the following command and press Enter. After a while, Microsoft Edge will be removed and uninstalled from your system.
.\setup.exe -uninstall -system-level -verbose-logging -force-uninstall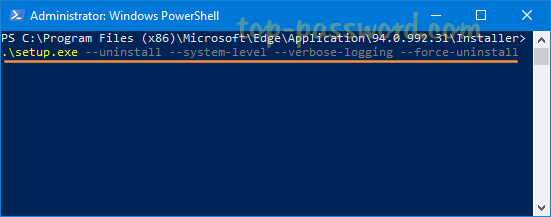
Whenever you need to install Microsoft Edge later, you can download it from https://www.microsoft.com/en-us/edge.
That’s it!