What is my screen resolution? How do I find out screen resolution on my monitor using Command Prompt? Screen resolution is the number of pixels a screen can show, both horizontally and vertically. In this tutorial we’ll show you easy ways to check screen resolution in Windows 10.
Method 1: Check Screen Resolution in Windows 10 Using Settings App
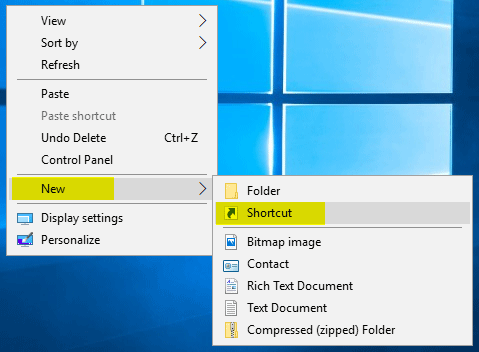
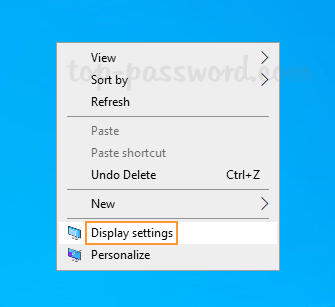
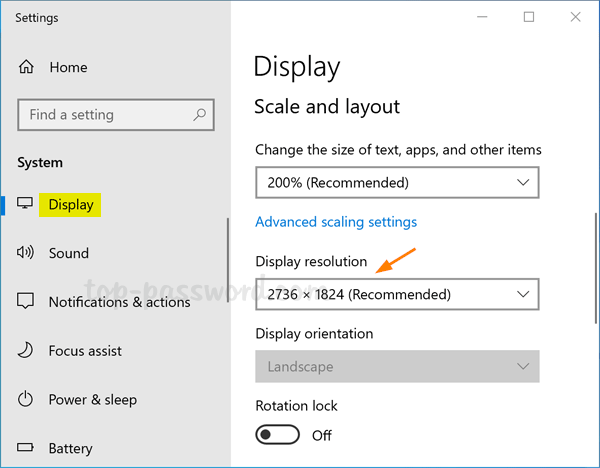
Right-click any empty space on the desktop and select Display settings from the context menu.
The Settings app will launch and open to the Display page. On the right side, you can see the display resolution in the drop-down list.
Method 2: Check Screen Resolution in Windows 10 Using Command Prompt
Open up the Command Prompt or PowerShell window, copy and paste the following command and hit Enter.
wmic path Win32_VideoController get CurrentHorizontalResolution,CurrentVerticalResolution
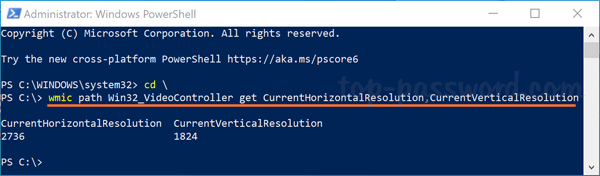
You’ll get screen resolutions for all the available monitors on your computer. In my example, my display uses a resolution of 2736 x 1824 pixels.
Method 3: Check Screen Resolution in Windows 10 Using DirectX Diagnostic Tool
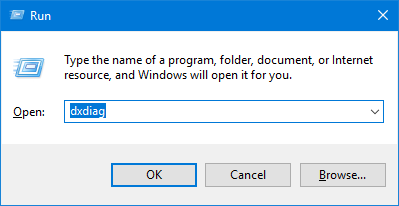
To launch DirectX Diagnostic Tool, press the Windows logo key + R to open the Run dialog. Type dxdiag and hit Enter.
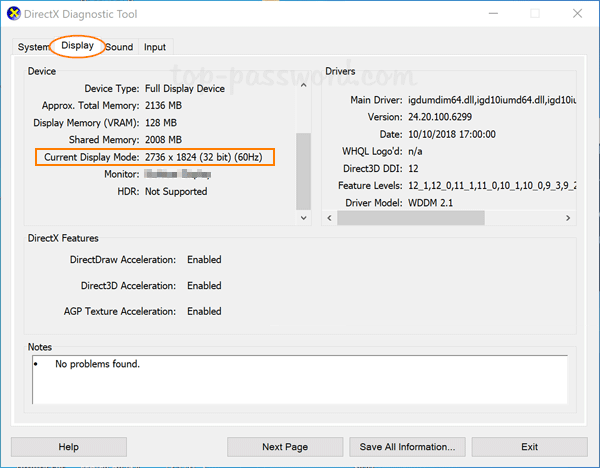
Click the Display tab. Under the Device section, you can find your current screen resolution next to the “Current Display Mode” field.
That’s it!