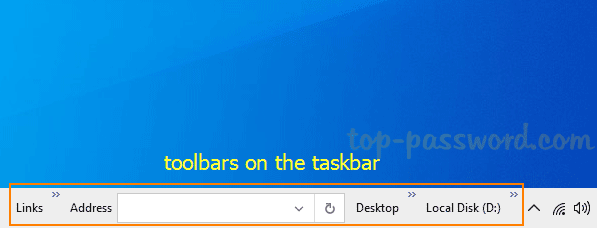
How can I backup taskbar toolbars before reinstalling Windows? Is there a way to reset taskbar toolbars to the default settings? Windows allows you to add Address, Links, Desktop and custom folders to the taskbar for quick access. However, if your toolbars are removed or become cluttered, you have to add or rearrange them again from the beginning.
In this tutorial we’ll show you how to backup, restore or even reset taskbar toolbars in Windows 10.
Part 1: Backup Taskbar Toolbars in Windows 10
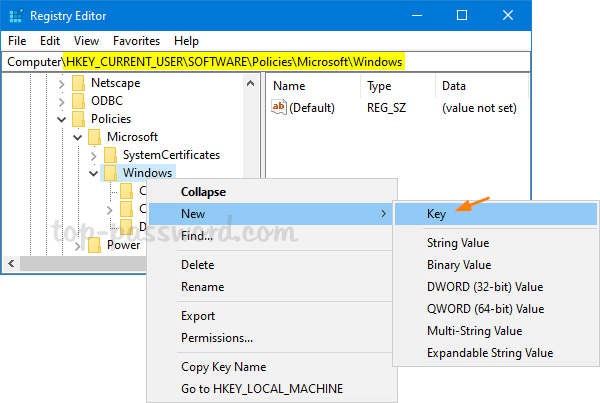
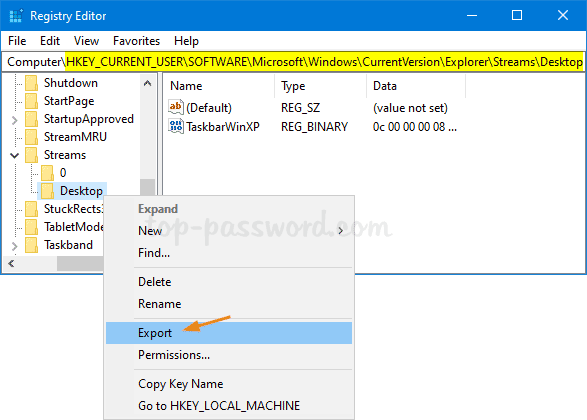
Open Registry Editor and browse to the key: HKEY_CURRENT_USER\Software\Microsoft\Windows\CurrentVersion\Explorer\Streams\Desktop. Right-click on the Desktop key in the left side and select Export.
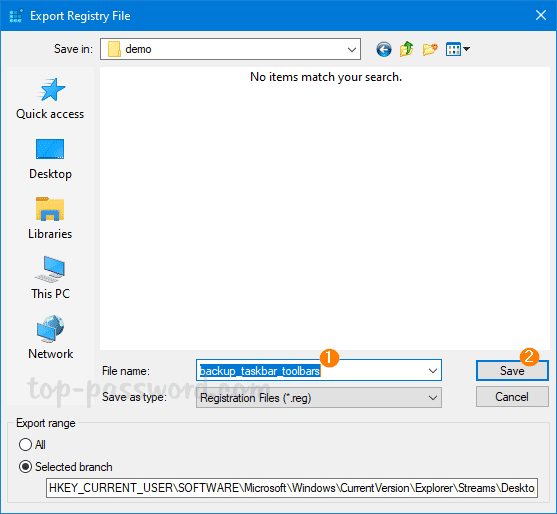
Your taskbar toolbars settings will be saved in .reg format. Select the desired location and enter a file name, then click on Save.
Part 2: Restore Taskbar Toolbars in Windows 10
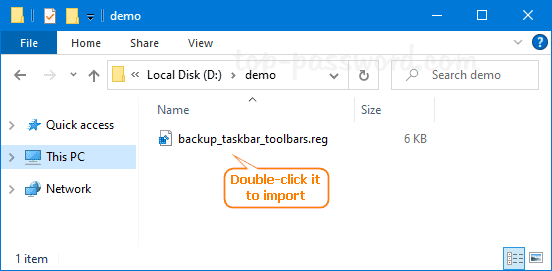
Just double-click on the .reg file that you saved earlier. Click Yes when UAC asks for confirmation.
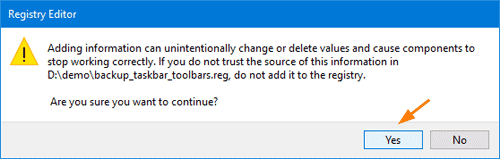
A confirmation box will open and ask if you want to add this reg file to the registry. Click Yes.
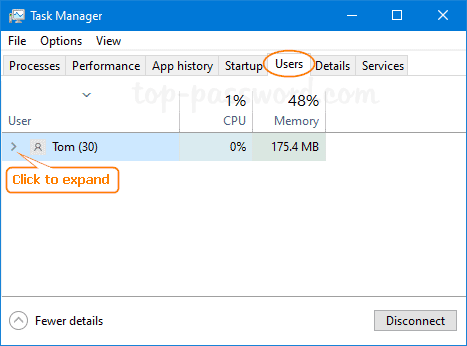
Last but not least, in order to make the changes take effect, you need to restart File Explorer rather than rebooting Windows. Just open Task Manager and select the Users tab. Click the small arrow next to your current account to expand a list of all processes.
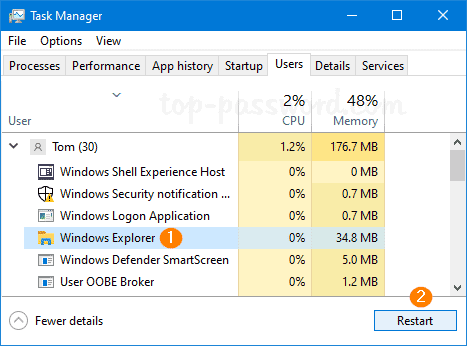
Choose the “Windows Explorer” process and click on Restart.
After a while, your taskbar toolbars will be restored successfully.
Part 3: Reset Taskbar Toolbars to Defaults
If your taskbar toolbars are messed up, you can reset them to system defaults with ease. Just open Registry Editor and navigate to: HKEY_CURRENT_USER\Software\Microsoft\Windows\CurrentVersion\Explorer\Streams\Desktop.
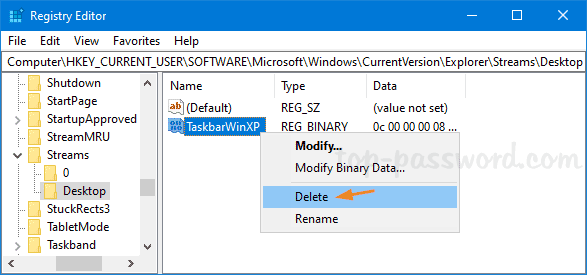
On the right pane, right-click on the binary value named TaskbarWinXP and select Delete. Restart File Explorer and your taskbar toolbars will be restored to system defaults.