Just like other web browsers, Microsoft Edge also supports extensions (add-ons) and you can install your favorite extensions directly from Microsoft Store. In this tutorial we’ll show you the easy way to update all existing extensions for Microsoft Edge at once.
How to Update Extensions (add-ons) for Microsoft Edge
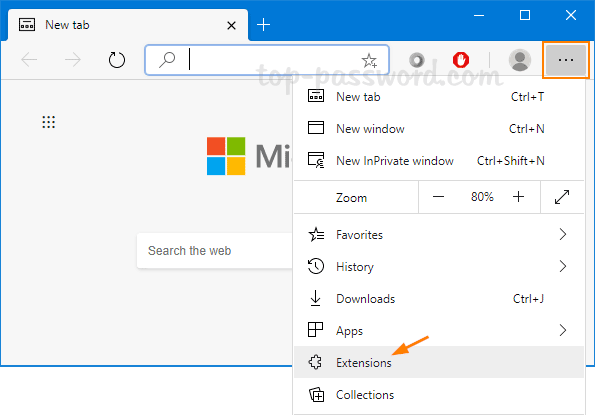
- Open Microsoft Edge. Click the More Options button (three dots) in upper right corner, and then select Extensions from the drop-down menu.
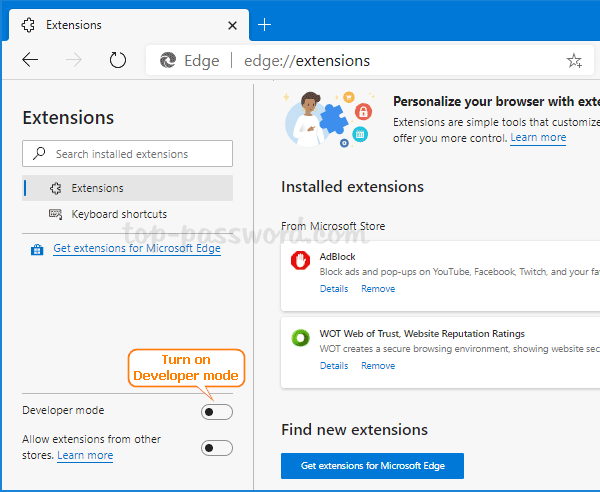
- Turn on the Developer mode option at the bottom of the left panel.
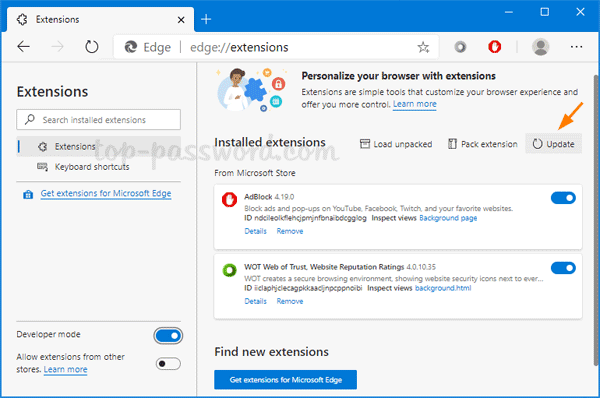
- After you toggle it on, you’ll see three buttons appear next to “Installed extensions”. Just click the Update button and Microsoft Edge will immediately check and install any updates available for all installed extensions.
- When it’s done, you’ll get a pop-up message saying “extensions updated”.
You can use the similar method to update extensions for Chrome or other Chromium-based browsers. I would expect Microsoft Edge to give me a notification when a new update is available.