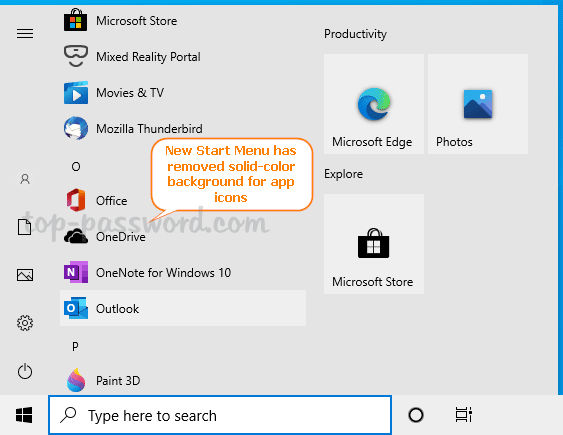
Microsoft has redesigned the Start Menu for Windows 10 and the new look Start Menu is expected to arrive in the the upcoming version – November 2020 update. The new Start Menu removes the ugly square backgrounds for app icons and the tiles are now also partially transparent. In this tutorial we’ll walk you through the steps to enable the new Start Menu in Windows 10 version 2004.
How to Enable the new Start Menu in Windows 10 version 2004
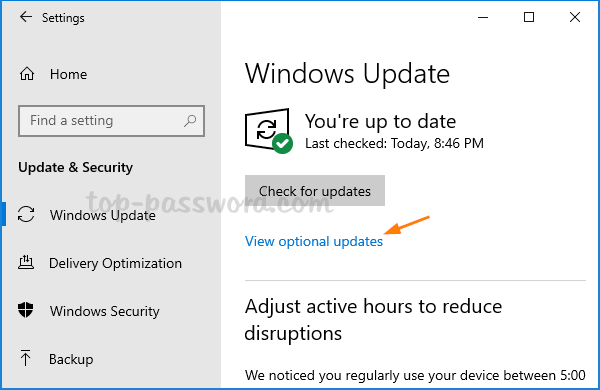
- Open up the Settings app and navigate to Update & Security – > Windows Update. Click on the “View optional updates” link. If this link is missing, click on the “Check for updates” button first.
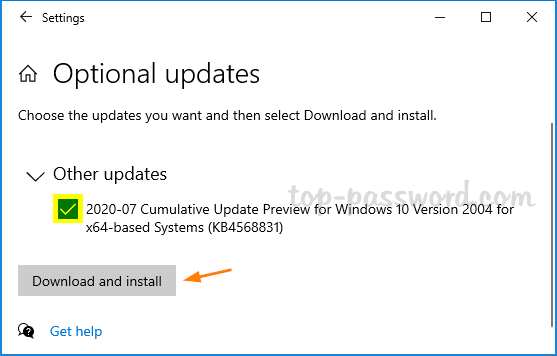
- Expand the “Other updates” category. Check the “2020-07 Cumulative Update Preview for Windows 10 version 2004 for x64-based systems (KB4568831)” option and then click on Download and install.
- Once the update is installed, reboot your computer. Next, open NotePad, copy the following lines into it, save the file with .reg extension.
Windows Registry Editor Version 5.00

[HKEY_LOCAL_MACHINE\SYSTEM\CurrentControlSet\Control\FeatureManagement\Overrides\0\2093230218]

"EnabledState"=dword:00000002

"EnabledStateOptions"=dword:00000000 - Double-click the saved .reg file to import the settings into Windows Registry. Restart your system again and you’ll see the new Start Menu, which removes the the solid-color backplates behind the logos in the app list of the Start Menu.
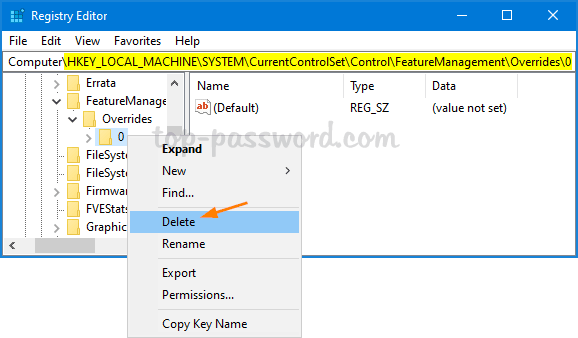
If you need to disable the new Start Menu later, just open Registry Editor and browse to HKEY_LOCAL_MACHINE\SYSTEM\CurrentControlSet\Control\FeatureManagement\Overrides. Right-click on the 0 subkey and select Delete.
Reboot and the old Start Menu will come back!