How can I change the default font style or size for the Registry Editor app itself? Starting with Windows 10 build 14986, Registry Editor allows you to change font size or customize font face. In this tutorial we’ll show you 2 easy methods to change Registry Editor font for all user accounts in Windows 10.
Method 1: Change Font via Registry Editor Menu
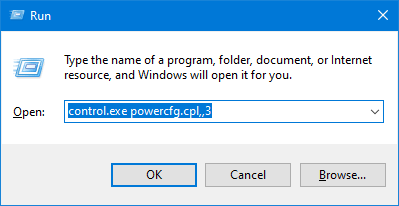
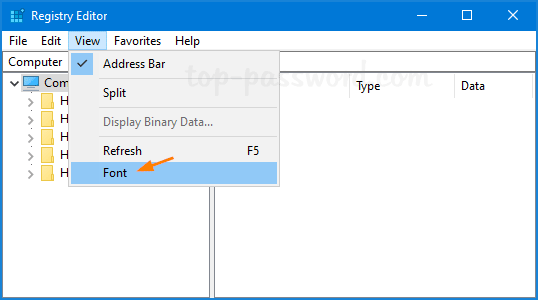
- Press the Windows Key + R shortcut on your keyboard. Type regedit and hit Enter. When the Registry Editor window opens, select the View menu and click Font.
- In the Font dialog box, you can pick up your preferable font face, style and size.
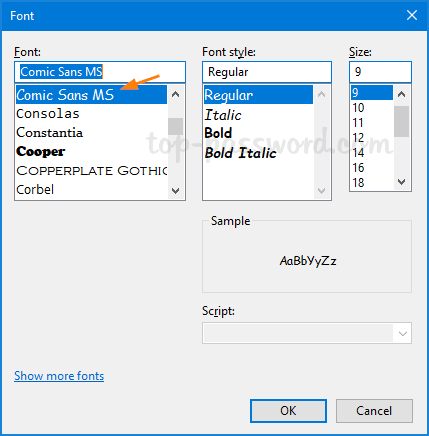
- Once you are done, click OK and the font changes should be visible now.
Method 2: Change Font via Registry Tweak
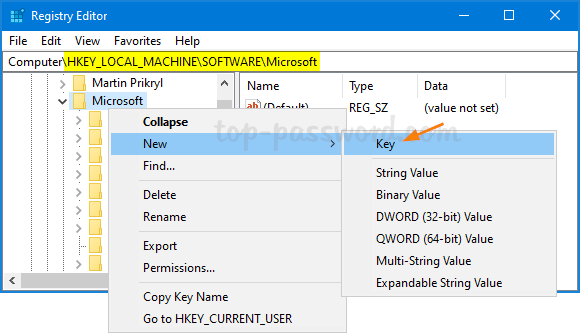
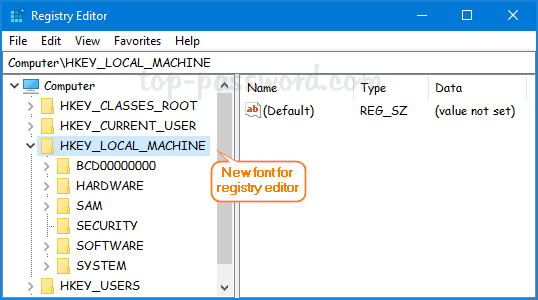
- Open Registry Editor and navigate to the following key:
HKEY_LOCAL_MACHINE\SOFTWARE\Microsoft\Windows\CurrentVersion\RegEdit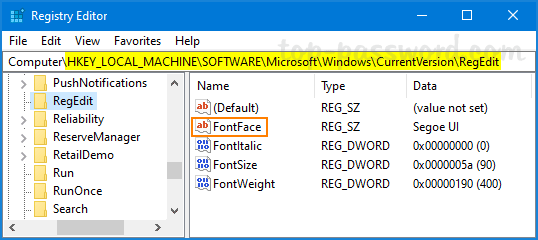
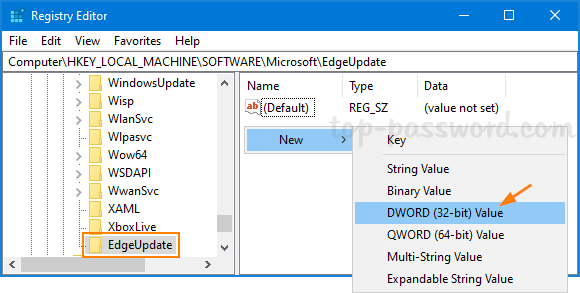
Next, double-click on the DWORD FontFace in the right pane.
- Type the name of your preferable font in the Value data box and click OK.
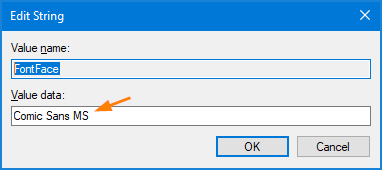
Tip: open File Explorer and browse to the C:\Windows\Font folder, you can find the name of any font installed on your current system.
- Close Registry Editor and relaunch it to see the changes.