Each drive on your computer should have a unique and meaningful name, but they are usually named “Local Disk” or “New Volume” by default. The drive letters may change when a new disk is added, but you can have a persistent drive label. In this tutorial we’ll show you different ways to label or rename a hard drive in Windows 10.
Method 1: Rename Hard Drive from Context Menu
- Open File Explorer and select the drive you want to rename and press F2, or right-click the drive and select “Rename” from the context menu.
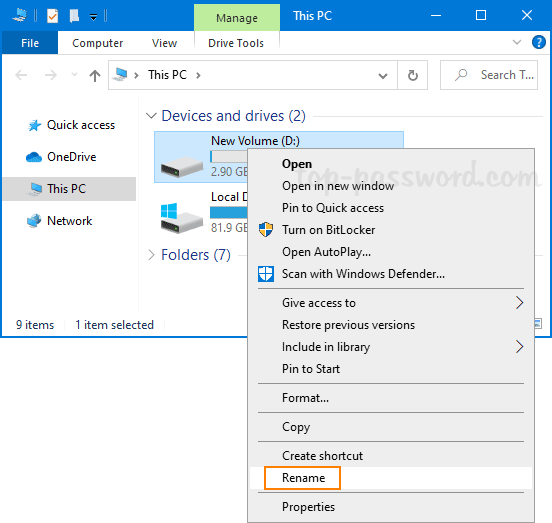
- Type a new name and press Enter to apply the change.
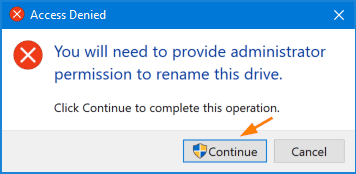
- When you get a message saying: “Access Denied – You will need to provide administrator permission to rename this drive.” click on Continue.
Method 2: Rename Hard Drive from Drive Properties
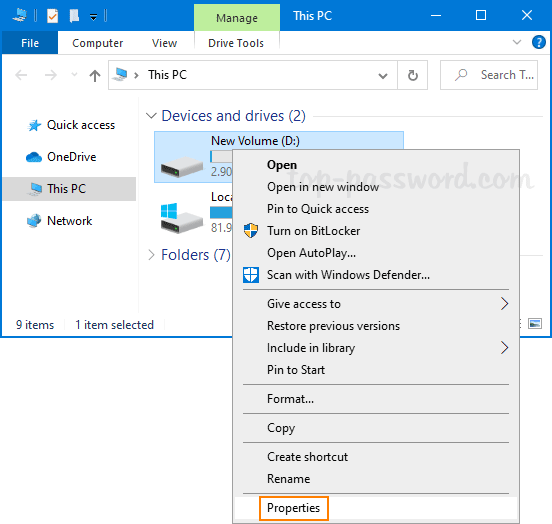
- Right-click on the target drive in File Explorer and select “Properties” from the context menu.
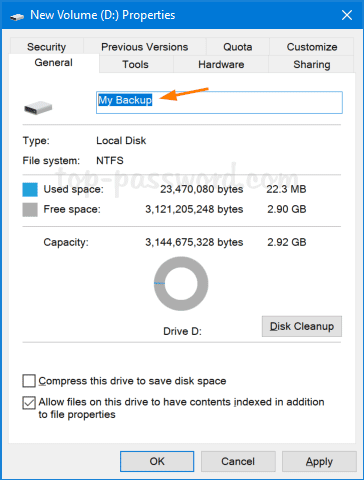
- When the Properties window opens, type a new name in the text box and click OK.
Method 3: Rename Hard Drive from Command Prompt
- Open the Command Prompt as administrator. Type the following command and hit Enter. Do not add quotation marks even if your new name contains space.
label drive_letter: new_name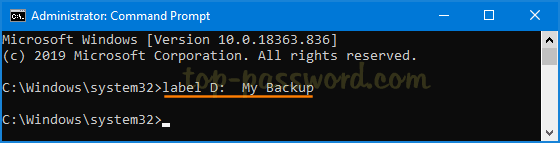
- This will change your drive label immediately.
Method 4: Rename Hard Drive from PowerShell
- Open an elevated PowerShell window and run the following command. Replace “D” with your actual drive letter, and “My Backup” with the new drive name.
Set-Volume -DriveLetter D -NewFileSystemLabel "My Backup"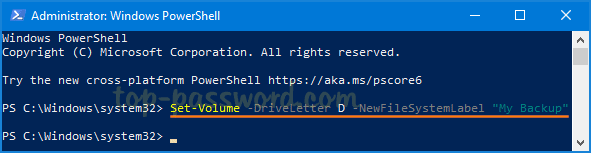
- When it’s done, open File Explorer and you’ll see the drive with the new label.
That’s all there is to it.