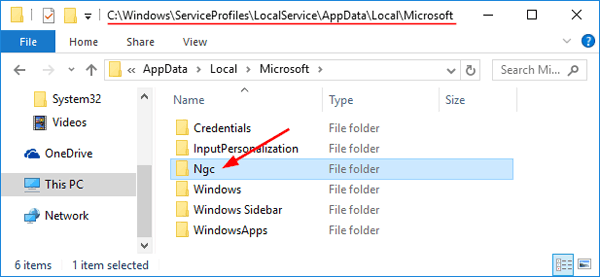
By default, Windows 10 will display the folder name alone in the title bar of File Explorer. Sometimes you might need to know the absolute path of the location you are currently in. In this tutorial we’ll show you 2 ways to make Windows 10 display full path (file location) in the title bar of File Explorer.
Method 1: Make Windows 10 Display Full Path in Explorer Title Bar Using Folder Options
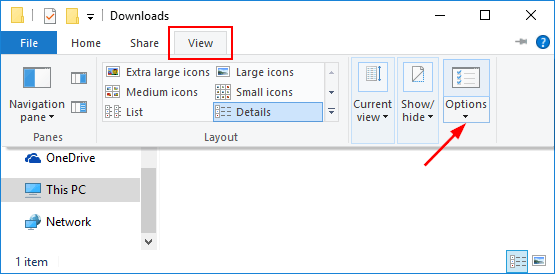
- Open File Explorer. Click the View tab on the ribbon. You’ll see the the Options button on the right-hand side. Click it to open the Folder Options dialog.
- Click the View tab. Locate and tick the checkbox named “Display the full path in the title bar“.
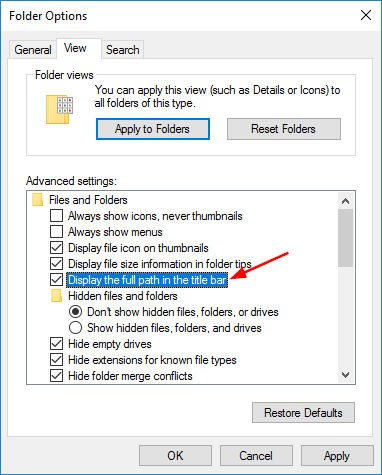
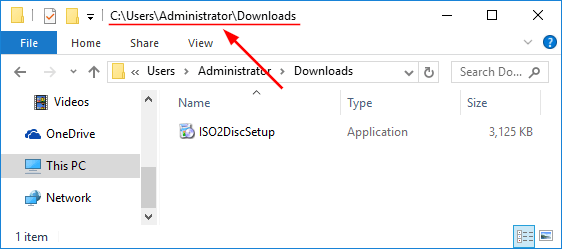
- Click Apply followed by OK. Log off your user or restart the computer. As you see, the File Explorer should now show the full file path instead of the folder name in the title bar.
Method 2: Make Windows 10 Display Full Path in Explorer Title Bar Using Registry Editor
- Press the Windows key + R to open the Run dialog box, type regedit and hit Enter.

- In the left pane of Registry Editor, navigate to the following key:
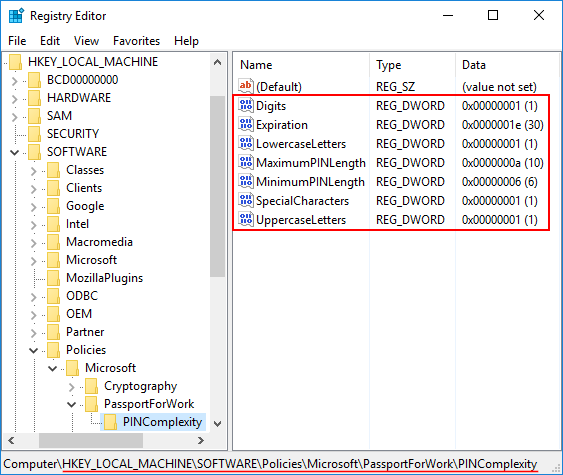
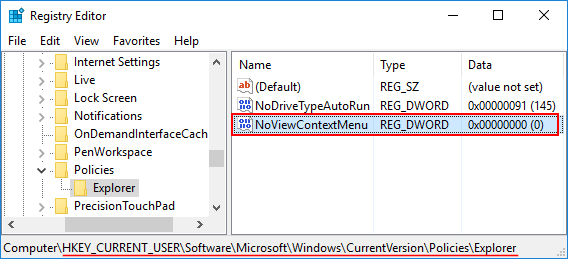
HKEY_CURRENT_USER\Software\Microsoft\Windows\CurrentVersion\Explorer\CabinetState - In the right pane, double-click the value entry FullPath and modify the value to 1.

If FullPath doesn’t exist, you need to create it first. To do so, right-click on the empty space and select New -> DWORD (32-bit) Vaule, and name it FullPath.
- Close Registry Editor and reboot your computer. If you want to make Windows 10 not show full path in the title bar of File Explorer, just open Registry Editor and delete the FullPath value entry.