With a lower resolution all the texts and images appear larger. Likewise, at a higher resolution, the items look sharper and smaller. When you install Windows 10, it automatically sets the recommended screen resolution fix to the screen. But sometimes your game or software might won’t work with the default resolution, so here we’ll show you how to change screen resolution in Windows 10.
How to Change Screen Resolution in Windows 10?
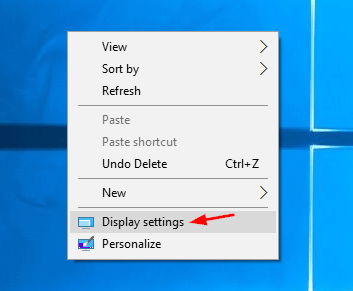
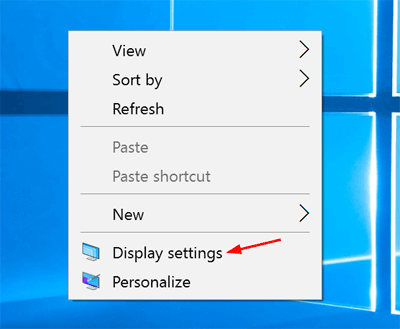
- Right-click any empty space on your desktop. Select Display settings from the context menu.
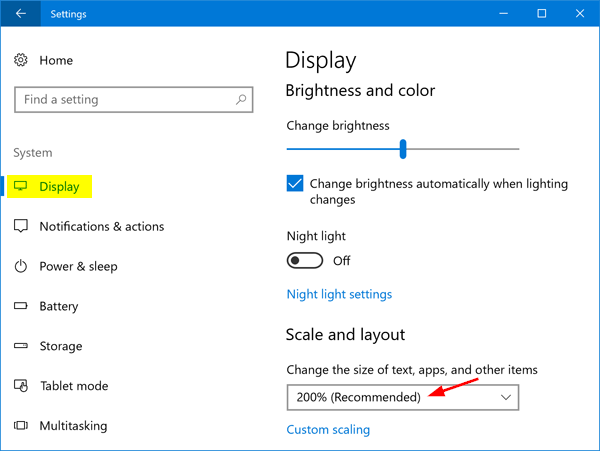
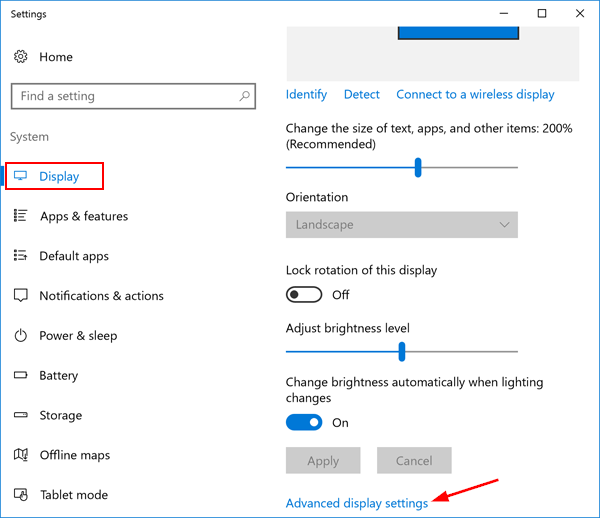
- In the right pane, you can see the options to change the text size, brightness and orientation. Scroll down and click on Advanced display settings.
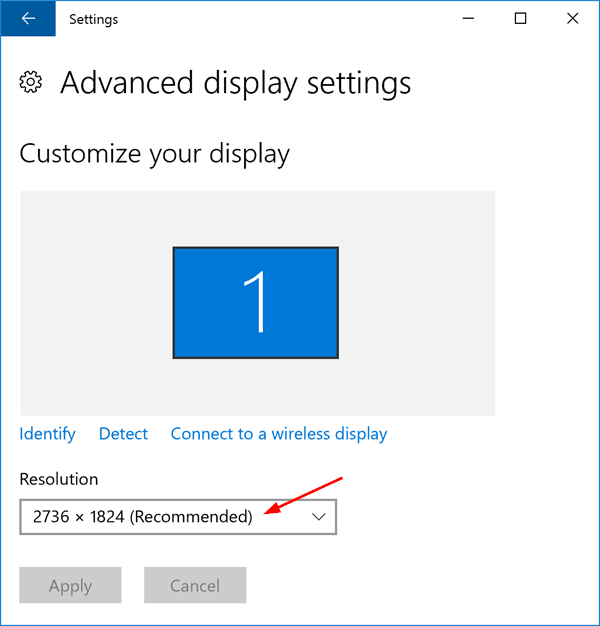
- Click on the drop-down box under Resolution to view all supported resolutions, and select one of the listed resolutions and then click Apply button.
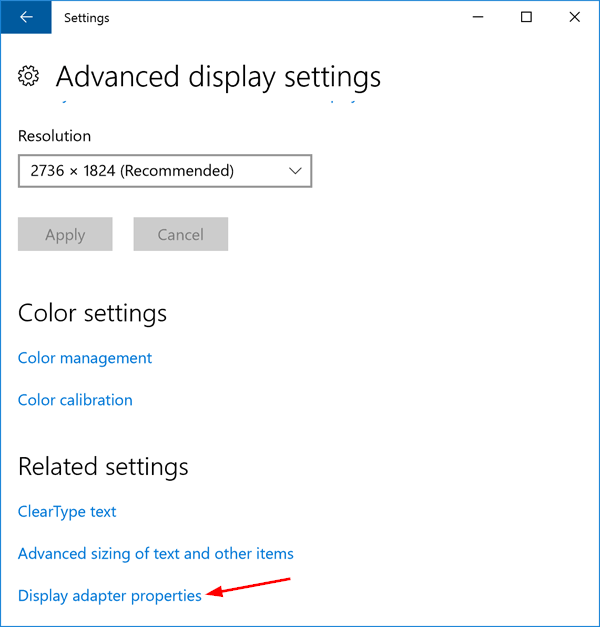
- If your desired resolution is not shown in the drop-down box, scroll down to the bottom and click Display adapter properties.
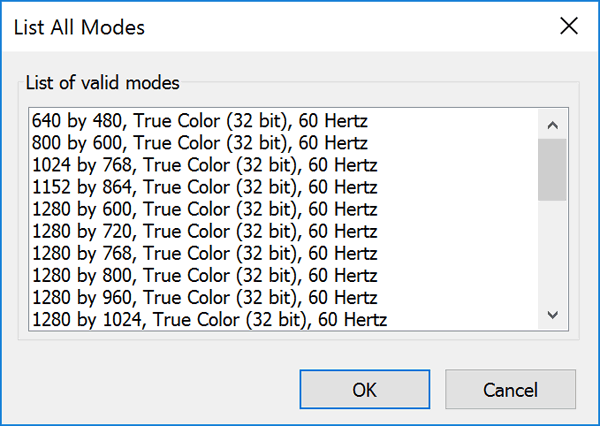
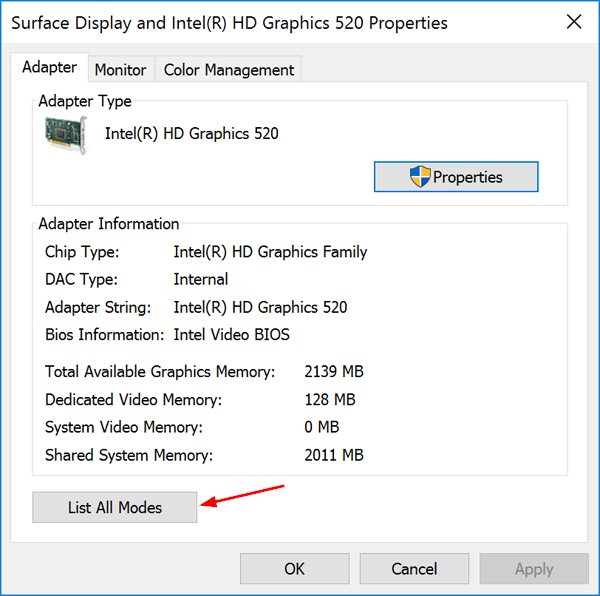
- In the display adapter’s Properties dialog box, select the Adapter tab, and then click List All Modes.
- This will open a new window listing every single resolution that your display can support. Select a resolution and click OK and then Apply.