What to do if your Windows computer has become corrupt, unusable or unstable? Most of the time, it’s very difficult to find out the exact cause of the problem and we’re suggested to roll back all recent changes to the operating system. In this tutorial we’ll show you how to recover unbootable Windows 10 or 8 system with your previously-created restore point.
How to Recover Unbootable Windows 10 or 8 with Restore Point?
When your computer is crashed, unbootable or it’s not working as you expected, you can use System Restore to restore your computer to the latest restore point. Follow these steps:
- Boot your computer with Windows 10/8 installation DVD. If you don’t have a install disc, you can use a working PC to download the ISO file from Microsoft and create a bootable USB drive for Windows Setup.
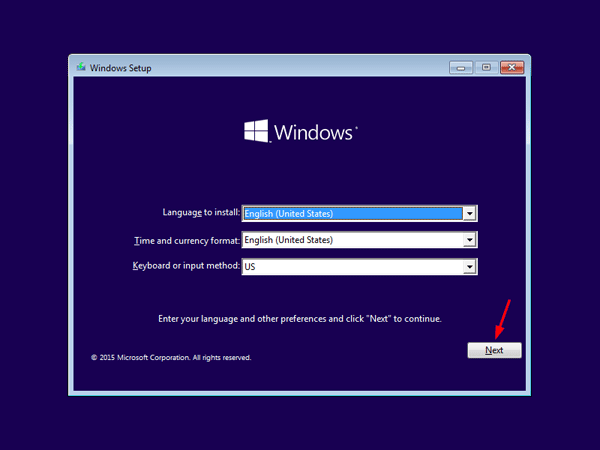
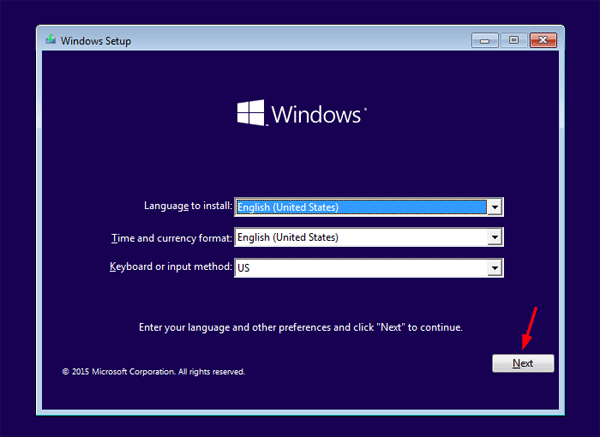
- Once booted to the Windows Setup screen, you’re prompted to select language and keyboard layout. Click Next.
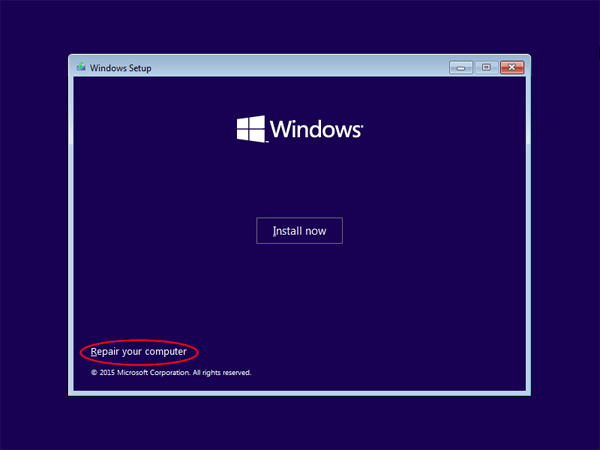
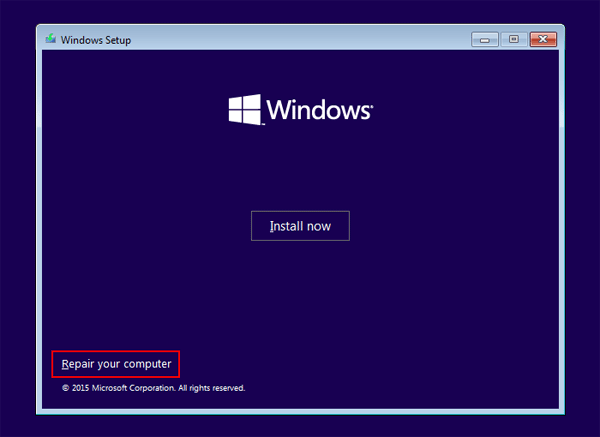
- Click Repair your computer at the bottom.
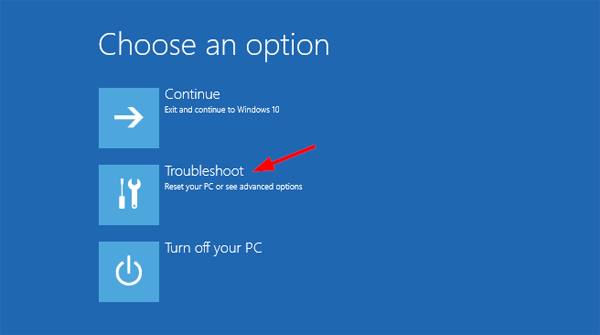
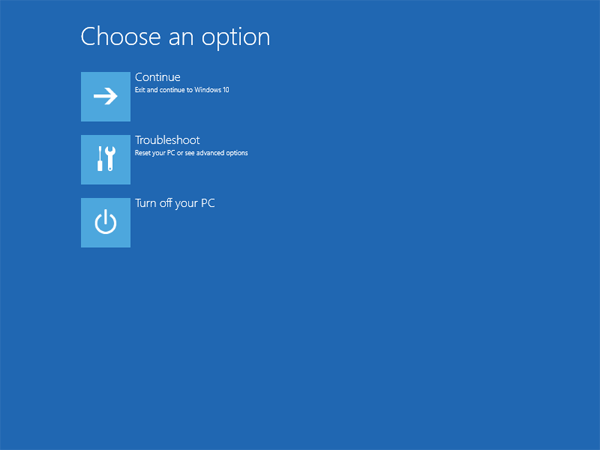
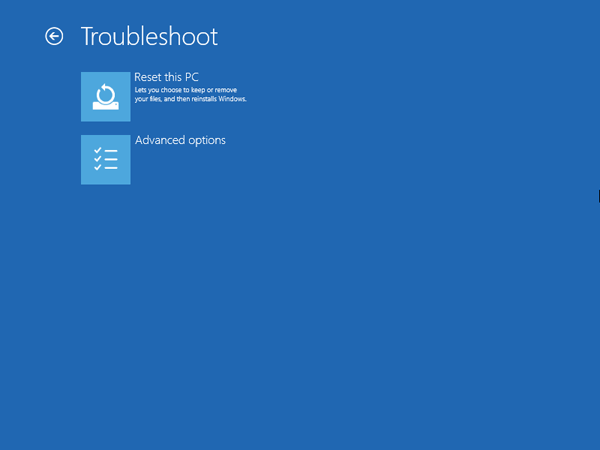
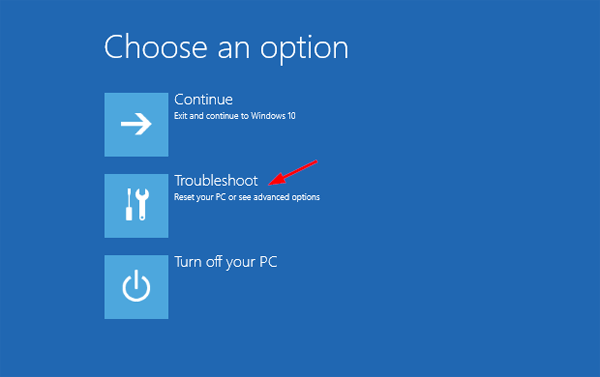
- Select Troubleshoot from Choose an option screen.
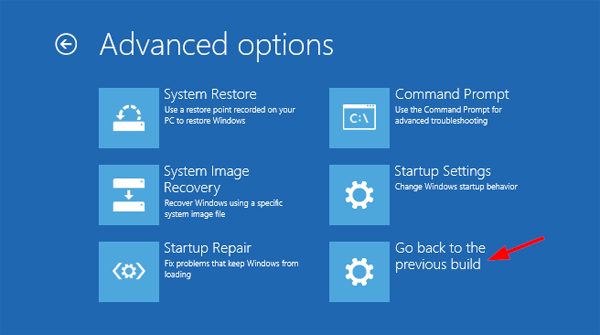
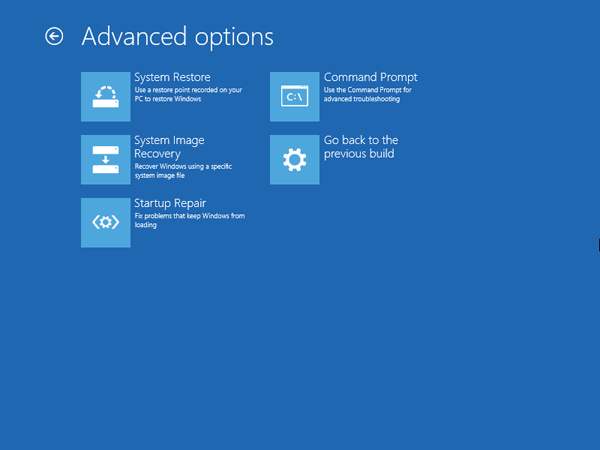
- Click Advanced options.

- Click System Restore.

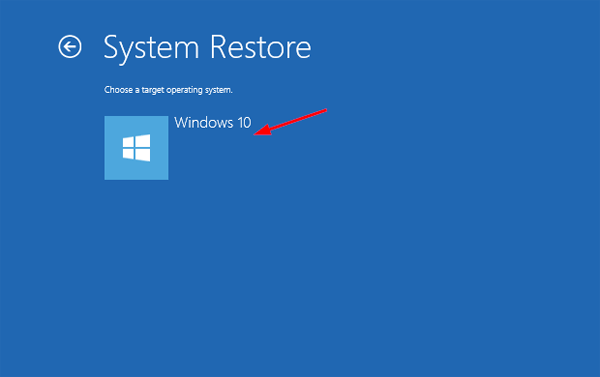
- Click on the operating system you’re going to perform a system restore on.
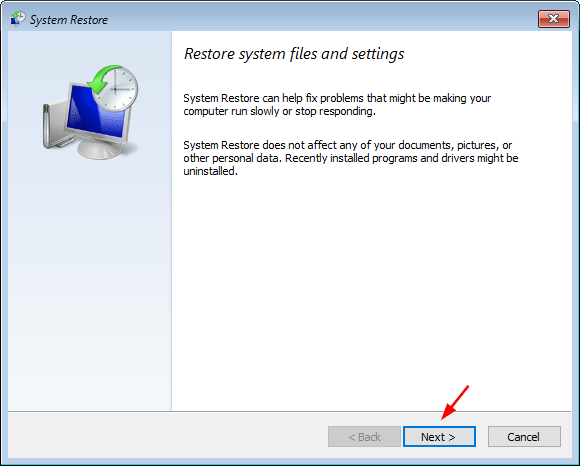
- When the System Restore wizard opens, click Next.
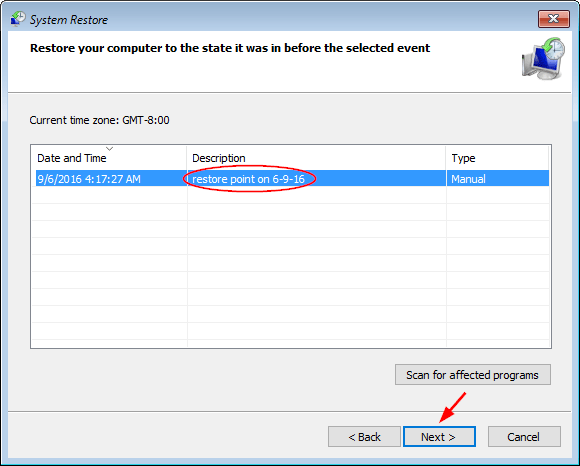
- You’ll be presented with a list of previously created restore points. Select the restore point you want to restore to and click Next.
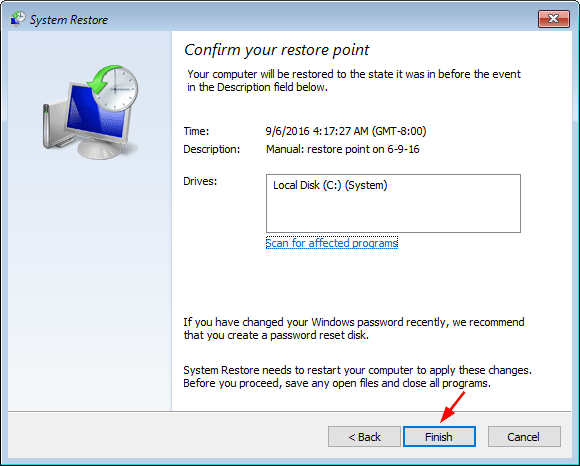
- Confirm the restore point and click Finish.
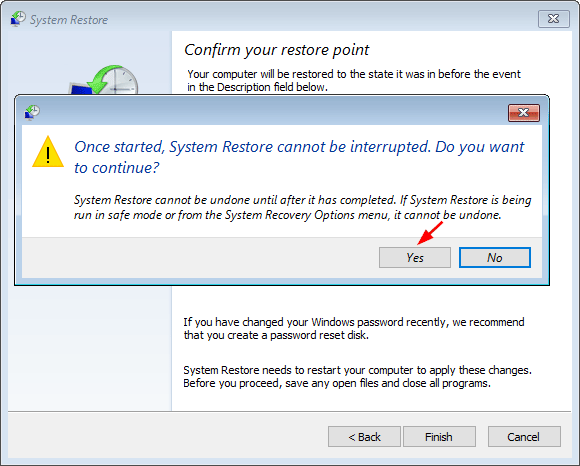
- A dialog box will pop up to ensure you really want to perform a system restore. It can’t be undone. If you’re sure, click Yes. This starts your system restore.
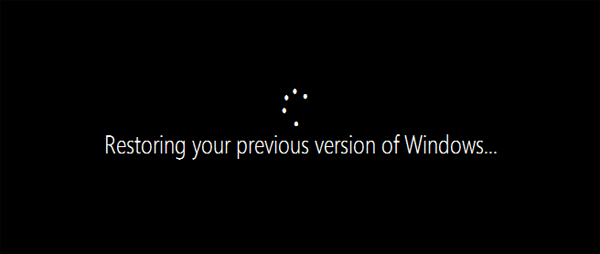
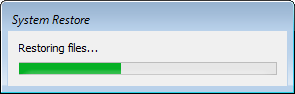
- Your PC will restart and begin the system restore process. This may take a few minutes to revert back to the selected restore point.
- After successful restoration, you’ll have a message saying system restore completed successfully.

Click on Restart and your computer should boot successfully into Windows. You’ll still have all of your documents, but might be missing a couple of programs that you’ll just need to reinstall again.