Microsoft Edge is the new default web browser in Windows 10. It’s clean, fast, and more intuitive than Internet Explorer. In this article we’ll show you 4 ways to open Microsoft Edge in Windows 10.
Method 1: Open Microsoft Edge from Taskbar
By default, the Microsoft Edge shortcut is pinned to Windows taskbar. Just click the Microsoft Edge icon and you can launch Edge browser immediately.

Method 2: Open Microsoft Edge from Start Menu
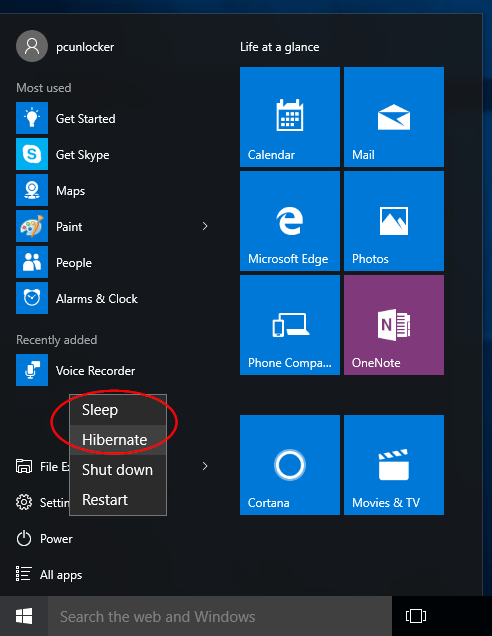
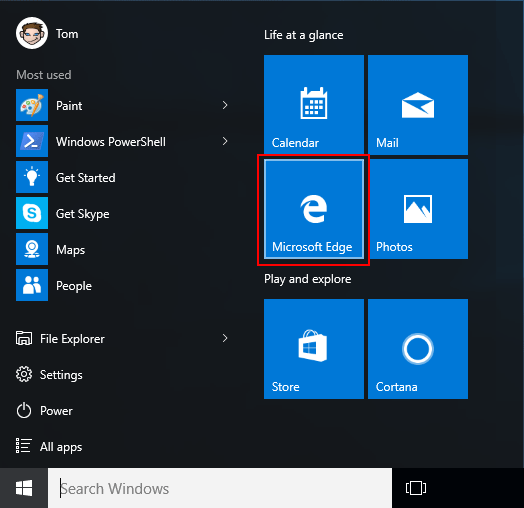
Click on the Start button, then click the Microsoft Edge tile shown at the right panel of the Start Menu.
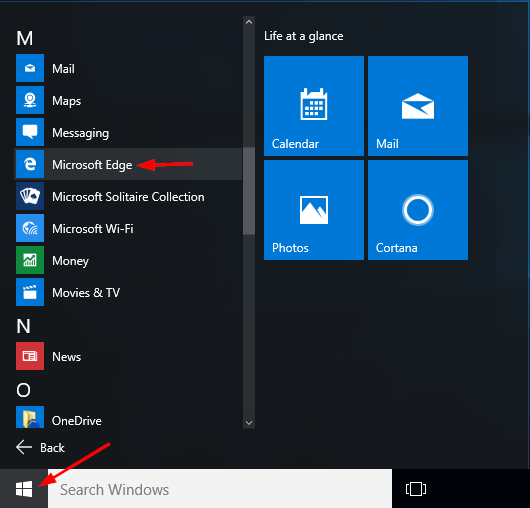
If Microsoft Edge is not shown there, click the All apps entry on the left side of Start Menu. Scroll down to select Microsoft Edge.
Method 3: Open Microsoft Edge Using Cortana Search
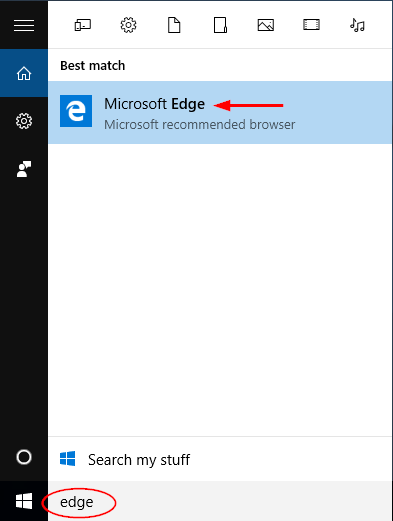
Click the Cortana Search box on the Windows 10 taskbar. Type edge and you can access Microsoft Edge from the search results.
Method 4 Open Microsoft Edge from Run or Command Prompt
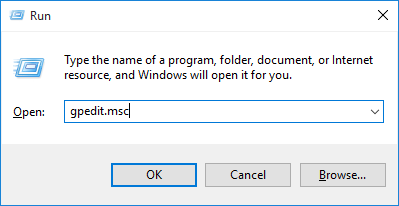
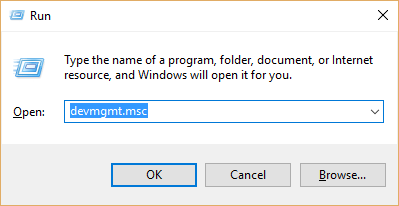
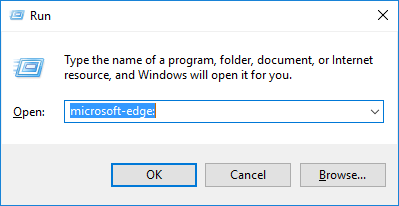
Press the Windows key + R to open the Run box. Type microsoft-edge: and press Enter. This will launch Microsoft Edge instantly.
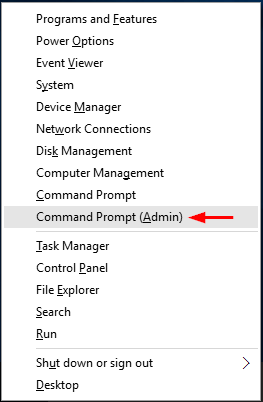
If you’re at the Command Prompt or PowerShell, just type start microsoft-edge: and press Enter.
If you want to open URL in Microsoft Edge from Command Prompt, type the following command and press Enter:
start microsoft-edge:http://www.top-password.com
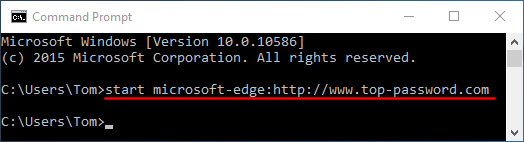
This will automatically open Edge with your desired website.