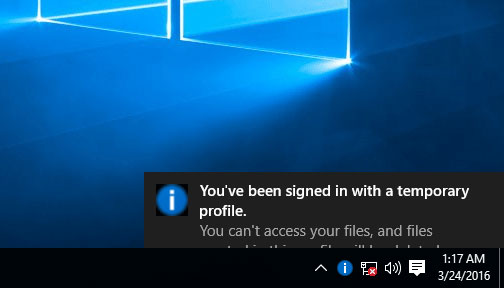
After you log on to a Windows user account, you may face the temporary profile issue and some of your desktop icons & files are disappeared. A notification pops up in the right bottom corner of the taskbar, saying:
“You’ve been signed in with a temporary profile. You can’t access your files, and files created in this profile will be deleted when you sign out. To fix this, sign out and try signing in later. Please see the event log for more details or contact your system administrator.”
In Windows 7, the error message looks like:
“You have been logged on with a temporary profile. You cannot access your files and files created in this profile will be deleted when you log off. To fix this, log off and try logging on later. Please see the event log for details or contact your system administrator.”
So I did a quick Google search and it seems that this is a common issue. This problem usually occurs if the user profile was accidentally moved or deleted from the system. Any changes that you make to the current desktop are lost after you log off the system. In this tutorial we’ll explain the step-by-step procedure to fix temporary profile issue in Windows 10, 8 and 7.
How to Fix “You’ve been signed in with a temporary profile” Error?
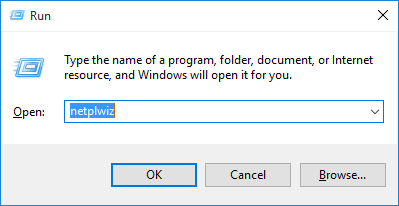
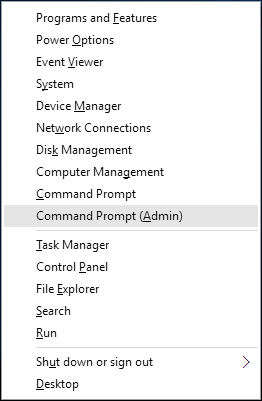
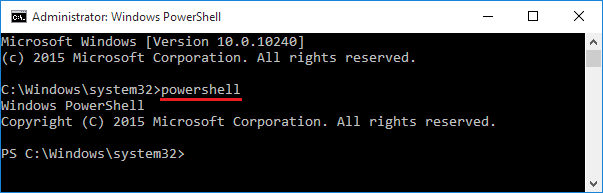
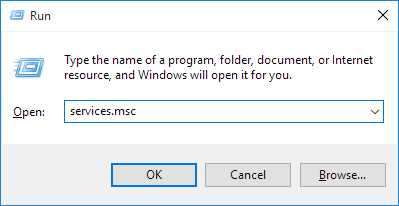
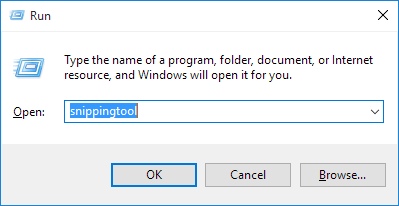
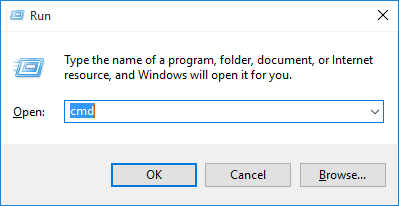
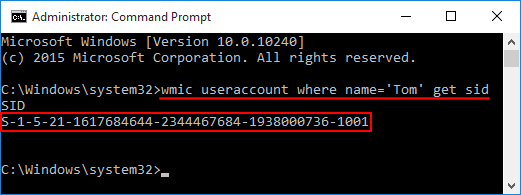
Before getting started, you need to find the SID (Security Identifier) of your user account that is experiencing the temporary profile problem. To do this, just press the Windows + R keys to open the Run box. Type cmd and press Enter.
When the Command Prompt launches, type the following command, replacing Tom with the name of your affected account. Press Enter and you’ll see the SID that will be used in steps below.
wmic useraccount where name='Tom' get sid
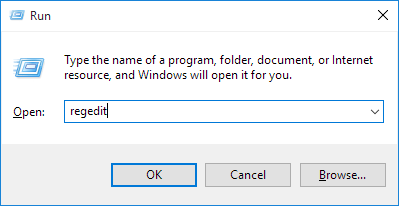
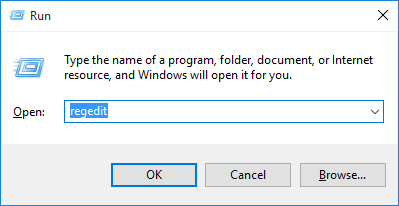
After finding the SID, close the Command Prompt. Now we begin to fix the registry settings. Press the Windows + R keys to open the Run box. Type regedit and press Enter.
When the Registry Editor opens, navigate to the following registry subkey:
HKEY_LOCAL_MACHINE\SOFTWARE\Microsoft\Windows NT\CurrentVersion\ProfileList
Expand the ProfileList subkey, you will see the SID keys for all the users on the machine. As we’ve found the SID of your affected account above, just click that SID key (without .bak), you’ll see the “ProfileImagePath” entry in the right pane that points to a temporary profile.
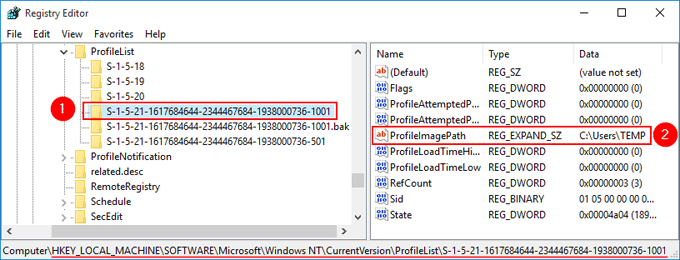
Double-click the ProfileImagePath entry to edit the values data. Type the correct profile path and click OK. If you don’t know the correct profile location, open Windows Explorer and browse to C:\Users. In my example, I want to set the account to use the profile folder named Tom, so I point ProfileImagePath to C:\Users\Tom. If your profile folder was already corrupted or deleted, just delete the SID key.

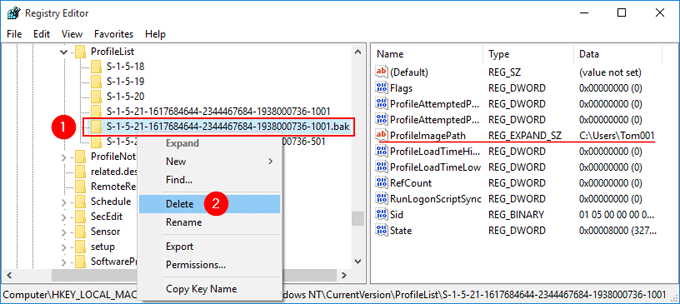
Next, right-click on your old SID key that is maked as .bak, and then click on Delete.
That’s it. Log off or restart your computer. Windows will sign in to your account with a local profile instead of a temporary profile, and you will no longer receive the temporary profile error.