Windows 10 comes with many modern metro style apps installed by default. There are plenty of users who are never going to use modern apps such as Xbox, Weather, Sports, Store, OneNote, Skype, Calendar and Mail, Alarms and Clock, etc. Thankfully, there are ways to completely remove / uninstall pre-installed Windows 10 modern apps.
Method 1: Remove / Uninstall Windows 10 Apps from Settings Charm
-
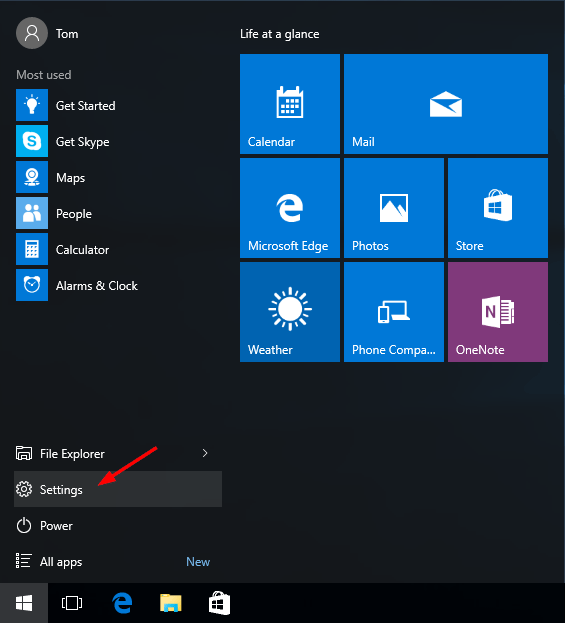
Press the Windows + I keys to open the Settings charm.
-
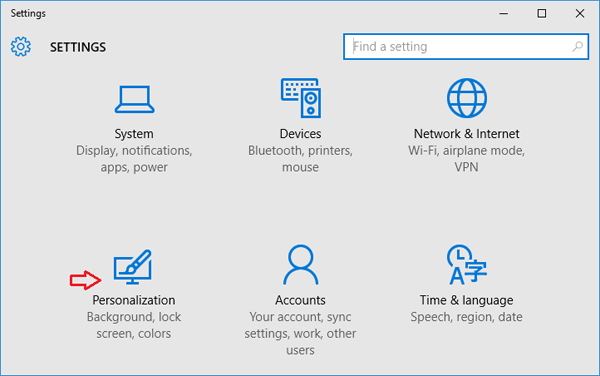
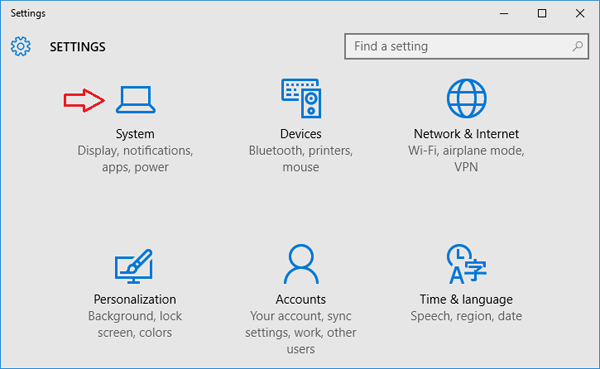
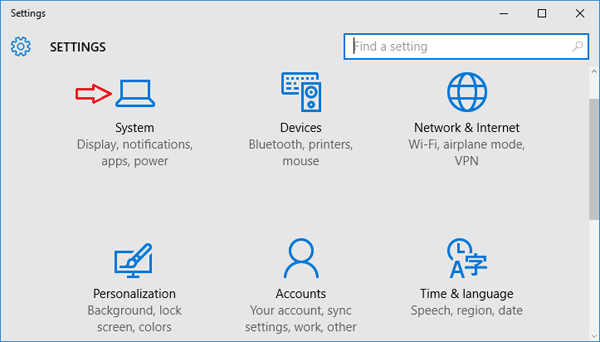
Click System on the Settings menu.
-
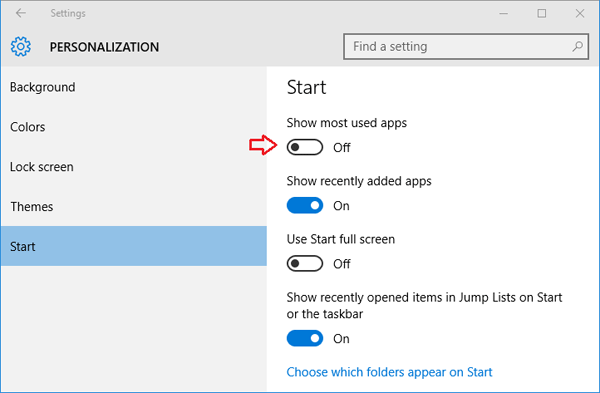
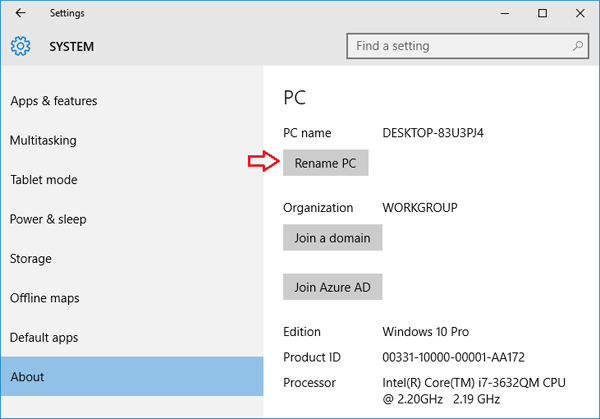
Select Apps & features from the left pane. A list of all installed apps appears in the right pane. Select the app you want to remove, and click on Uninstall.
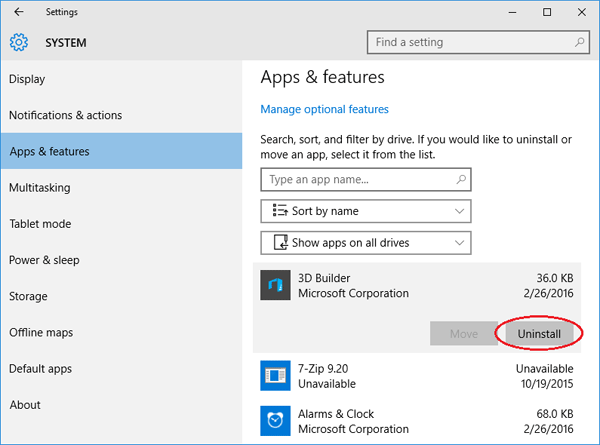
If the Uninstall button is grayed out, this is a system app you cannot remove.
While a few of the built-in apps can be simply uninstalled from Settings charm, most of them don’t offer the Uninstall option. For uninstalling these apps, you might have to use Windows PowerShell described in method two.
Method 2: Remove / Uninstall Windows 10 Apps from PowerShell
Using PowerShell cmdlet you can remove / uninstall most of the built-in apps, excluding Cortana, Contact support, Windows Feedback and Microsoft Edge. If you try to remove Microsoft Edge browse, you’ll see an error message saying they can’t be removed.
Let’s see how to uninstall the built-in apps in Windows 10:
-
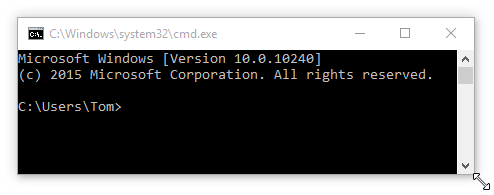
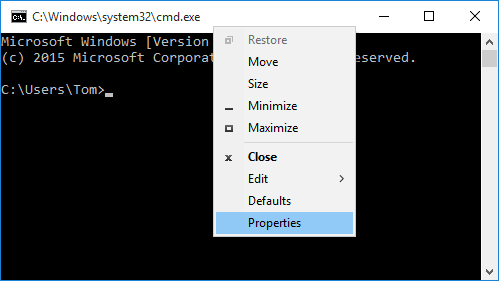
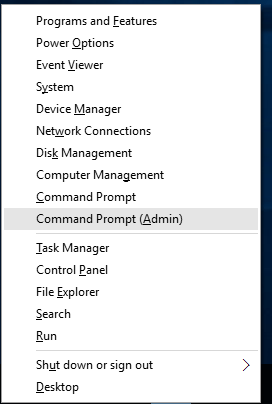
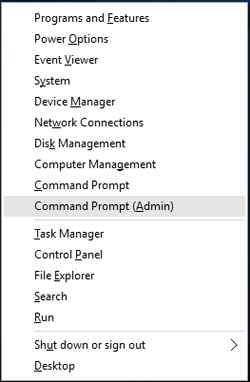
Press the Windows logo key + X to open the WinX menu. Click on “Command Prompt (Admin)“.
-
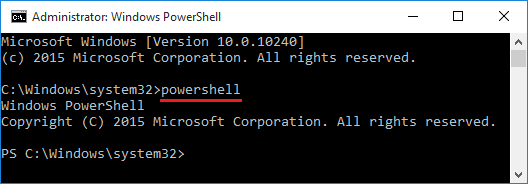
At the Command Prompt, type powershell and hit Enter.
-
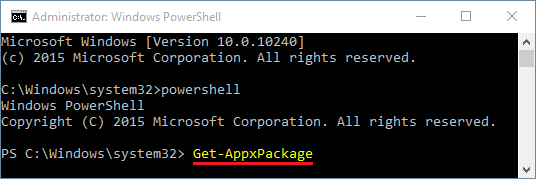
Copy and paste the following command into the PowerShell prompt. Press Enter.
Get-AppxPackage
-
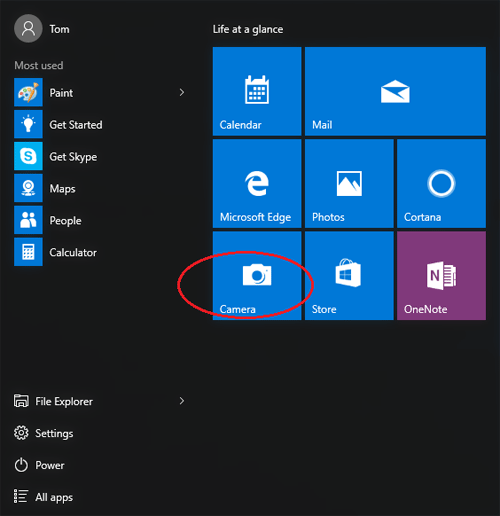
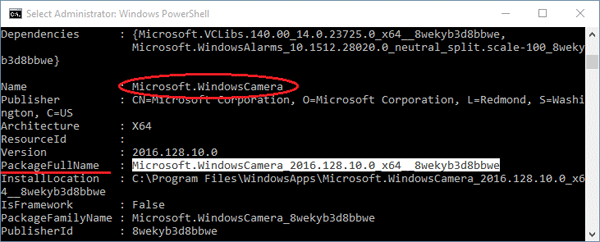
Once you run the above command, PowerShell will display all modern apps installed on your computer. Scroll down to find the app you want uninstalled. You can easily identify it by looking at the Names of the apps from the list. For instance, the Camera app bears the name of Microsoft.WindowsCamera.
-
Run the following PowerShell command and you can remove a universal app:
Remove-AppxPackage [PackageFullName]
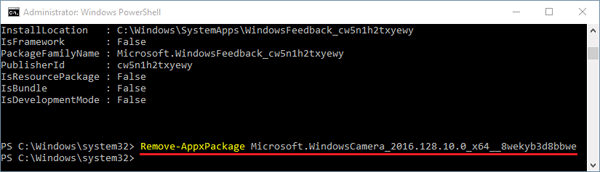
In our example, we would like to remove the Camera app, so type the following command:
Remove-AppxPackage Microsoft.WindowsCamera_2016.128.10.0_x64_8wekyb3d8bbwe
Tips: You can copy the package name by click the beginning of the name and drag your mouse to the end to highlight it then right click. Next right click to paste the package name you copied into the Command Prompt.
Fortunately, the Remove-AppxPackage command also allows you to use the wildcard characters (such as *) to find the package. So you can simply type the keywords of the app to uninstall it. Here is a list of PowerShell commands to uninstall the universal apps that are pre-installed in Windows 10:
Remove all Modern Apps for the current account only:
Get-AppXPackage | Remove-AppxPackage
Remove all Modern Apps from all the accounts on your Windows system:
Get-AppxPackage -AllUsers | Remove-AppxPackage
Uninstall 3D Builder:
Get-AppxPackage *3dbuilder* | Remove-AppxPackage
Uninstall Alarms and Clock:
Get-AppxPackage *windowsalarms* | Remove-AppxPackage
Uninstall Calculator:
Get-AppxPackage *windowscalculator* | Remove-AppxPackage
Uninstall Calendar and Mail:
Get-AppxPackage *windowscommunicationsapps* | Remove-AppxPackage
Uninstall Camera:
Get-AppxPackage *windowscamera* | Remove-AppxPackage
Uninstall Contact Support:
This app can’t be removed.
Uninstall Cortana:
This app can’t be removed.
Uninstall Get Office:
Get-AppxPackage *officehub* | Remove-AppxPackage
Uninstall Get Skype:
Get-AppxPackage *skypeapp* | Remove-AppxPackage
Uninstall Get Started:
Get-AppxPackage *getstarted* | Remove-AppxPackage
Uninstall Groove Music:
Get-AppxPackage *zunemusic* | Remove-AppxPackage
Uninstall Maps:
Get-AppxPackage *windowsmaps* | Remove-AppxPackage
Uninstall Microsoft Edge:
This app can’t be removed.
Uninstall Microsoft Solitaire Collection:
Get-AppxPackage *solitairecollection* | Remove-AppxPackage
Uninstall Money:
Get-AppxPackage *bingfinance* | Remove-AppxPackage
Uninstall Movies & TV:
Get-AppxPackage *zunevideo* | Remove-AppxPackage
Uninstall News:
Get-AppxPackage *bingnews* | Remove-AppxPackage
Uninstall OneNote:
Get-AppxPackage *onenote* | Remove-AppxPackage
Uninstall People:
Get-AppxPackage *people* | Remove-AppxPackage
Uninstall Phone Companion:
Get-AppxPackage *windowsphone* | Remove-AppxPackage
Uninstall Photos:
Get-AppxPackage *photos* | Remove-AppxPackage
Uninstall Store:
Get-AppxPackage *windowsstore* | Remove-AppxPackage
Uninstall Sports:
Get-AppxPackage *bingsports* | Remove-AppxPackage
Uninstall Voice Recorder:
Get-AppxPackage *soundrecorder* | Remove-AppxPackage
Uninstall Weather:
Get-AppxPackage *bingweather* | Remove-AppxPackage
Uninstall Windows Feedback:
This app can’t be removed.
Uninstall Xbox:
Get-AppxPackage *xboxapp* | Remove-AppxPackage