How can I change the name of my Windows 10 computer from Command Prompt? Whatever the reason you want to rename your computer, here’s our step-by-step tutorial on how to change computer name in Windows 10, from Control Panel, PC Settings and Command Prompt.
Method 1: Change Computer Name from Control Panel
- To begin, you have to open the Control Panel. Simply press the Windows key + X to open the Quick Access menu and click “Control Panel“.

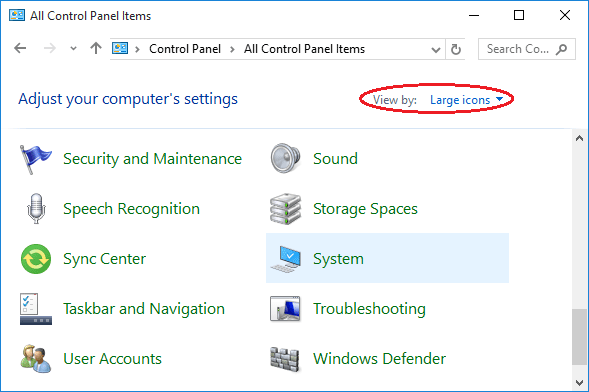
- Set the View by option to Large icons. Click on System.
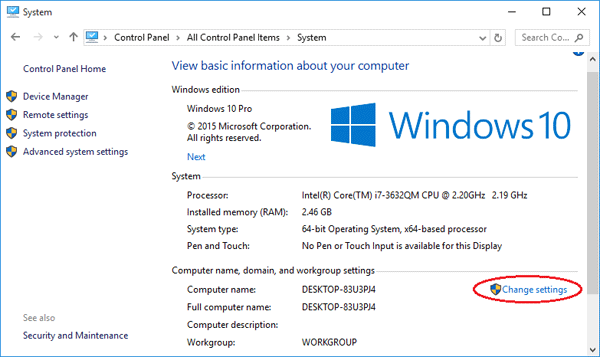
- Scroll down to the “Computer name, domain, and workgroup settings” section, click on Change settings.
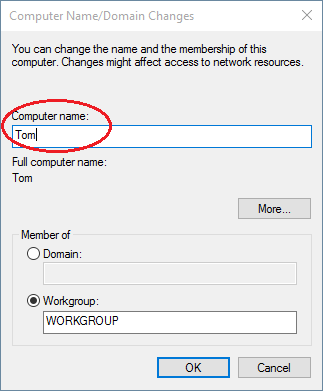
- The System Properties screen will open with the “Computer Name” tab already selected. Click on the Change… button.

- Now type the new name you want in the “Computer name” box and click OK.
- A restart will be required to complete the name change, and after that, you’re all set!
Method 2: Change Computer Name from PC Settings
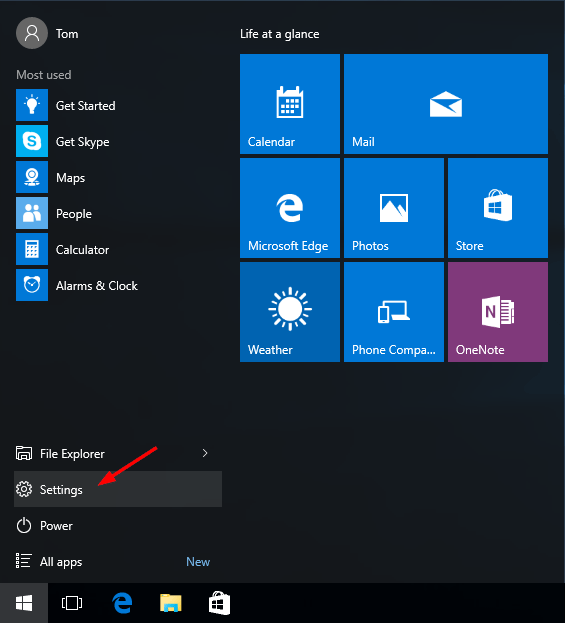
- Click on Start to access the Start Menu. Select Settings.
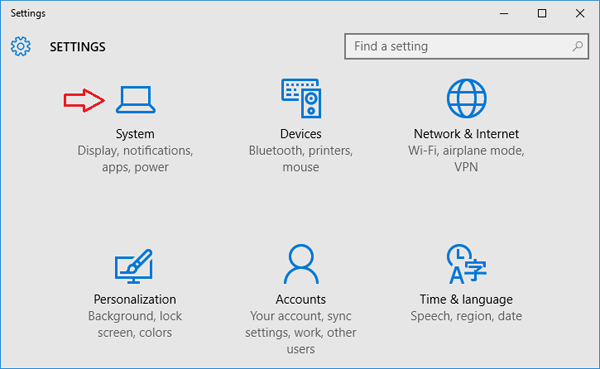
- When the PC Settings app opens, click on System.
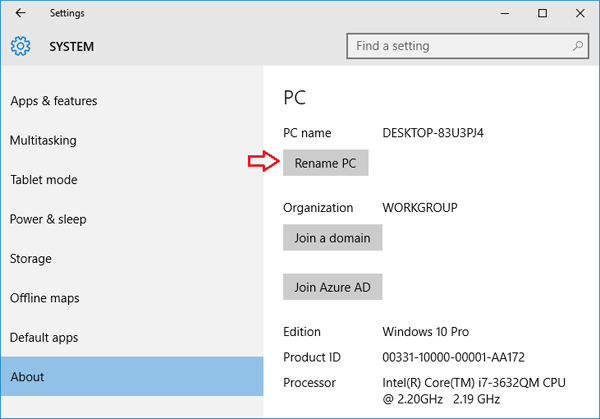
- Go to the About section and then click on “Rename PC“.
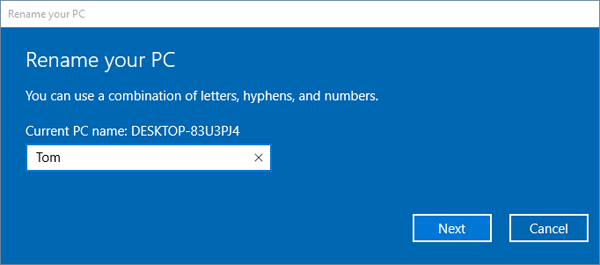
- Type the new name you want to use and click on Next.
- You will be prompted to restart your PC to apply your new settings, click on Restart Now to proceed.
Method 3: Change Computer Name from Command Prompt
Looking for a way to change Windows 10 host name via command line? Here’s how to rename Windows 10 computer name from Command Prompt (cmd):
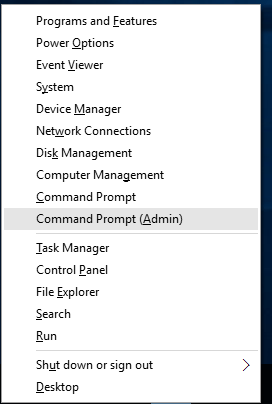
- Press the Windows key + X to open the Quick Access menu. Click on Command Prompt (Admin).
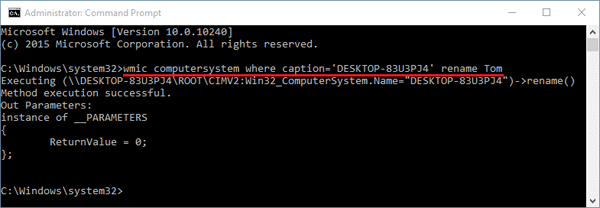
- In the Command Prompt, you can use the WMIC computersystem command to change your computer name easily, assuming you know the current computer name.
WMIC computersystem where caption='current_pc_name' rename new_pc_nameReplace current_pc_name with your current computer name, and new_pc_name with your desired new computer name.
- After running the command, you need to reboot the computer to make the changes effective.
This method works on Windows 10, 8, 7, Vista, XP and Windows Server 2012/2008/2003. This command can also be used from a batch file to rename any Windows computer, including domain-joined machines.
Besides changing the name of a local computer, you can also use WMIC command to rename a remote computer on the same network. For example, if want to rename a remote PC named Jon-Laptop to Jon-Tech and you know the login credentials, then type this command in the Command Prompt:
WMIC /node:"Jon-Laptop" /user:Admin /password:password123 computersystem call rename "Jon-Tech"
The value following /node: indicates the name of the remote computer on the LAN. The value following /user: must be an admin account on the remote computer.